How To Make Camera Surveillance Mount Function?
In today's world, security is a top priority for both residential and commercial properties. One of the most effective ways to ensure safety is through the use of camera surveillance systems. However, the effectiveness of these systems largely depends on the proper installation and functionality of the camera mounts. This article will guide you through the essential steps and considerations for making your camera surveillance mount function optimally.
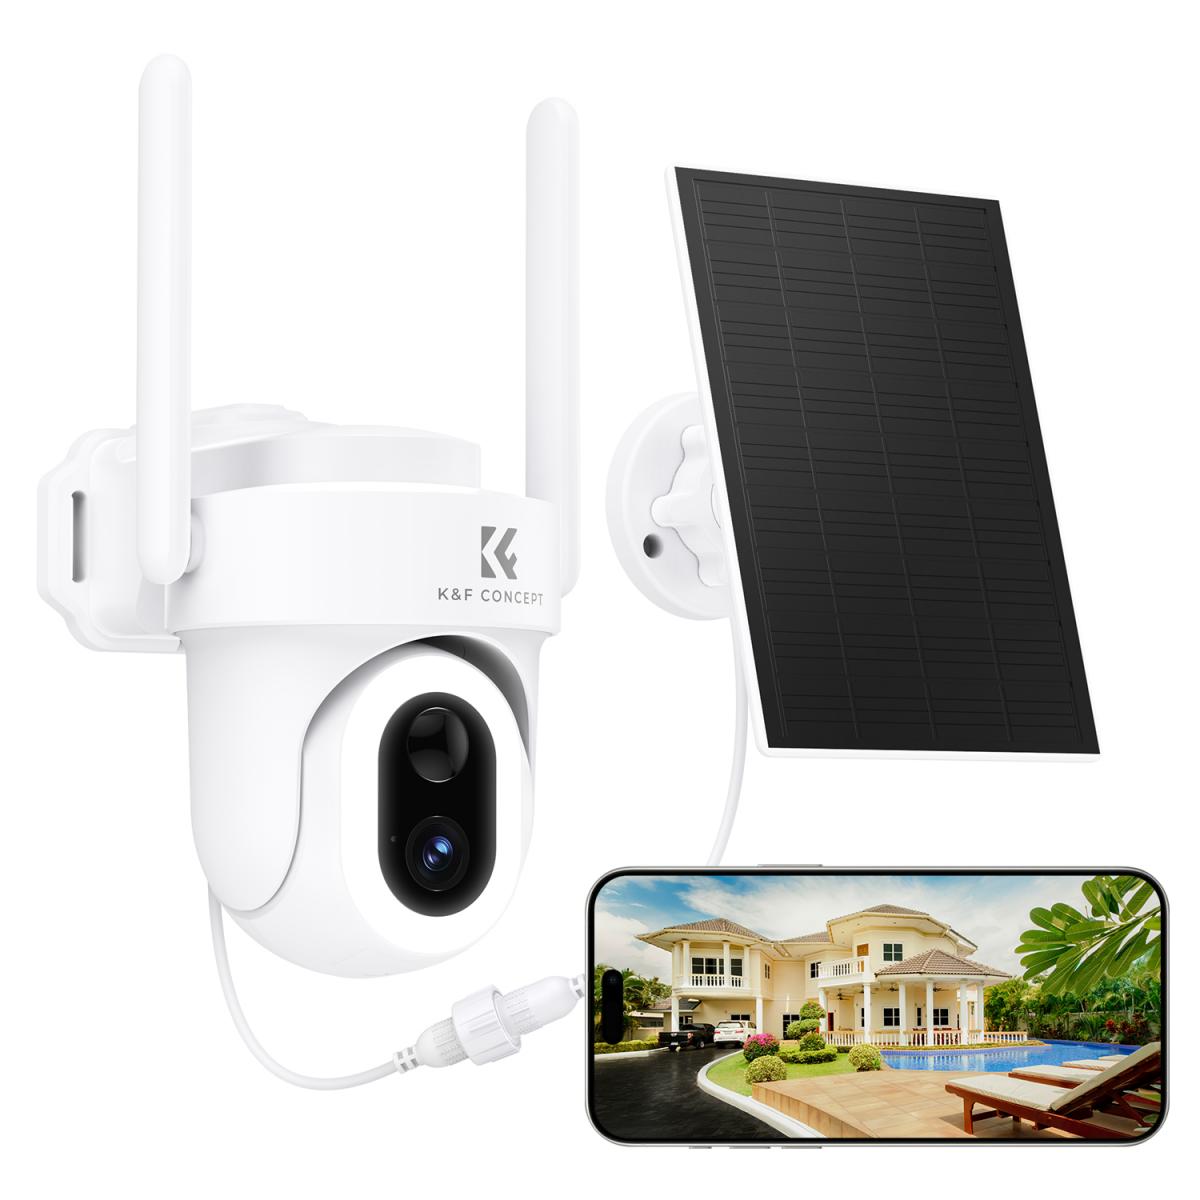
Understanding the Importance of Camera Mounts
Camera mounts are the backbone of any surveillance system. They hold the cameras in place and ensure that they capture the desired field of view. A poorly installed mount can lead to shaky footage, blind spots, and even damage to the camera. Therefore, understanding how to make your camera surveillance mount function correctly is crucial for the overall effectiveness of your security system.
Types of Camera Mounts
Before diving into the installation process, it's essential to understand the different types of camera mounts available:
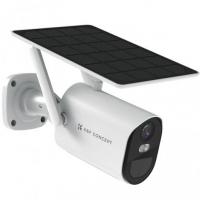
1. Wall Mounts: These are the most common types of mounts and are ideal for both indoor and outdoor use. They are typically used for fixed cameras.
2. Ceiling Mounts: These mounts are used for dome cameras and are ideal for indoor surveillance.
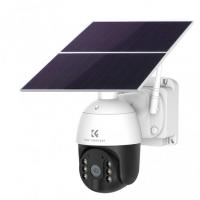
3. Pole Mounts: These are used for outdoor cameras and are ideal for monitoring large areas like parking lots.
4. Corner Mounts: These are used for covering two adjacent walls and are ideal for monitoring hallways or building exteriors.
Pre-Installation Considerations
Before you start the installation process, there are several factors you need to consider:
1. Location: The location of the camera mount is crucial. Ensure that the mount is placed in a position that covers the maximum area without any obstructions.
2. Height: The height at which the camera is mounted can significantly impact its field of view. For outdoor cameras, a height of 8-10 feet is generally recommended.
3. Weather Conditions: If you are installing an outdoor camera, ensure that the mount is weatherproof and can withstand harsh conditions.
4. Power Supply: Ensure that there is a power supply nearby to avoid long cable runs, which can lead to signal loss.
Tools and Materials Needed
To make your camera surveillance mount function correctly, you will need the following tools and materials:
- Drill
- Screws and anchors
- Screwdriver
- Level
- Measuring tape
- Weatherproof sealant (for outdoor installations)
- Cable ties
Step-by-Step Installation Guide
Step 1: Choose the Right Mount
Select the appropriate mount based on the type of camera and the location where it will be installed. Ensure that the mount is compatible with your camera model.
Step 2: Mark the Mounting Location
Use a pencil to mark the spots where you will drill holes for the screws. Ensure that the marks are level to avoid a tilted camera.
Step 3: Drill Holes
Using a drill, make holes at the marked spots. If you are installing the mount on a concrete or brick wall, use masonry drill bits and anchors.
Step 4: Attach the Mount
Secure the mount to the wall or ceiling using screws. Ensure that the mount is tightly secured to avoid any movement.
Step 5: Attach the Camera
Once the mount is securely in place, attach the camera to the mount. Follow the manufacturer's instructions for this step, as different cameras may have different attachment mechanisms.
Step 6: Adjust the Camera Angle
Adjust the camera angle to cover the desired field of view. Use a live feed from the camera to ensure that there are no blind spots.
Step 7: Secure the Cables
Use cable ties to secure the cables and prevent them from dangling. For outdoor installations, use weatherproof sealant to protect the cables from moisture.
Step 8: Test the System
Once everything is in place, test the camera to ensure that it is functioning correctly. Check the live feed for any issues and make necessary adjustments.
Maintenance Tips
To ensure that your camera surveillance mount continues to function correctly, regular maintenance is essential:
1. Regular Inspections: Periodically inspect the mount and camera for any signs of wear and tear. Tighten any loose screws and replace any damaged parts.
2. Clean the Camera Lens: Dust and dirt can accumulate on the camera lens, affecting the quality of the footage. Clean the lens regularly using a soft cloth.
3. Check the Cables: Ensure that the cables are not damaged or frayed. Replace any damaged cables immediately to avoid signal loss.
4. Update Firmware: Keep the camera firmware updated to ensure that it has the latest features and security patches.
Troubleshooting Common Issues
Even with the best installation practices, you may encounter some issues with your camera surveillance mount. Here are some common problems and their solutions:
1. Shaky Footage: If the footage is shaky, it could be due to a loose mount. Tighten the screws and ensure that the mount is securely attached.
2. Blind Spots: If there are blind spots in the footage, adjust the camera angle to cover the desired area.
3. Signal Loss: If you experience signal loss, check the cables for any damage and ensure that they are securely connected.
4. Poor Image Quality: If the image quality is poor, clean the camera lens and check the camera settings.
A well-functioning camera surveillance mount is crucial for the effectiveness of your security system. By following the steps outlined in this article, you can ensure that your camera mount is installed correctly and functions optimally. Regular maintenance and troubleshooting will further enhance the longevity and performance of your surveillance system. Whether you are securing your home or business, a properly installed camera mount will provide you with peace of mind and a higher level of security.


