How To Make Dash Cam Always On?
Dash cams, short for dashboard cameras, have become increasingly popular among drivers for their ability to provide crucial evidence in case of accidents, record scenic drives, and even capture unexpected events on the road. To truly benefit from a dash cam, ensuring that it remains always on can be essential. This article delves into the practical steps required to keep your dash cam on continuously, covering everything from power supply options to installation tips.
Why Keep a Dash Cam Always On?
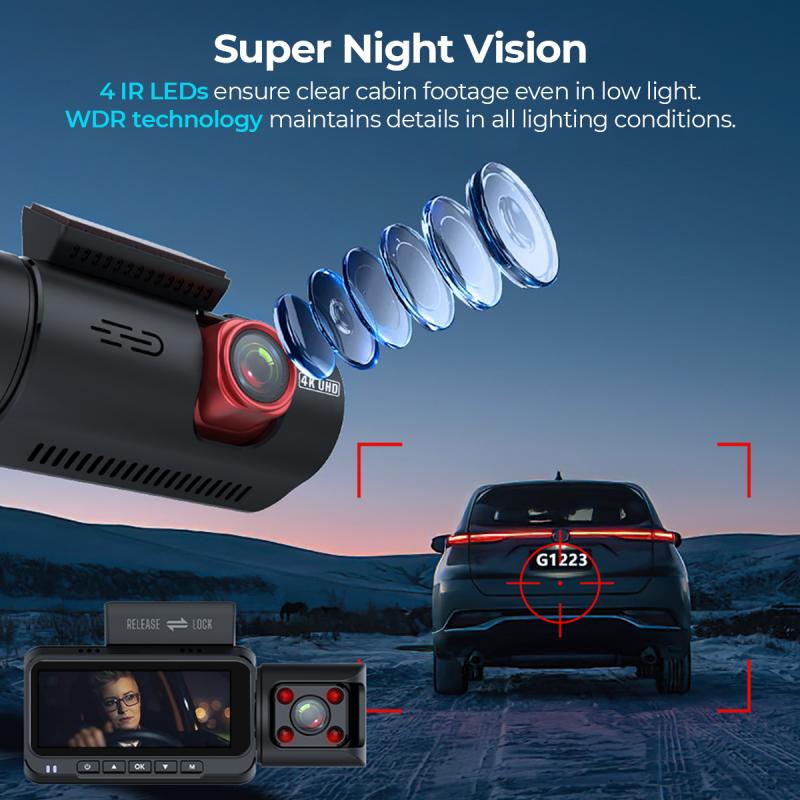
Before we delve into the technical aspects, it's important to understand why someone might want their dash cam to always be on:
1. Accident Evidence: Continuous recording means that any incident, whether the vehicle is running or parked, will be captured.
2. Theft Prevention: A dash cam can act as a deterrent to potential thieves if they know they are being recorded.
3. Parking Surveillance: It can provide evidence of hit-and-runs or vandalism while your car is parked.
4. Peace of Mind: Simply knowing that everything around your vehicle is being recorded can be reassuring.
Essential Requirements
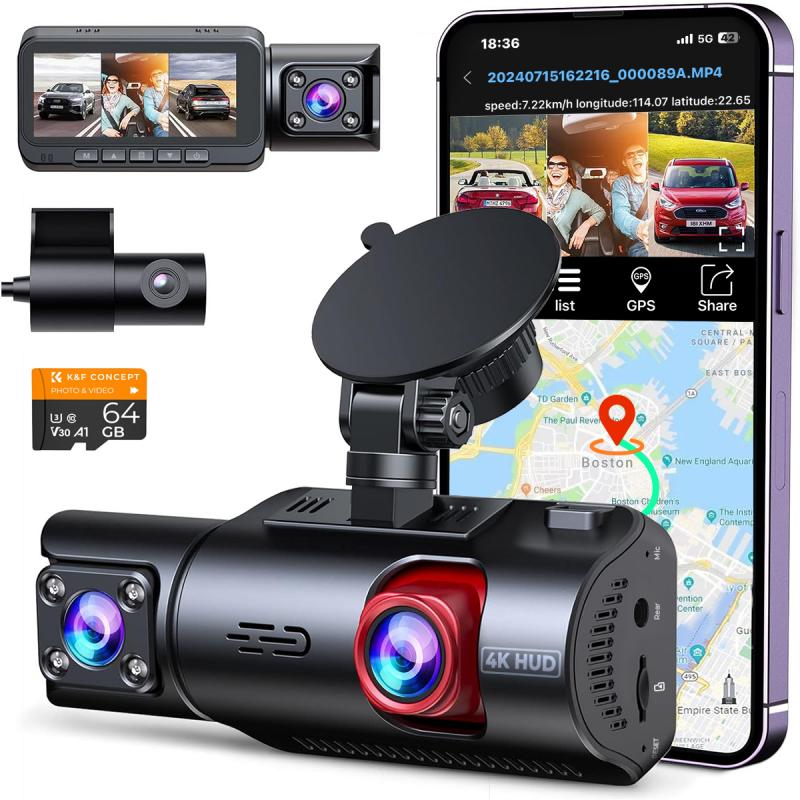
Before we get into the steps, there are a few essentials you will need:
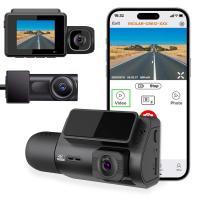
- A dash cam with a parking mode or continuous recording feature.
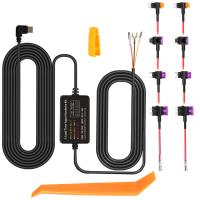
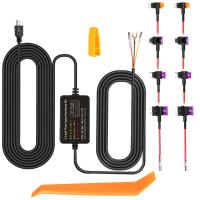
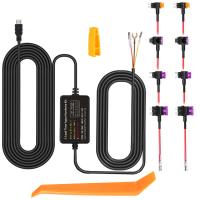
- A hardwiring kit compatible with your dash cam.
- A reliable power source to ensure the dash cam remains operable even when the car's ignition is off.
Choosing the Right Dash Cam
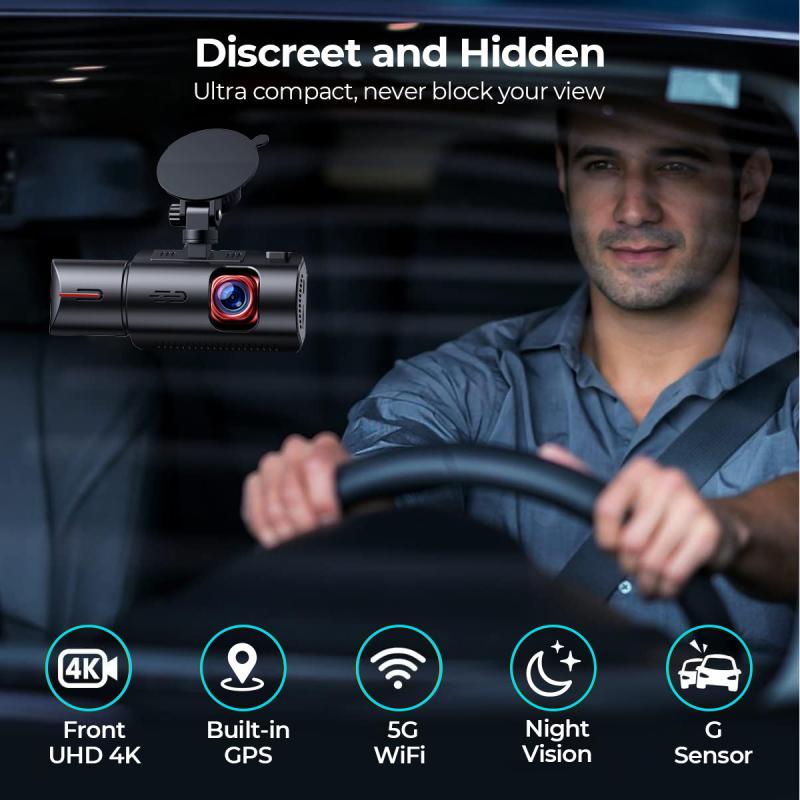
Not all dash cams are designed to be always on. When purchasing a dash cam for this purpose, consider the following features:
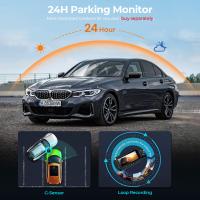
- Parking Mode: This feature allows the camera to record continuously or activate via motion detection when the vehicle is turned off.
- Low Power Consumption: Select a dash cam that consumes less power to avoid draining your car battery.
- Built-in Battery or Capacitor: Some dash cams come with their built-in battery or capacitor that allows them to continue recording for a short period after the ignition is off.
Hardwiring Your Dash Cam
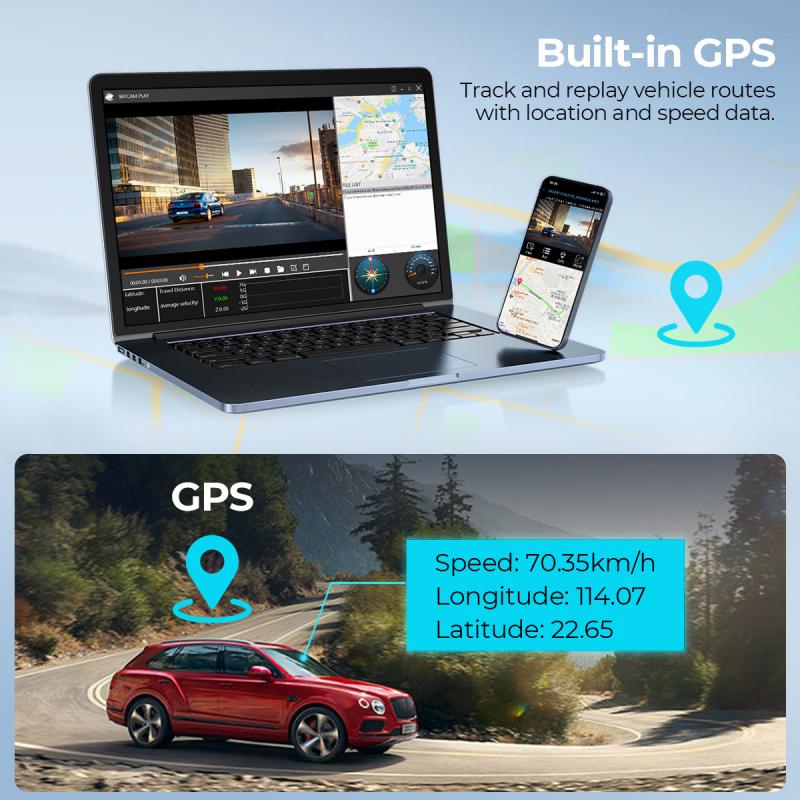
One of the most effective ways to keep your dash cam always on is to hardwire it to your car’s fuse box. Here’s a step-by-step guide on how to hardwire your dash cam:
1. Gather Required Tools and Supplies
You’ll need a hardwiring kit, which usually includes a fuse tap, fuse holder, ground wire, and the necessary cables. Additionally, you will need basic tools like a screwdriver, pliers, and a multimeter.
2. Identify the Fuse Box and Find a Constant Power Source
Locate your car's fuse box, which is typically under the dashboard or in the engine compartment. Use the car’s manual to find a fuse that provides constant power, meaning it remains on even when the vehicle is off. Common choices are fuses for the radio or interior lights.
3. Connect the Hardwiring Kit
- Ground Wire: Find a metal bolt or screw connected to the car’s frame and attach the ground wire from your hardwiring kit.
- Fuse Tap: Replace the identified constant power fuse with the fuse tap included in the hardwiring kit. Plug the original fuse into the fuse tap.
- Connect to Dash Cam: Plug the power cable into the dash cam, making sure it is securely connected.
4. Test the Setup
Before finalizing the installation, turn off your car and ensure the dash cam continues to receive power. Use a multimeter to double-check the voltage if necessary.
5. Tidy Up the Wiring
Once confirmed that everything works, secure the wiring using zip ties or adhesive clips. This will prevent loose wires from becoming a driving hazard.
Using an External Battery Pack
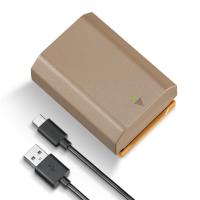
For those who are hesitant about hardwiring their dash cam, an external battery pack can be a viable alternative. These battery packs can supply power to the dash cam for extended periods, even when the car is off.
Advantages of an External Battery Pack
- Ease of Installation: Installing an external battery pack is generally simpler than hardwiring.
- No Risk to Car Battery: Since it’s separate from the car’s battery, there’s no risk of draining the car battery.
- Portability: External battery packs can easily be moved between vehicles if necessary.
Drawbacks
- Cost: High-capacity external battery packs can be expensive.
- Limited Power Supply: They need to be recharged, which can be inconvenient for extended periods of use.
Considerations for Continuous Recording
Battery Drain Concerns
One of the primary concerns with keeping a dash cam always on is the potential to drain the car’s battery. To mitigate this, select a dash cam with low power consumption and consider using a device that automatically shuts off the dash cam when the car battery reaches a certain voltage.
Overheating
Continuous use of your dash cam can lead to overheating, which can damage the camera or reduce its lifespan. Make sure the dash cam has adequate ventilation and consider models with built-in overheating protection.
Legal Considerations
It’s important to be aware of the legal implications of continuous recording. In some jurisdictions, there are privacy laws regarding the recording of audio and video. Ensure you comply with local regulations to avoid legal issues.
Setting up a dash cam to be always on can provide numerous benefits, from enhanced security to peace of mind. By following the steps outlined above, you can ensure continuous recording through hardwiring, using an external battery pack, or selecting the right dash cam with the necessary features. Although it may require a bit of effort and investment, the advantages far outweigh the downsides, offering you a reliable means to capture any incidents that may occur, regardless of whether your vehicle is running or parked. Take the time to choose the appropriate equipment and installation method to ensure you get the most out of your dash cam.


