How To Make Light Painting Video?
Light painting is a mesmerizing and creative technique that combines photography and video to capture the movement of light in a controlled environment. This art form creates stunning visuals that can be used in various forms of media, from social media posts to professional video projects. In this article, we’ll guide you through the process of making a light painting video, covering the necessary equipment, technical settings, and creative techniques.
Understanding Light Painting
Before diving into the process, it's important to understand what light painting is. Essentially, light painting is a photographic technique in which exposures are made by moving a hand-held light source or by moving the camera. The result is an image that can look like it was painted with light. When applied to video, this can create dynamic and enchanting footage that captures the essence of the moving light.
Equipment You'll Need
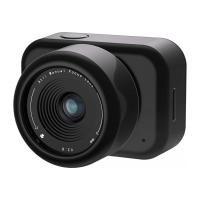
1. Camera: A DSLR or mirrorless camera with manual settings is ideal because you’ll need control over the exposure, aperture, and shutter speed.
2. Tripod: Stability is crucial when creating light paintings to avoid blurry images.
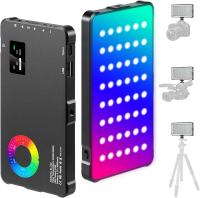
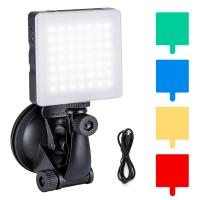
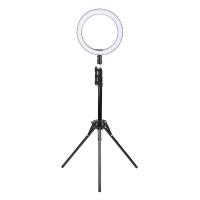
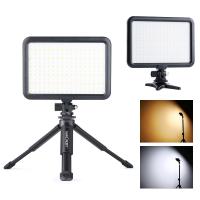
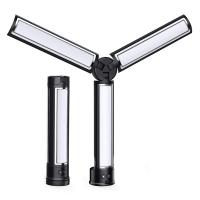
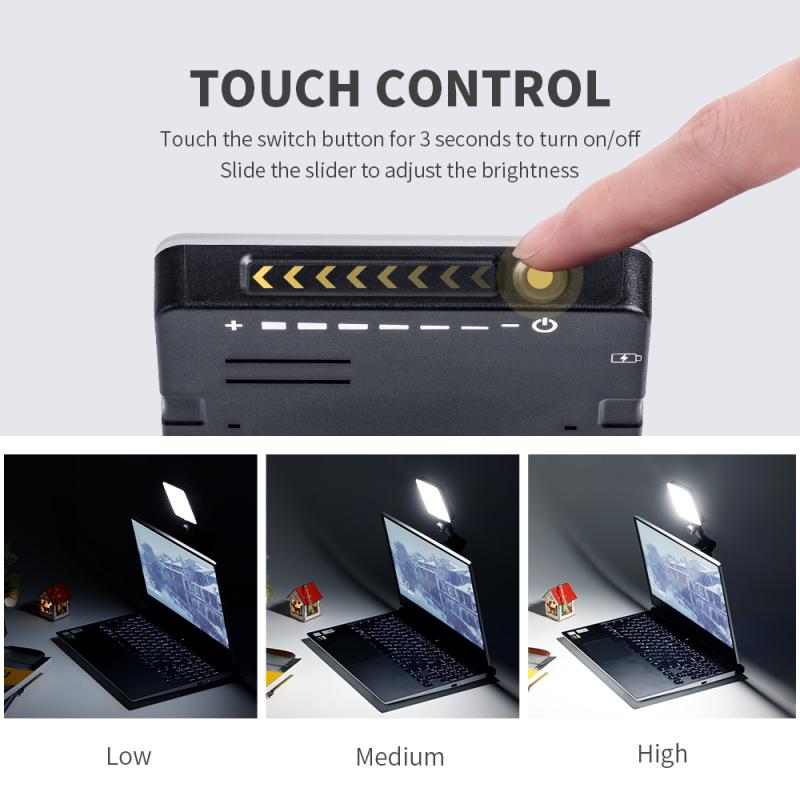
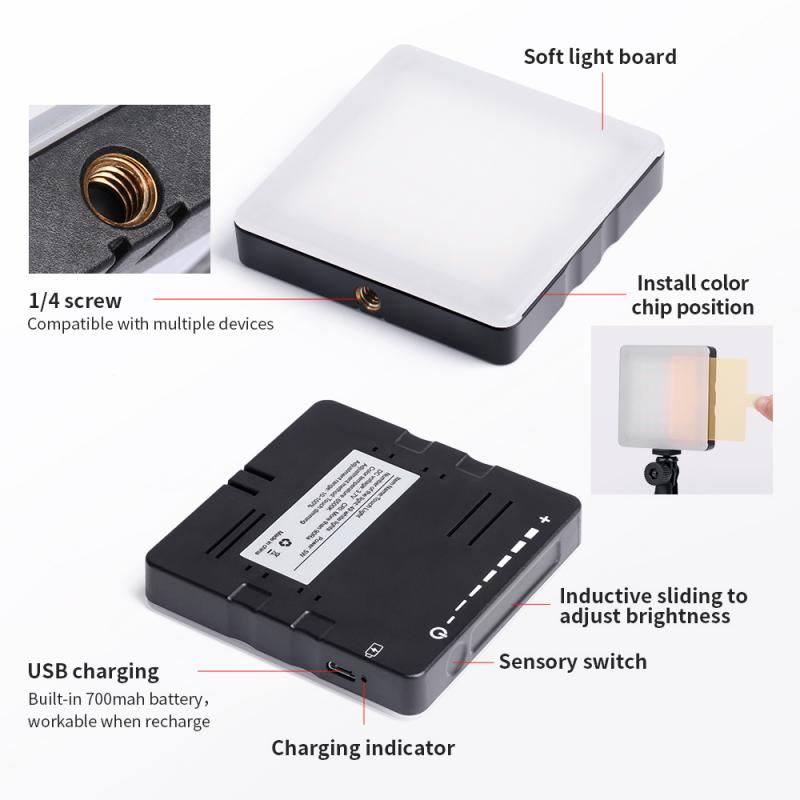
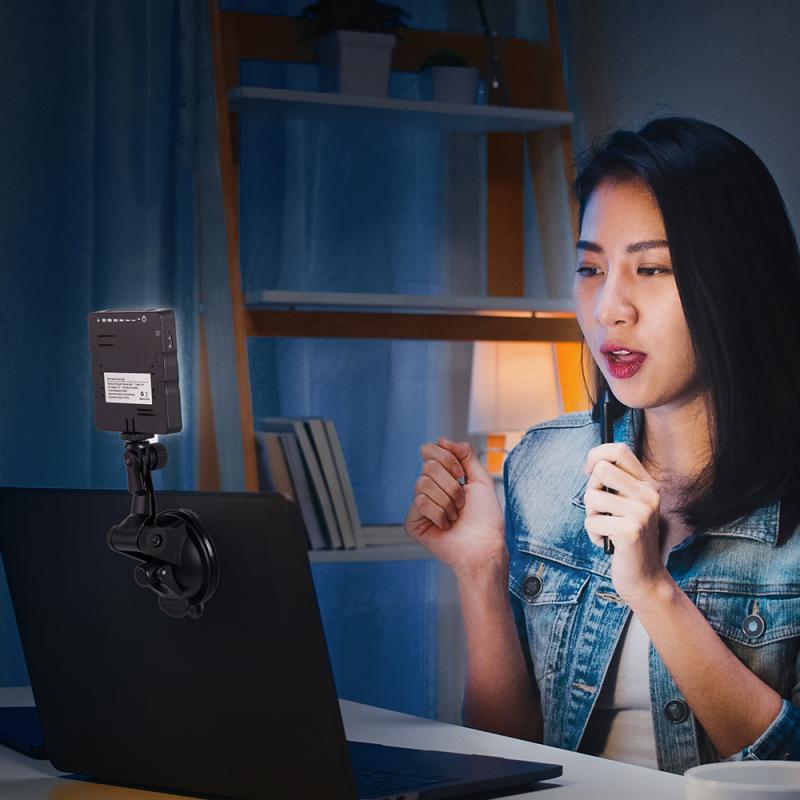
3. Light Sources: Various light tools such as LED lights, glow sticks, or even smartphone screens can be used. Experiment with different colors and brightness levels.
4. Remote Shutter Release: To prevent camera shake while capturing long exposures.
5. Dark Environment: Conduct your shoot in a dark room or outdoor location without light pollution to ensure the light sources stand out.
Setting Up for Success
Camera Settings
- Manual Mode: Switch your camera to manual mode to have full control over your settings.
- Shutter Speed: Use a long exposure time, typically between 10 to 30 seconds. Longer exposure times allow you to capture more movement of light.
- Aperture: A medium aperture (f/8 to f/16) is a good starting point. Adjust based on the intensity of your light source.
- ISO: Use a low ISO (100 to 400) to minimize noise.
Environment Preparation
Select a dark environment where you have control over the light. This could be an indoor room with no external light sources or an outdoor location on a moonless night. The key is to ensure any light captured is intentional and part of the painting process.
Creating Your Light Paintings
Step 1: Frame Your Shot
Set up your camera on the tripod and frame your shot. A good practice is to mark the area where you’ll be moving your light to ensure you stay within the frame.
Step 2: Adjust Focus
Manual focus is preferred since autofocus might struggle in low-light conditions. Illuminate your subject or the initial point of light with a flashlight, focus manually, then turn off the flashlight.
Step 3: Start Your Exposure
Use the remote shutter release to start your exposure without touching the camera. Begin moving your light source in the desired pattern. You can draw shapes, write words, or create abstract patterns.
Techniques for Dynamic Light Painting Videos
Now that you have some static light paintings, let’s move onto creating a video. You have several methods to choose from:
Time-Lapse Photography
1. Set your camera to shoot a series of light paintings with consistent intervals.
2. Use an intervalometer or the built-in timer feature of your camera.
3. Combine the individual frames into a video using video editing software.
Continuous Light Painting
1. Switch your camera to video mode.
2. Lower the frame rate to 24fps or 30fps to ensure smooth motion capture.
3. Use a slightly higher ISO and a larger aperture since you won’t be able to use long exposures.
4. Move your light source continuously to create patterns.
Editing Your Light Painting Video
Once your footage is captured, you’ll need to edit it to create a polished final product. Here’s a step-by-step guide:
Import and Organize Footage
Import your footage into a video editing software such as Adobe Premiere Pro, Final Cut Pro, or DaVinci Resolve. Organize your clips into a coherent sequence.
Speed and Transitions
Adjust the speed of your clips to enhance the flow of light movements. You might need to speed up or slow down certain sections for desired effects. Add transitions between clips to ensure smooth visual storytelling.
Color Grading
Enhance the visual appeal of your video by adjusting the color balance. Boost the vibrancy and saturation of your light sources while maintaining a dark background.
Music and Sound Effects
Adding music can significantly enhance the overall impact of your video. Choose a soundtrack that complements the mood and rhythm of your light painting. If applicable, add sound effects that sync with the movement of lights.
Exporting Your Video
Ensure you export your video in high definition. Common formats include MP4 with H.264 codec for a good balance between quality and file size. Select an appropriate frame rate, matching the frame rate used during filming.
Tips and Tricks for Better Light Painting Videos
- Experiment: Don’t be afraid to try different light sources and movements. Some of the best light paintings come from spontaneous creativity.
- Practice: Like any art form, practice makes perfect. The more you experiment, the better you’ll understand how light interacts with your camera settings.
- Safety First: Always ensure your environment is safe, especially if you’re working outdoors at night. Be mindful of surroundings to avoid any accidents.
Common Challenges and Solutions
Blurry Images/Footage: This is often due to camera shake or incorrect focus. Use a sturdy tripod and ensure you’re using manual focus.
Overexposed Light Trails: Reduce the intensity of your light source or adjust your aperture to a higher f-stop number.
Lack of Detail in Light Trails: Ensure your light source is bright enough and adjust exposure settings accordingly. Use a slightly higher ISO if necessary.
Creating a light painting video is a fascinating blend of art and technology. With the right equipment, settings, and creativity, you can produce stunning visual content that captivates your audience. Whether you’re a hobbyist or a professional, the techniques outlined in this article will help you get started on your light painting journey. So grab your camera, choose your light sources, and venture into the enchanting world of light painting videos.


