How To Make Monopod Selfie Stick Work?
Selfie sticks have become a staple accessory for smartphone users worldwide, allowing individuals to capture wide-angle selfies, group photos, and scenic shots with ease. However, despite their prevalence, many users find themselves struggling with the setup, connection, and usage of their monopod selfie sticks. This detailed guide aims to demystify the process and provide comprehensive steps to make your monopod selfie stick work seamlessly.
Understanding Your Monopod Selfie Stick
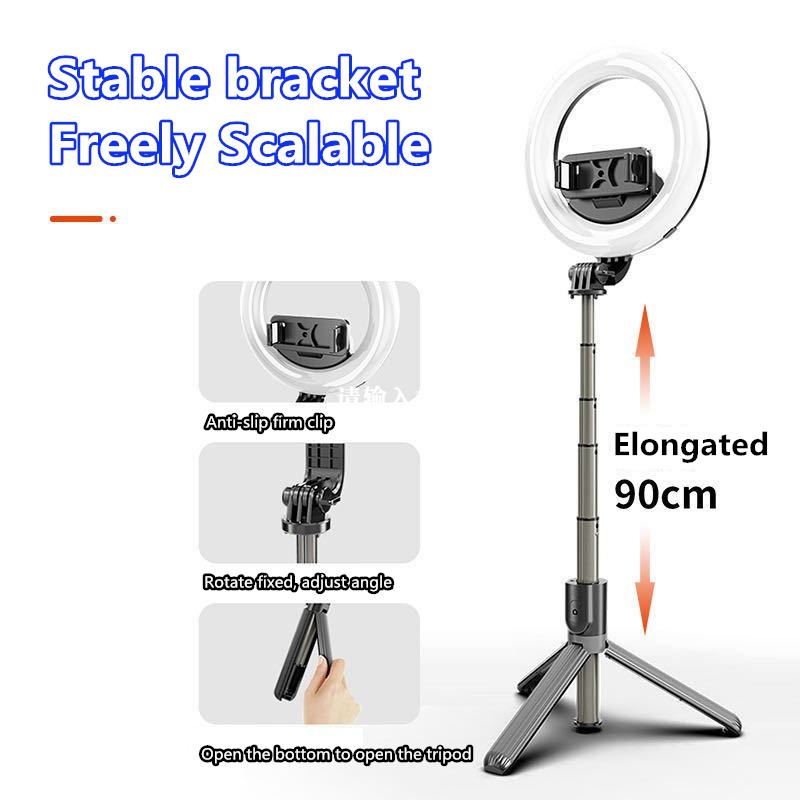
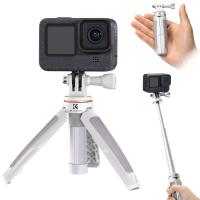
Before diving into the setup process, it’s essential to familiarize yourself with the components of your selfie stick:
1. Handle/Grip: The base you hold, often housing the battery or cord.
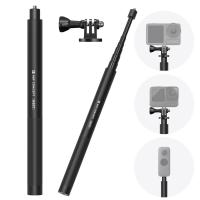
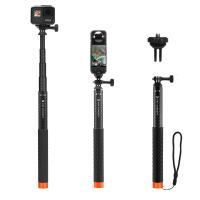
2. Telescopic Pole: Extends to increase the distance between the phone and the user.
3. Phone Mount: Holds the smartphone in place.
4. Button/Shutter Control: Triggers the camera; this can be integrated into the handle or may come as a separate remote.
Selfie sticks can broadly be categorized into two types:
- Wired: Connects to your phone via a headphone jack.
- Bluetooth: Connects wirelessly to your phone via Bluetooth.
Step-by-Step Guide to Setting Up Your Monopod Selfie Stick
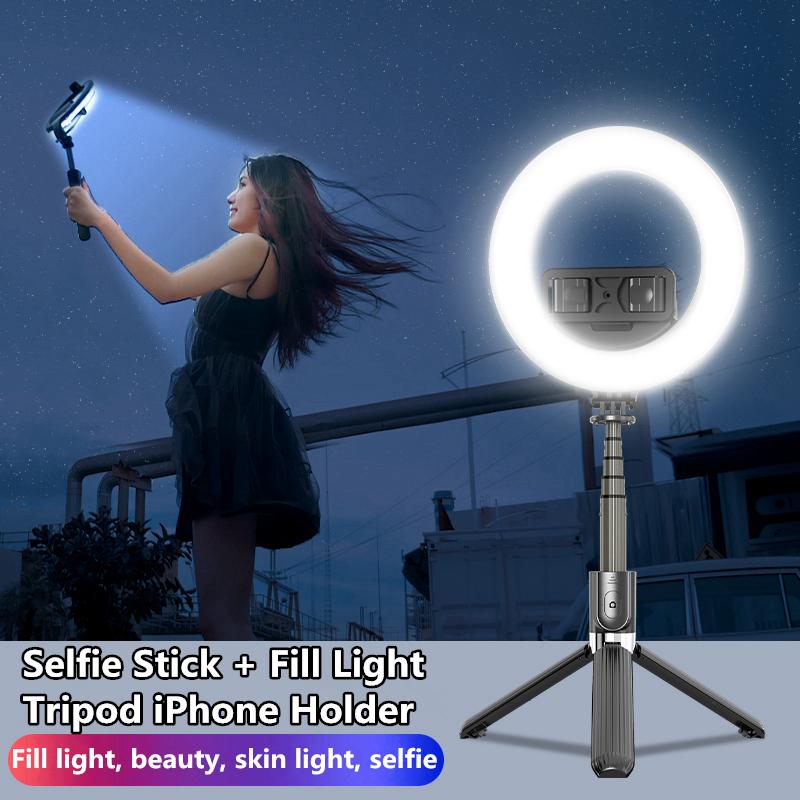
1. Setting Up a Wired Selfie Stick
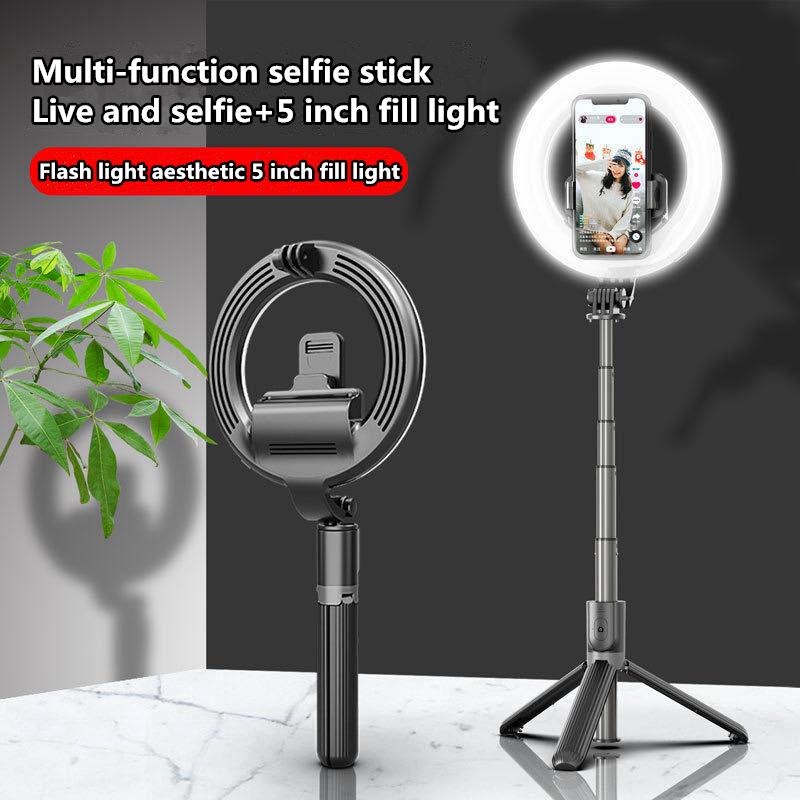
Wired selfie sticks tend to be more straightforward to set up. Here’s a step-by-step process:
1. Extend the Stick: Gently extend the telescopic pole to your desired length.
2. Attach Your Phone: Secure your smartphone in the phone mount at the top of the stick, ensuring it’s firmly in place.
3. Connect the Cable: Insert the headphone jack-like cable into your phone’s headphone port.
4. Open the Camera App: Launch your phone’s camera application.
5. Take a Photo: Press the shutter button on the handle of the selfie stick. If it doesn’t work, you may need to adjust some settings (discussed in troubleshooting).
2. Setting Up a Bluetooth Selfie Stick
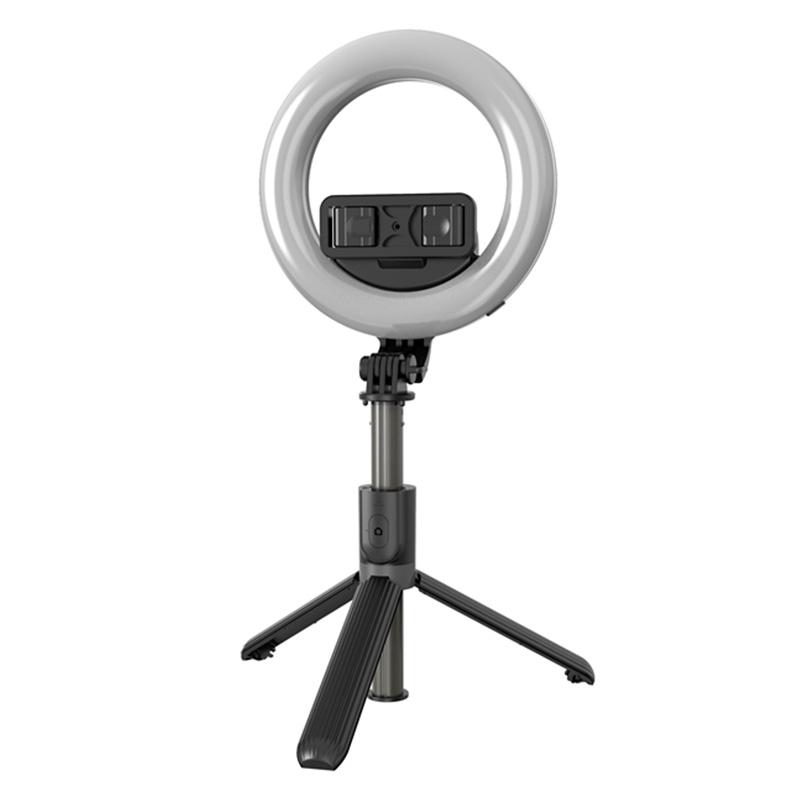
Bluetooth selfie sticks offer more flexibility as they eliminate the need for a cord. Here’s how to set it up:
1. Charge the Stick: Ensure your selfie stick is fully charged before use. Usually, an LED indicator will signal when it’s ready.
2. Extend the Stick: Extend the telescopic pole to the required length without forcing it.
3. Attach Your Phone: Safely secure your smartphone in the phone mount.
4. Pair with Your Phone: Activate Bluetooth on your phone and turn on the selfie stick. Search for available devices on your phone and select the selfie stick from the list.
5. Open the Camera App: Launch the camera app on your phone.
6. Take a Photo: Press the Bluetooth pairing button or the dedicated shutter button on the stick.
Troubleshooting Common Issues
There are instances where your selfie stick might not function as expected. Here’s how you can tackle some common issues:
Issues with Wired Selfie Sticks:
- No Response to Shutter Button:
- Check if the cable is properly inserted into your phone’s headphone jack.
- Ensure that your device’s settings allow for volume-button shutter control (especially on Android).
- Shutter Button Not Working (For iPhones):
- Sometimes, you need to enable the volume button to act as a shutter in your camera settings if it isn't working by default.
Issues with Bluetooth Selfie Sticks:
- Bluetooth Pairing Problems:
- Ensure your selfie stick is discoverable. Sometimes holding the power button for a few extra seconds can restart the pairing process.
- Remove any previously paired devices from your phone’s Bluetooth list and retry.
- Lag or Delay in Shutter Response:
- Ensure the distance between your phone and selfie stick is optimal and there are no obstructions.
- Device Compatibility:
- Some selfie sticks may not be compatible with all smartphone models. Checking the product specifications can help avoid such issues.
Tips for Optimal Use of Monopod Selfie Sticks
1. Maintaining Stability: A steady hand is crucial. Using the selfie stick’s wrist strap (if available) can provide additional stability.
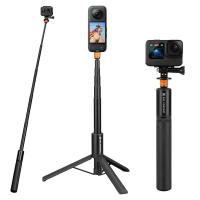
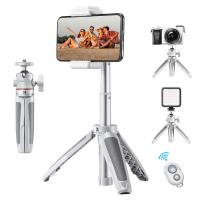
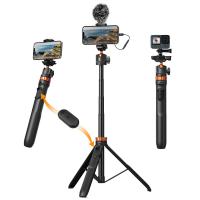
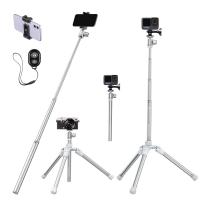
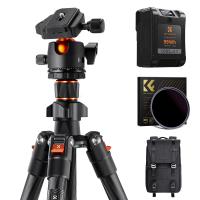
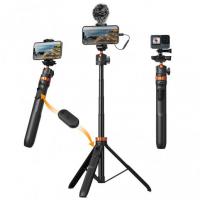
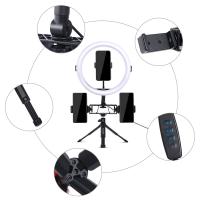
2. Using Tripod Stands: Some advanced models come with detachable tripod stands. These are perfect for shooting videos or taking timed photos.
3. Camera Angles: Experiment with different angles. Tilting the phone mount can help capture a variety of perspectives.
4. Lighting: Always be mindful of your lighting conditions. Natural light can significantly enhance the quality of your photos.
Advanced Features
Many modern selfie sticks come with additional features:
- Integrated Zoom Controls: Some sticks have built-in zoom buttons to help frame the perfect shot.
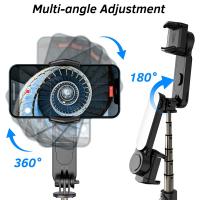
- Rotatable Mounts: Allows for both portrait and landscape photos without needing to reattach the phone.
Safety Precautions
1. Phone Security: Always double-check the tightness of your phone mount clamp to prevent your phone from slipping or falling.
2. Environmental Awareness: Be cautious of your surroundings to avoid accidents or disturbing others, especially in crowded places.
3. Battery Management: For Bluetooth sticks, always keep an eye on battery levels to ensure it’s charged when you need it.
Final Thoughts
In the era of social media and instant sharing, having a functional monopod selfie stick can significantly enhance your experience, allowing you to capture memorable moments effortlessly. By understanding the setup process and following the step-by-step devices highlighted above, you can avoid common pitfalls and ensure that your selfie stick works efficiently. Whether you’re capturing scenic views or taking group photos with friends, the right selfie stick can make all the difference, turning you from an amateur into a pro at capturing the perfect shot.
By being proactive in troubleshooting and mindful of best practices, you can enjoy a seamless and enjoyable photography experience with your monopod selfie stick, ensuring all your adventures are well-documented and Instagram-ready.









There are no comments for this blog.