How To Make Nd Filter?
Neutral Density (ND) filters are essential tools for photographers and videographers, allowing them to control the exposure of their shots without affecting the color balance. These filters are particularly useful in bright conditions, enabling the use of slower shutter speeds or wider apertures to achieve creative effects such as motion blur or shallow depth of field. While commercial ND filters are readily available, making your own can be a rewarding and cost-effective project. This article will guide you through the process of creating your own ND filter, covering the materials needed, step-by-step instructions, and tips for achieving the best results.
Understanding ND Filters
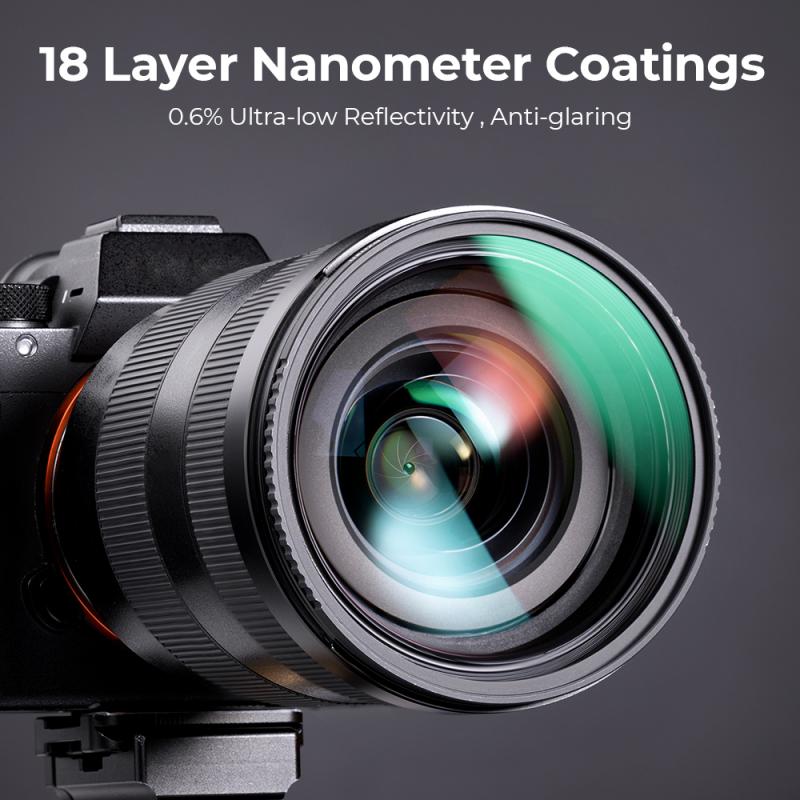
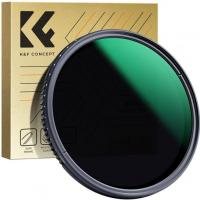
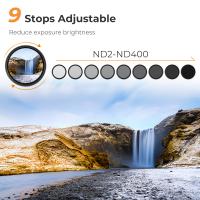
Before diving into the DIY process, it's important to understand what an ND filter does. Essentially, an ND filter reduces the amount of light entering the camera lens. This reduction is measured in stops, with each stop representing a halving of the light. For example, a 3-stop ND filter reduces the light by a factor of eight (2^3). ND filters come in various strengths, typically ranging from 1-stop to 10-stops or more.
Materials Needed
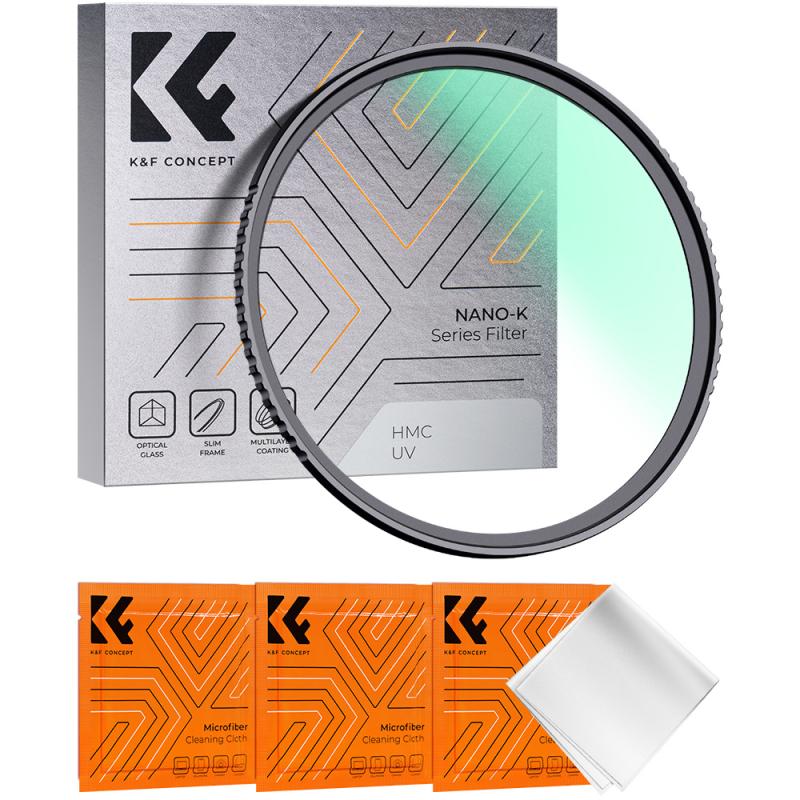
To make your own ND filter, you will need the following materials:
1. Neutral Density Film: This is the core material that will reduce the light. ND film can be purchased online or at specialty photography stores. Ensure you choose a film with the desired density.
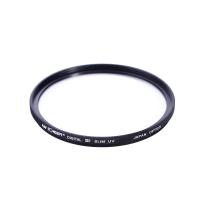
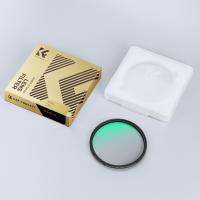
2. UV Filter: A UV filter serves as the base for your ND filter. It should match the diameter of your camera lens.
3. Scissors or Craft Knife: For cutting the ND film to size.
4. Double-Sided Tape or Adhesive: To attach the ND film to the UV filter.
5. Microfiber Cloth: For cleaning the UV filter and ND film.
6. Ruler and Marker: For measuring and marking the ND film.
Step-by-Step Instructions
Step 1: Clean the UV Filter
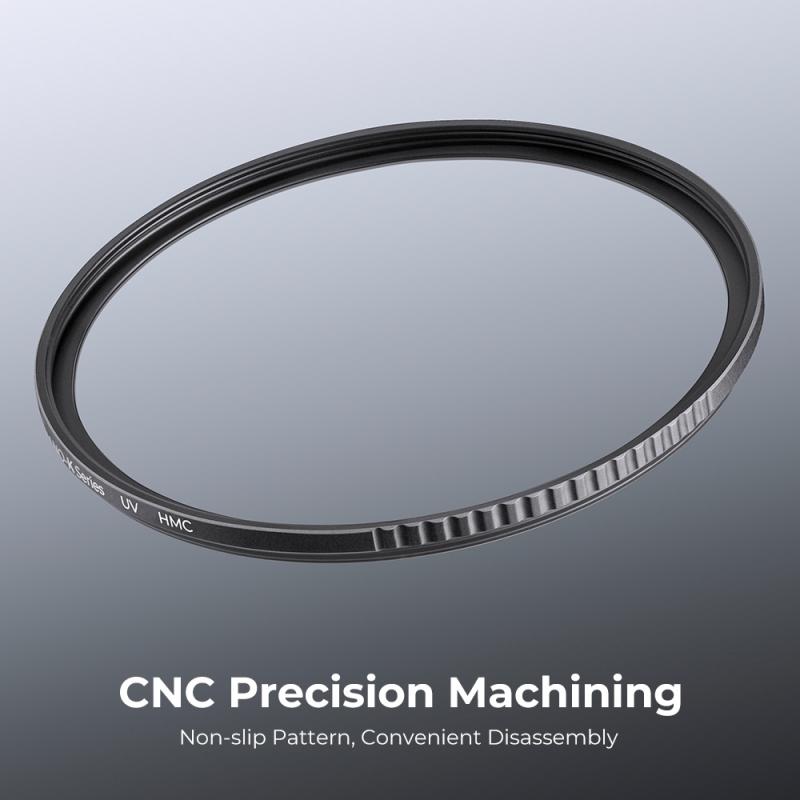
Start by thoroughly cleaning the UV filter with a microfiber cloth. Any dust or smudges on the filter can affect the quality of your photos. Ensure the filter is completely dry before proceeding to the next step.
Step 2: Measure and Cut the ND Film
Using a ruler and marker, measure the diameter of the UV filter. Mark the corresponding size on the ND film. Carefully cut the ND film to the marked size using scissors or a craft knife. It's crucial to cut the film precisely to avoid any gaps or overlaps when attaching it to the UV filter.
Step 3: Attach the ND Film to the UV Filter
Apply double-sided tape or adhesive around the edge of the UV filter. Carefully place the cut ND film onto the filter, ensuring it aligns perfectly with the edges. Press down gently to secure the film in place. If using adhesive, allow it to dry completely before handling the filter.
Step 4: Test the Filter
Once the ND film is securely attached, test the filter by taking a few shots with your camera. Check for any light leaks or uneven exposure. If you notice any issues, adjust the film or reapply it as needed.
Tips for Best Results
1. Choose the Right Density: Select an ND film with the appropriate density for your needs. If you're unsure, start with a lower density and experiment with different strengths.
2. Avoid Air Bubbles: When attaching the ND film, be careful to avoid air bubbles. These can cause uneven exposure and affect the quality of your photos.
3. Store Properly: Store your DIY ND filter in a protective case to prevent scratches or damage to the film.
4. Experiment with Stacking: For greater light reduction, you can stack multiple ND filters. However, be mindful of potential vignetting or color shifts.
Practical Applications
Long Exposure Photography
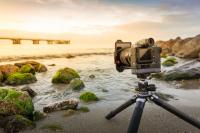
One of the most popular uses for ND filters is long exposure photography. By reducing the amount of light entering the lens, you can use slower shutter speeds to capture motion blur in subjects like waterfalls, rivers, and clouds. This technique creates a sense of movement and adds a dynamic element to your photos.
Shallow Depth of Field in Bright Light
In bright conditions, achieving a shallow depth of field can be challenging without overexposing your shot. An ND filter allows you to use a wider aperture, creating a pleasing bokeh effect while maintaining proper exposure.
Video Recording
For videographers, ND filters are essential for maintaining a consistent shutter speed and aperture in varying lighting conditions. This is particularly important for achieving a cinematic look with natural motion blur.
Making your own ND filter is a straightforward and cost-effective way to enhance your photography and videography. By following the steps outlined in this article, you can create a custom ND filter tailored to your specific needs. Whether you're capturing long exposures, achieving a shallow depth of field, or recording video, a DIY ND filter can help you achieve professional-quality results. Remember to experiment with different densities and techniques to find the perfect balance for your creative vision. Happy shooting!









There are no comments for this blog.