How To Make Soft Light Photography?
Photography is an art form that relies heavily on the manipulation of light. One common technique, especially beloved in portrait and still-life photography, is soft light photography. This method involves diffusing and evenly spreading light across a subject to eliminate harsh shadows and create a flattering, gentle illumination. Mastering soft light photography can elevate your images, making them more aesthetically pleasing and professional. This article will delve into various techniques and tools necessary for achieving soft light in your photography.
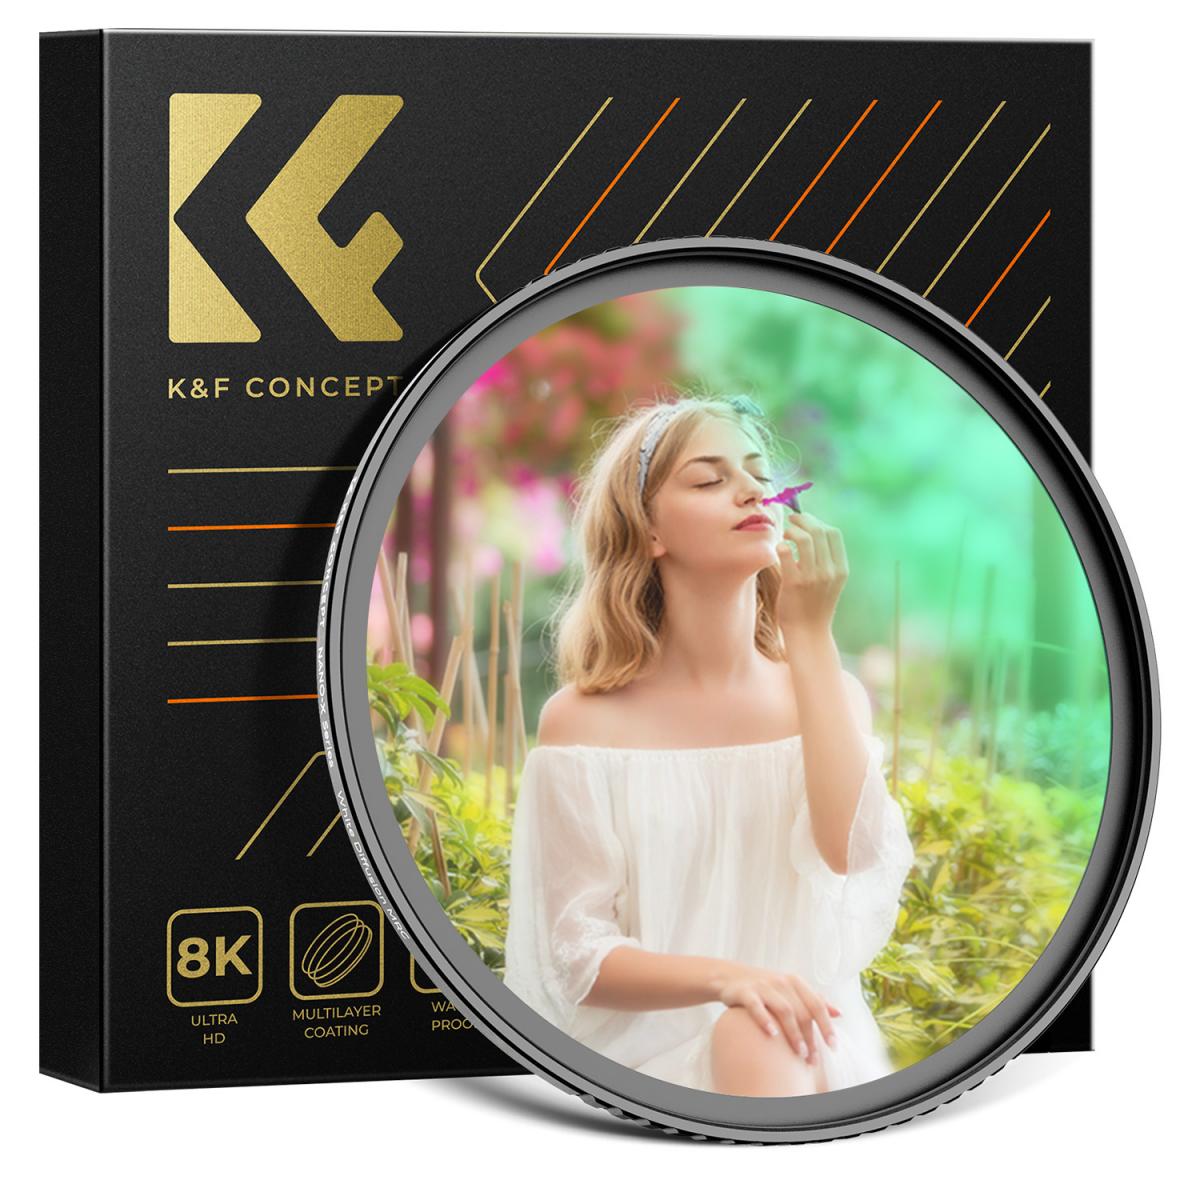
Understanding the Basics of Soft Light
Soft light is characterized by gradual transitions between light and shadow, producing a smooth and less contrasty image. This type of lighting minimizes harsh lines, reduces texture appearance on the skin, and creates a more natural and inviting look. Here are a few foundational concepts to grasp:
1. Light Source Size and Distance: The size and proximity of the light source to the subject significantly impact the softness of the light. A larger light source relative to the subject will produce softer light. Similarly, moving the light source closer to the subject can also make the light softer.
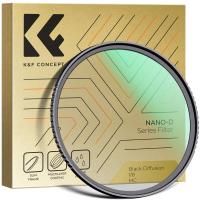
2. Diffusion: Diffusing light involves spreading it out to reduce its intensity and harshness. This can be done using various tools and techniques such as softboxes, diffusers, and natural methods like utilizing overcast weather or shaded areas.
Tools and Techniques for Creating Soft Light
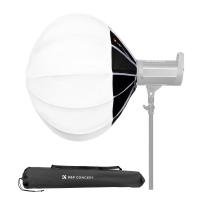
1. Softboxes:
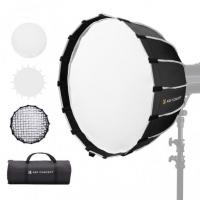
- Description: Softboxes are one of the most effective tools for creating soft light. They are designed to diffuse light through a large, diffusive surface enclosed in reflective material.
- How to Use: Attach the softbox to your flash or continuous lighting source. Position it close to the subject while adjusting the angle to ensure the light spreads evenly across the area you intend to illuminate.
2. Natural Light Diffusion:
- Utilize Overcast Weather: Cloudy skies act as a natural diffuser, spreading sunlight evenly and reducing shadows.
- Shoot in the Shade: Positioning your subject in shaded areas on bright, sunny days can help in avoiding harsh direct sunlight.
- Golden Hours: Shooting during early morning or late afternoon, when the sun is low in the sky, provides softer, warmer light.
3. Reflectors:
- Description: Reflectors bounce light back onto the subject, filling in shadows and creating a second light source that is softer.
- How to Use: Position a reflector opposite your main light source to fill in the shadows on the subject's face or body. Silver reflectors offer a brighter light, while white and gold reflectors provide softer, warmer tones.
4. Diffusion Panels:
- Description: These are translucent screens that can be placed between the light source and the subject to diffuse the light.
- How to Use: Simply hold or position the panel in front of the light source. They can be used either outdoors with natural light or in a studio setting.
5. Umbrellas:
- Description: Lighting umbrellas come in two types: shoot-through and reflective. Shoot-through umbrellas diffuse light through their translucent material, while reflective umbrellas bounce light back onto the subject.
- How to Use: For shoot-through umbrellas, position the light to shoot through the umbrella toward the subject. For reflective umbrellas, position the light to reflect off the umbrella toward the subject.
Camera Settings and Angles
Apart from manipulating light, camera settings and angles play a crucial role in achieving the desired soft light effect.
1. Aperture:
- Larger apertures (lower f-stop numbers) allow more light to enter the lens, contributing to a shallow depth of field and a softer, more diffused look.
2. ISO Settings:
- Keep your ISO setting low to avoid noise, which can create unwanted graininess. This is particularly important in soft light photography, where clarity and smoothness are key.
3. White Balance:
- Adjust your white balance settings to complement the softness of the light. Auto white balance can be effective, but manually adjusting it to suit the lighting conditions can yield better results.
4. Angles and Positioning:
- Position your camera to utilize the angle of light effectively. Side lighting often enhances textures softly, while front lighting illuminates the subject evenly, reducing shadows.
Practical Scenarios for Soft Light Photography
1. Portrait Photography:
- Position a softbox close to your subject at a 45-degree angle for Rembrandt lighting, which is flattering and creates a small, soft shadow under the opposite eye.
- Utilize a reflector to fill in shadows on the face, ensuring even and smooth illumination.
2. Still-Life and Product Photography:
- Use a light tent, which is a simple and effective way to create soft, diffused light around small objects.
- Position diffused lights on either side of the object to eliminate shadows and create a high-key image that highlights details without harsh contrast.
3. Indoor Natural Light:
- Position your subject near a large window with diffused light filtered through sheer curtains for a soft, even glow.
- Use additional reflectors to bounce window light onto any shadowy areas.
Post-Processing Techniques
Even after taking shots with optimal soft lighting, post-processing can accentuate the softness and aesthetic quality of your images.
1. Softening Shadows and Highlights:
- Use subtle adjustments in software like Adobe Lightroom or Photoshop to soften any remaining harsh shadows or highlights.
- Adjust the clarity and dehaze sliders gently to maintain softness without losing details.
2. Skin Smoothing Techniques:
- For portraits, use skin smoothing tools to further reduce any texture or blemishes while maintaining a natural look.
3. Color Correction:
- Ensure the light tones are consistent and warm by adjusting the color balance and temperature settings.
4. Vignettes:
- Applying slight vignettes can draw attention to the subject while maintaining a soft, focused look.
Conclusion
Mastering soft light photography involves understanding the interplay between light source, diffusion, camera settings, and post-processing. By experimenting with tools like softboxes, diffusers, reflectors, and natural light, you can achieve professional-quality images with a gentle, inviting aesthetic. Consistent practice and attention to detail will ensure that your photographs effectively capture the essence of soft light, elevating your work to new creative heights.















There are no comments for this blog.