How To Make Solar Filter For Lens?
The Ultimate Guide to Making a Solar Filter for Your Camera Lens
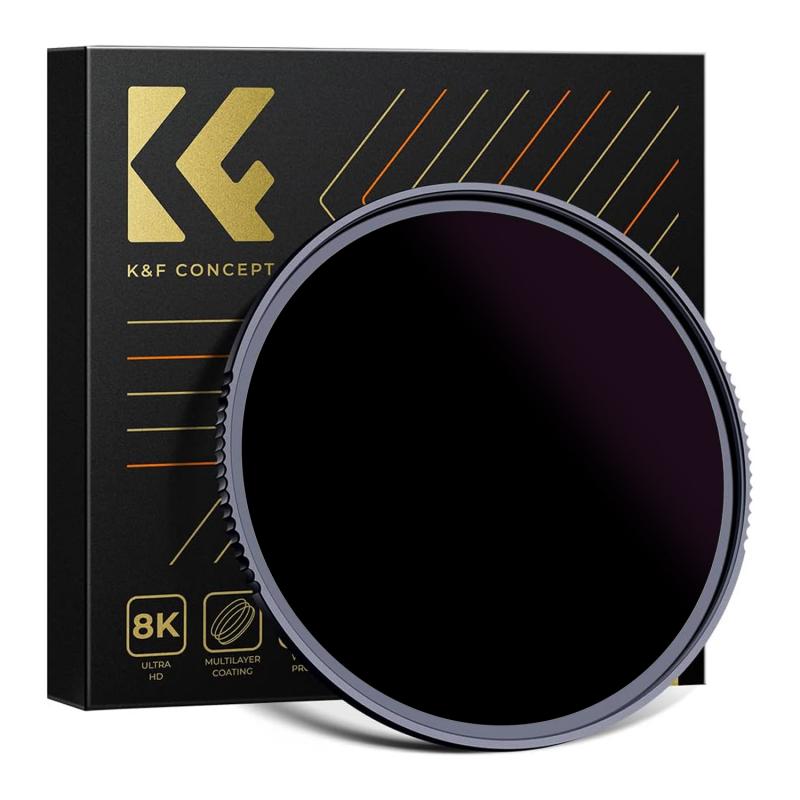
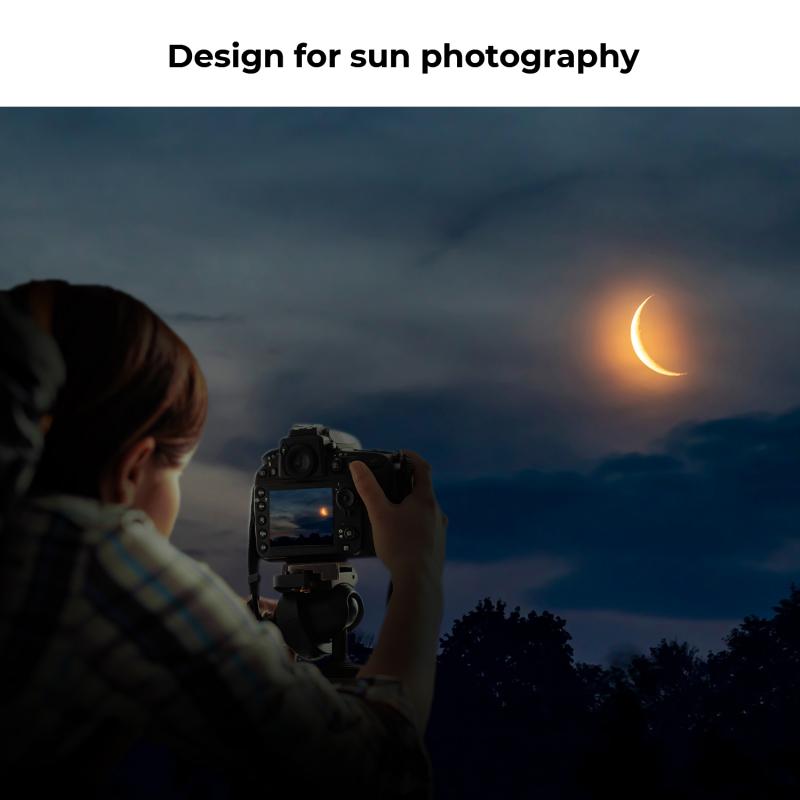
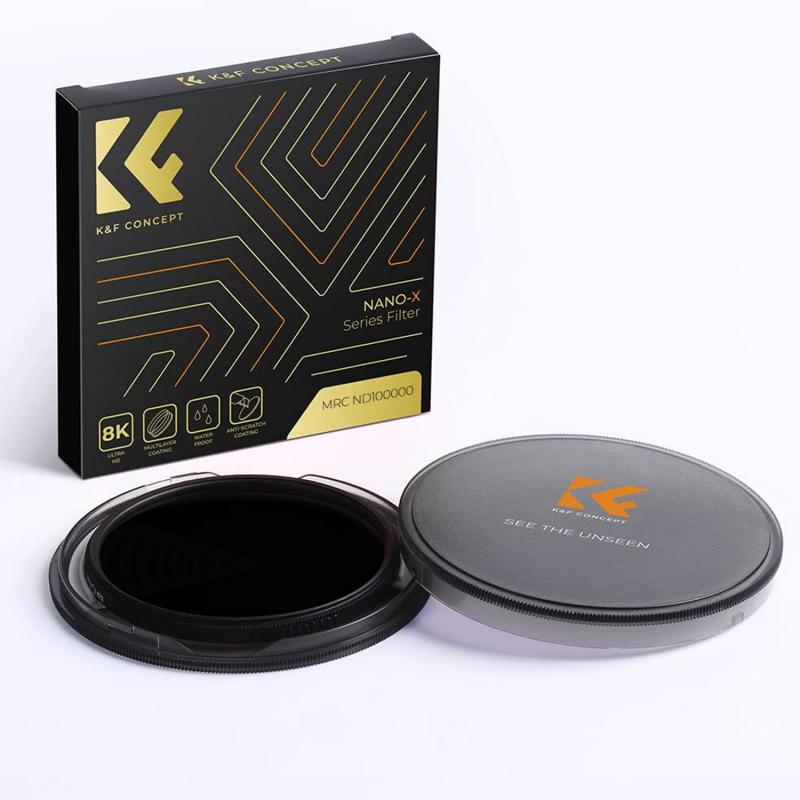
Capturing the stunning beauty of the sun is something that every photography enthusiast dreams about. Whether it's a solar eclipse or the radiant sun during a clear day, photographing the sun can offer some truly magnificent results. However, photographing the sun requires a special filter to protect both the camera and your eyes. This is where a DIY solar filter for your lens comes in handy. Here, we will discuss how you can create your solar filter, ensuring cost-effect-efficiency and customized to fit your specific lens.
Materials You Will Need:

1. Solar Viewing Film: This is the most crucial component. Ensure you go for a high-quality solar film that has been thoroughly tested for solar viewing.
2. Cardstock Paper or Foam Board: This will form the structure of your filter.
3. Craft Knife or Scissors: For cutting the cardstock or foam board.
4. Tape (Masking or Electrical): To secure the solar film and to assemble the filter.
5. Ruler and Compass or Circular Object: To measure and draw the necessary dimensions.
6. Glue (Optional): For additional support.
7. Elastic Band: If desired, for added security to hold the filter around the lens.
8. Marker: For labeling and alignment purposes.
Step-by-Step Instructions
Step 1: Measure Your Lens
The first thing you need to do is measure the diameter of your camera lens. This measurement will be crucial for creating the filter. You can either look at the lens itself where the diameter is usually marked (e.g., 52mm) or measure it with a ruler.
Step 2: Cut the Cardstock or Foam Board
Using the measurements you took in Step 1, create two circles on the cardstock or foam board. Draw one circle that matches your lens diameter and another larger circle, roughly double the diameter of your lens. This will ensure that the filter can easily slip over the lens without an exact fit issue.
Step 3: Cut Out the Circles
Using your craft knife or scissors, cut out both circles you drew on the cardstock or foam board. Be as precise as possible to maintain clean edges.
Step 4: Create the Filter Sandwich
Take a small piece of solar viewing film and cut it slightly larger than your lens diameter. To make this a bit more robust, you can use two layers of the solar film. Place the solar viewing film between the two pieces of cardstock or foam board you cut out in the previous step. Ensure that the film covers the smaller of the two circles entirely.
Step 5: Secure the Film
Using tape, carefully secure the solar viewing film between the two pieces of cardstock or foam board. Make sure it is evenly placed and taut, without any wrinkles. For added strength, you can use a thin layer of glue on the edges of the solar film before sealing it with tape.
Step 6: Attach the Filter to Your Lens
Take the completed filter and gently slip it over your lens. The larger circle will rest snugly around the outer edge of your lens. If it feels loose, you can use an elastic band to secure it. Ensure that the filter covers the lens entirely, with no gaps for light to seep through.
Step 7: Testing and Safety
Before photographing, make sure the filter is securely attached and that there are no visible defects in the solar film. Test the filter by taking a few test shots in a controlled environment and check for any light leaks or issues.
Pro Tips:
- Double Check the Alignment: Ensure that the filter is aligned correctly and covers the entire lens surface.
- Use High-Quality Solar Film: Don’t compromise on the quality of the solar viewing film. Low-quality film can be dangerous both for your camera sensor and your eyes.
- Avoid Looking Directly at the Sun: Even with a filter, do not look directly at the sun through your viewfinder. Use your camera’s live view mode instead.
Common Mistakes to Avoid:
1. Using Regular Film: Regular film is not safe for solar viewing and can cause permanent eye damage.
2. Improper Securing: Ensure the filter is snugly fit and has no loose parts. A poorly secured filter can fall off and expose the lens to direct sunlight.
3. Ignoring Test Shots: Always take test shots to ensure there are no light leaks or film defects that can ruin your photos or damage your camera.
Building your own solar filter can be an incredibly rewarding project for any photography enthusiast. Not only does it provide a cost-effective alternative to commercial filters, but it also allows for customization to fit your specific lens. By following the steps outlined above and taking necessary precautions, you can safely capture stunning solar images and enjoy a fascinating realm of photography that many shy away from.
Remember, safety is crucial when dealing with solar photography. Always use certified materials and double-check every step of your construction process. Take test shots to ensure the filter's effectiveness before using it for significant solar events like eclipses. Happy shooting!
By following this comprehensive guide, you'll be well on your way to creating durable, effective solar filters for your camera lens, enabling you to capture breathtaking images of the sun safely and affordably.









There are no comments for this blog.