How To Make Sound In Screen Recording?
Screen recording has become an essential part of today's digital ecosystem. Whether you are a content creator, an educator, an entrepreneur, or a tech enthusiast, the ability to produce high-quality screen recordings is invaluable. One of the most crucial aspects of a polished screen recording is capturing sound effectively. In this article, we will delve into the different ways to make sound in screen recordings, covering various operating systems and software options, and addressing both internal and external audio sources. By the end of this guide, you'll have a comprehensive understanding of how to enhance your screen recordings with clear and professional-sounding audio.
Understanding Audio Sources
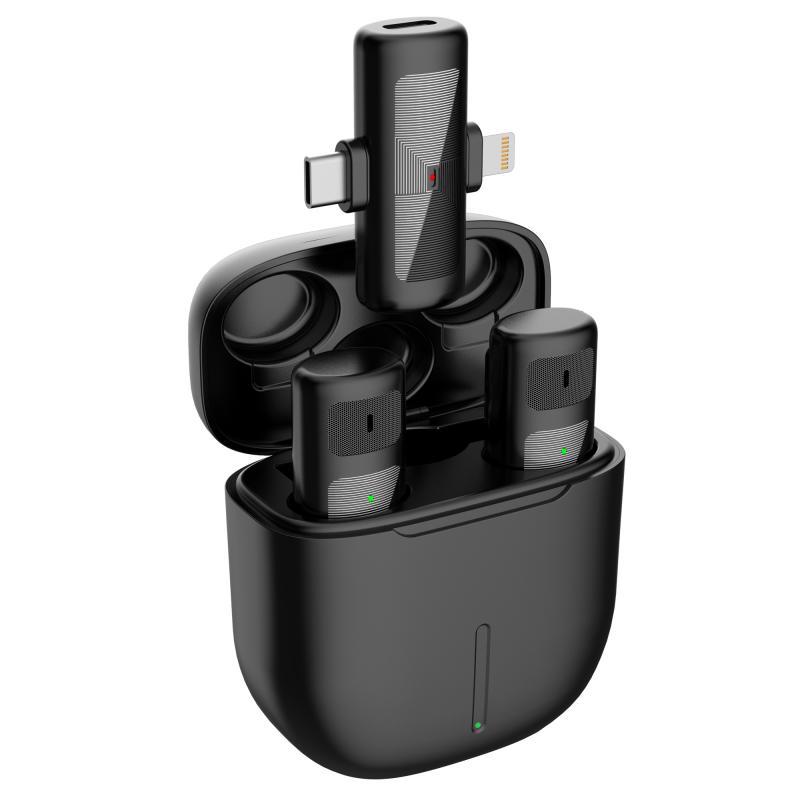
Before diving into the nitty-gritty, it’s essential to understand the two primary audio sources you may want to capture:
1. Internal Audio: Sounds generated by the system itself, such as application noises, system alerts, or in-app music.
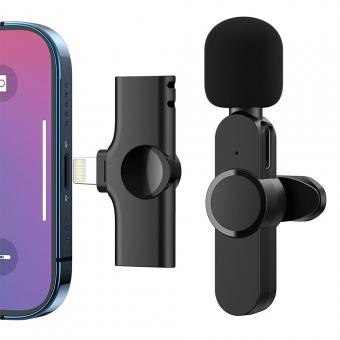
2. External Audio: Sounds captured from an external source, like a microphone, which may include voiceovers, narrations, or environmental sounds.
Screen Recording on Windows
For Windows users, built-in options and third-party software can help you capture both internal and external audio.
Built-in Tools
Xbox Game Bar
Windows 10 and later versions come with a built-in feature called Xbox Game Bar, which can capture both screen and sound:
1. Press `Win + G` to open Xbox Game Bar.
2. Click the Record button or press `Win + Alt + R` to start recording.
3. For external audio, ensure your microphone is selected and enabled by clicking the microphone icon.
*Pros*: It's free and pre-installed.
*Cons*: Limited to capturing full screens or active windows.
Third-Party Software
OBS Studio
OBS Studio is a free, open-source software capable of capturing high-quality video and audio recordings:
1. Download and install OBS Studio.
2. Go to Settings > Audio and configure your desired output and input devices.
3. Add a new Scene, then add Sources such as Display Capture, Audio Input Capture (for external audio), and Audio Output Capture (for internal audio).
4. Click Start Recording to begin.
*Pros*: Highly configurable, suitable for professional use.
*Cons*: Steeper learning curve.
Camtasia
Camtasia is a paid software that offers extensive features for screen recording and video editing:
1. Install and open Camtasia.
2. Click Record the screen.
3. Select your screen area, and in the audio settings, enable both Microphone and System Audio.
4. Start recording by pressing the Rec button.
*Pros*: User-friendly with powerful editing tools.
*Cons*: Expensive.
Screen Recording on macOS
For macOS users, both built-in tools and third-party options are available:
Built-in Tools
QuickTime Player
QuickTime Player is a versatile tool on macOS for capturing screen recordings with both internal and external audio:
1. Open QuickTime Player and select File > New Screen Recording.
2. Click the dropdown arrow next to the record button to select a microphone for external audio.
3. For capturing internal audio, you may need additional software like Soundflower.
*Pros*: Free and easy to use.
*Cons*: Limited to rudimentary features.
Third-Party Software
ScreenFlow
ScreenFlow is a premium software designed to capture high-definition screen recordings and audio:
1. Install and launch ScreenFlow.
2. Start a New Screen Recording.
3. In the configuration settings, ensure both Record Computer Audio and Record Microphone are enabled.
4. Start the recording.
*Pros*: Robust features and high-quality output.
*Cons*: Expensive.
Camtasia for Mac
Similar to its Windows counterpart, Camtasia for Mac offers extensive recording and editing capabilities:
1. Select Record within Camtasia.
2. Configure the recording area, and ensure both Microphone and System Audio are enabled.
3. Click Start Recording.
*Pros*: Easy-to-use, all-in-one solution.
*Cons*: Pricey.
Screen Recording on Mobile Devices
Screen recording on mobile devices like Android and iOS is increasingly common. Here’s how to incorporate sound effectively:
iOS Devices
Built-in Tool
iOS 11 and later versions come with a built-in screen recording tool which can capture external audio:
1. Go to Settings > Control Center and add Screen Recording to your Control Center.
2. Open the Control Center and long-press the Screen Recording button.
3. Ensure Microphone Audio is on to capture external sound.
4. Tap Start Recording.
*Pros*: Free and straightforward.
*Cons*: Cannot capture internal audio without third-party apps.
Android Devices
Built-in Tool
Recent Android versions have built-in screen recording capabilities:
1. Swipe down to access the Quick Settings panel and select Screen Record.
2. Configure settings to include audio from either a microphone or device.
3. Start recording.
*Pros*: Simple and free.
*Cons*: Audio capture settings can vary by device manufacturer.
Third-Party Apps
AZ Screen Recorder
AZ Screen Recorder is a highly regarded app for capturing screen recordings on Android devices:
1. Install AZ Screen Recorder from the Google Play Store.
2. Open the app and configure audio settings to capture either internal or external audio.
3. Tap the Record button.
*Pros*: Flexible and feature-rich.
*Cons*: Ads in the free version.
Best Practices for High-Quality Audio
Regardless of the method you choose, adhering to some best practices will ensure your audio quality is top-notch:
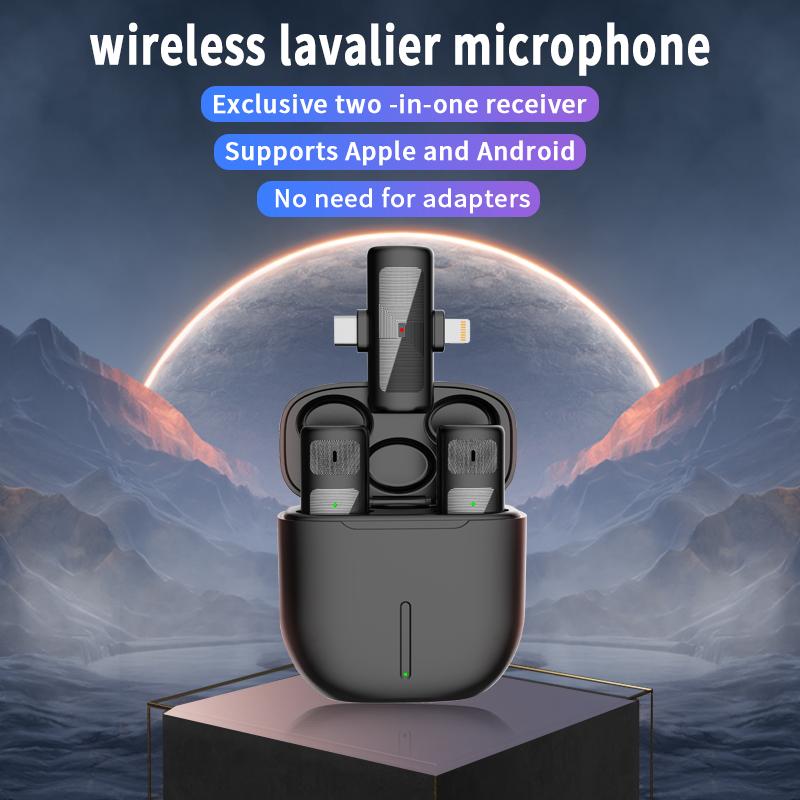
1. Use Quality Microphones: Invest in a good external microphone for clear voice recordings.
2. Minimize Background Noise: Record in a quiet environment to avoid unwanted noise.
3. Adjust Audio Levels: Before recording, test and adjust sound levels to avoid distortion or low volume.
4. Post-Processing: Use editing software to clean and enhance audio tracks after recording.
Sound is a crucial component of any screen recording, elevating the viewer's experience and enhancing the clarity of your content. Whether you are using built-in tools, third-party software, or mobile apps, there are multiple ways to incorporate high-quality audio into your screen recordings. By understanding your options and following best practices, you can create professional and engaging recordings that effectively communicate your message.

