How To Make Wifi Camera At Home?
Creating a DIY WiFi camera at home can be an engaging and educational project for tech enthusiasts. With the rising interest in home surveillance, hobbyist electronics, and the Internet of Things (IoT), knowing how to convert an old smartphone or a Raspberry Pi into a working WiFi camera can come in handy. This article will navigate you through the process, helping you understand the necessary tools, software, and steps involved. By the end of this guide, you'll have a functioning WiFi camera that you built yourself.
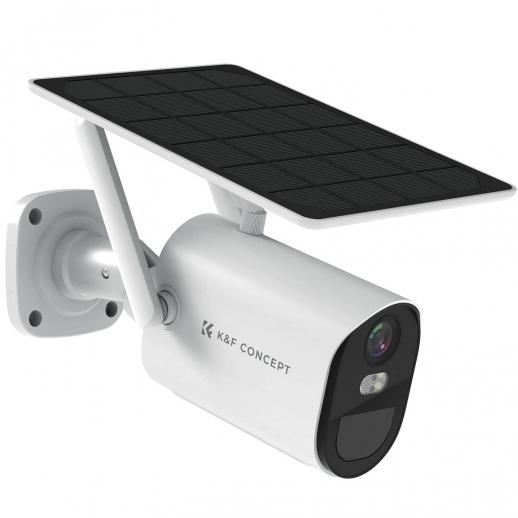
Why Build a WiFi Camera?
Before delving into the creation process, it's crucial to comprehend why one might choose to build a WiFi camera. It can serve various purposes, such as:
1. Home Security: Monitor your property when you're away.
2. Baby Monitor: Keep an eye on your infant while in another room.
3. Pet Surveillance: Watch your pets during work hours.
4. Education: Experiment and learn more about electronics and networking.
These benefits make this project attractive and practical for various users.
Tools and Materials Needed
For a Smartphone-Based WiFi Camera:
1. Old Smartphone: Preferably one with a decent camera and WiFi capabilities.
2. Charging Cable and Adapter: To keep the phone powered at all times.
3. Phone Stand or Tripod: For stable mounting.
4. WiFi Network: A stable home WiFi connection.
For a Raspberry Pi-Based WiFi Camera:
1. Raspberry Pi (any model with WiFi capability): Raspberry Pi 3B+ or 4 preferred.
2. Camera Module: Raspberry Pi Camera Module or any USB webcam.
3. MicroSD Card: At least 8GB, preloaded with Raspbian OS.
4. Power Adapter: Appropriate for your Raspberry Pi model.
5. WiFi Network: A stable home WiFi connection.
6. Case and Mounting Accessories: To securely mount the Raspberry Pi and camera.
Steps to Create a Smartphone-Based WiFi Camera
1. Install a Camera App:
Download a reliable IP camera app from the app store. Some popular options are Alfred, AtHome Camera, and IP Webcam.
2. Configure the App:
Open the app and follow the setup instructions. Typically, you will need to create an account, configure the camera settings, and ensure it is connected to your WiFi network.
3. Mount the Smartphone:
Secure your old smartphone on a stand or tripod, placing it in the desired monitoring location. Ensure it is connected to a power source to avoid interruptions.
4. Access the Camera Feed:
Use a secondary device (another smartphone, tablet, or computer) to access and view the camera feed through the app’s platform. Most apps allow remote viewing via a web interface or another instance of the app.
Steps to Create a Raspberry Pi-Based WiFi Camera
1. Set Up the Raspberry Pi:
Flash the Raspbian OS onto your MicroSD card using a tool like Balena Etcher. Insert the MicroSD card into your Raspberry Pi, connect it to a monitor, keyboard, and mouse, and power it up.
2. Connect to WiFi:
During the Raspbian setup process, connect your Raspberry Pi to your WiFi network.
3. Install Camera Software:
There are various software options to turn your Raspberry Pi into a WiFi camera. MotionEyeOS is a popular and user-friendly option.
To install MotionEyeOS, open the terminal and execute the following commands:
```
sudo apt update
sudo apt install motion
```
4. Configure the Camera:
Connect your camera module or USB webcam to the Raspberry Pi. Open a web browser and enter the IP address of your Raspberry Pi followed by port number 8765 (for MotionEyeOS): `http://
5. Adjust Settings:
Configure the camera settings, including resolution, frame rate, and storage options. Ensure the camera feed is smooth, and test its functionality.
6. Mount and Power:
Secure the Raspberry Pi and camera module in an appropriate case or mount. Place it in the desired location and ensure it remains connected to power.
Comparing Both Methods
1. Ease of Setup:
- Smartphone-Based: Generally easier and faster to set up, only requiring app installation and basic configuration.
- Raspberry Pi-Based: More complex, involving OS installation, camera software configuration, and sometimes more troubleshooting.
2. Cost:
- Smartphone-Based: Could be free if you have an old smartphone.
- Raspberry Pi-Based: Costs vary depending on whether you already have a Raspberry Pi and necessary components. Estimated cost: $50 - $100.
3. Flexibility and Customization:
- Smartphone-Based: Limited customization options, mostly determined by the app used.
- Raspberry Pi-Based: Highly customizable, with potential for advanced features and integrations.
4. Learning Opportunity:
- Smartphone-Based: Minimal learning involved.
- Raspberry Pi-Based: Opportunities to learn about Linux, networking, and electronics.
Troubleshooting Tips
1. Connection Issues:
- Ensure your WiFi network is stable and devices are within range.
- Verify that the IP address or web interface URL is correctly entered.
2. Power Problems:
- Use reliable power sources to avoid interruptions.
- Consider battery backups for critical monitoring setups.
3. Camera Quality:
- Adjust the camera resolution and frame rate settings.
- Ensure lenses are clean and unobstructed.
4. Software Bugs:
- Keep your apps and software updated to the latest versions.
- Refer to online forums and support communities for specific issues.
Building your own WiFi camera at home can be a fulfilling project, providing practical benefits like enhanced home security or pet monitoring while also serving as a valuable learning experience. Whether you opt for a smartphone-based setup for quick deployment or a Raspberry Pi-based configuration for greater flexibility and customization, the process can be adapted to your skills and resources.
By following this guide, you should be able to create a functional DIY WiFi camera tailored to your specific needs. Engaging in such tech projects not only enhances your understanding of modern technologies but also empowers you with the skillset to tackle more complex DIY electronics projects in the future. Happy crafting!















There are no comments for this blog.