How To Make Wireless Camera Screen?
Creating a wireless camera screen can be a rewarding project, whether you're looking to enhance your home security system, set up a baby monitor, or simply enjoy the convenience of wireless technology. This article will guide you through the process, from understanding the basic components to assembling and configuring your wireless camera screen. By the end of this guide, you'll have a functional wireless camera screen tailored to your specific needs.
Understanding the Components

Before diving into the assembly process, it's crucial to understand the key components required for a wireless camera screen:
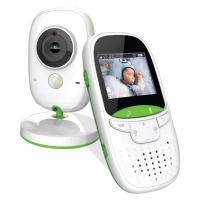
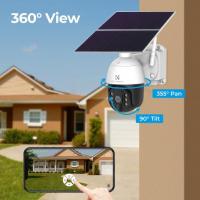
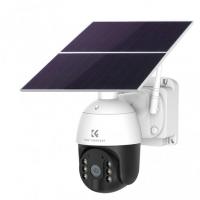
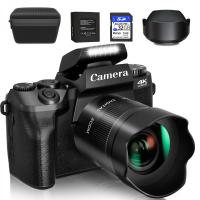
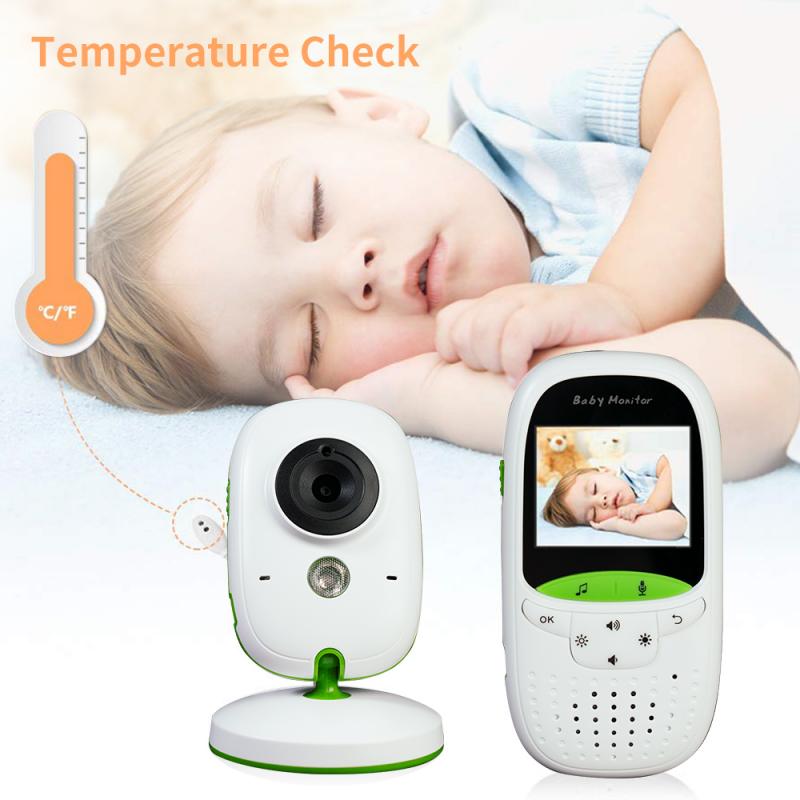
1. Wireless Camera: This is the primary device that captures video footage. Wireless cameras come in various types, including IP cameras, Wi-Fi cameras, and more. Choose one that suits your requirements in terms of resolution, night vision, and other features.
2. Display Screen: This is where the video feed from the camera will be displayed. It can be a dedicated monitor, a smartphone, a tablet, or even a computer screen.
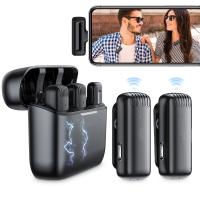
3. Wireless Transmitter and Receiver: These devices facilitate the wireless transmission of video signals from the camera to the display screen. Some modern cameras have built-in transmitters, while others may require external ones.
4. Power Supply: Both the camera and the display screen will need a reliable power source. This could be batteries, a power adapter, or a combination of both.
5. Software/Application: To view the camera feed on your display screen, you'll need compatible software or an application. Many wireless cameras come with their own apps, but there are also third-party options available.
Step-by-Step Guide to Making a Wireless Camera Screen
Step 1: Choose the Right Wireless Camera

Selecting the right wireless camera is the first and most crucial step. Consider the following factors:
- Resolution: Higher resolution cameras provide clearer images. A minimum of 720p is recommended, but 1080p or higher is preferable for better clarity.
- Field of View: Determine the area you want to monitor and choose a camera with an appropriate field of view.
- Night Vision: If you need to monitor an area in low light conditions, opt for a camera with night vision capabilities.
- Connectivity: Ensure the camera supports Wi-Fi or the wireless protocol you plan to use.
Step 2: Select a Suitable Display Screen
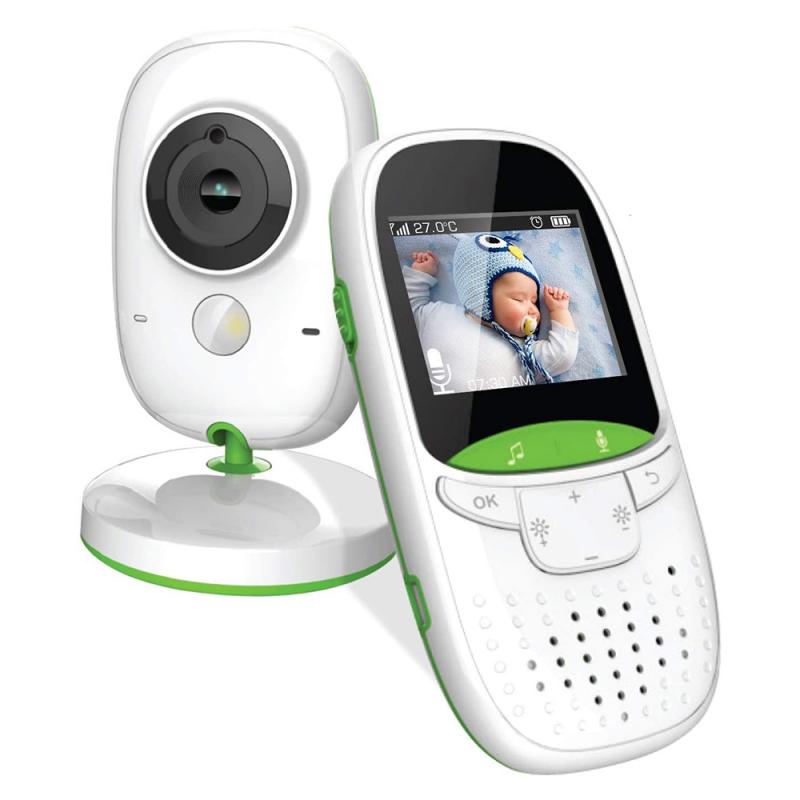
Your choice of display screen will depend on your preferences and the intended use of the wireless camera screen. Options include:
- Dedicated Monitor: Ideal for a permanent setup, such as a home security system.
- Smartphone/Tablet: Offers flexibility and portability. Most modern wireless cameras have apps compatible with iOS and Android devices.
- Computer Screen: Suitable for those who prefer viewing the feed on a larger screen. Many cameras offer web-based interfaces accessible via a browser.
Step 3: Set Up the Wireless Transmitter and Receiver
If your camera does not have a built-in wireless transmitter, you'll need to set up an external one. Follow these steps:
1. Connect the Transmitter to the Camera: Use the appropriate cables to connect the transmitter to the camera's video output.
2. Power the Transmitter: Ensure the transmitter is powered using a suitable power source.
3. Place the Receiver Near the Display Screen: Connect the receiver to the display screen using the necessary cables.
4. Power the Receiver: Ensure the receiver is powered and within the transmission range of the transmitter.
Step 4: Power the Camera and Display Screen
Ensure both the camera and the display screen have a reliable power source. If using batteries, check that they are fully charged. For power adapters, ensure they are properly connected to a power outlet.
Step 5: Install and Configure the Software/Application
To view the camera feed on your display screen, you'll need to install the appropriate software or application. Follow these steps:
1. Download the App: If using a smartphone or tablet, download the camera's app from the App Store or Google Play Store. For computers, download the software from the camera manufacturer's website.
2. Create an Account: Some apps require you to create an account. Follow the on-screen instructions to set up your account.
3. Add the Camera: Open the app and follow the instructions to add your camera. This usually involves scanning a QR code on the camera or entering the camera's unique ID.
4. Configure Settings: Adjust the camera settings according to your preferences. This may include setting up motion detection, adjusting the resolution, and configuring alerts.
Step 6: Test the Setup
Once everything is set up, it's time to test your wireless camera screen:
1. Check the Video Feed: Ensure the video feed is clear and stable on your display screen.
2. Test the Range: Move the camera and display screen to different locations to test the wireless range. Ensure the signal remains strong and the video feed is uninterrupted.
3. Adjust Settings: Fine-tune the camera settings as needed to optimize performance.
Troubleshooting Common Issues
Even with careful setup, you may encounter some common issues. Here are a few troubleshooting tips:
- Weak Signal: If the video feed is choppy or the signal is weak, try moving the camera and receiver closer together. Ensure there are no large obstacles or electronic devices causing interference.
- No Video Feed: Check all connections and ensure the camera and receiver are powered on. Verify that the camera is properly added to the app or software.
- Poor Image Quality: Adjust the camera's resolution settings. Ensure the camera lens is clean and free from obstructions.
Enhancing Your Wireless Camera Screen
To further enhance your wireless camera screen setup, consider the following tips:
- Use a Range Extender: If you need to cover a larger area, consider using a Wi-Fi range extender to boost the signal.
- Secure Your Network: Ensure your Wi-Fi network is secure to prevent unauthorized access to your camera feed. Use strong passwords and enable encryption.
- Regular Maintenance: Periodically check the camera and display screen for any issues. Keep the software and firmware updated to ensure optimal performance.
Creating a wireless camera screen is a practical and rewarding project that can enhance your security and convenience. By carefully selecting the right components and following the setup steps, you can achieve a reliable and efficient wireless camera screen tailored to your needs. Whether for home security, monitoring a baby, or any other purpose, this guide provides the essential knowledge to get you started. Happy monitoring!

