How To Make Your Own Camera Case?
Creating your own camera case can be a fulfilling and practical project that not only protects your valuable camera equipment but also allows for a personalized touch. Whether you're a professional photographer or an avid hobbyist, having a custom camera case ensures that your gear is stored safely while reflecting your style and preferences. This article will guide you through the detailed process of making your own camera case, from gathering materials to finishing touches, addressing common concerns, and tips for customization.
Understanding Your Needs and Planning Your Design
1. Assessing Your Camera and Accessories:
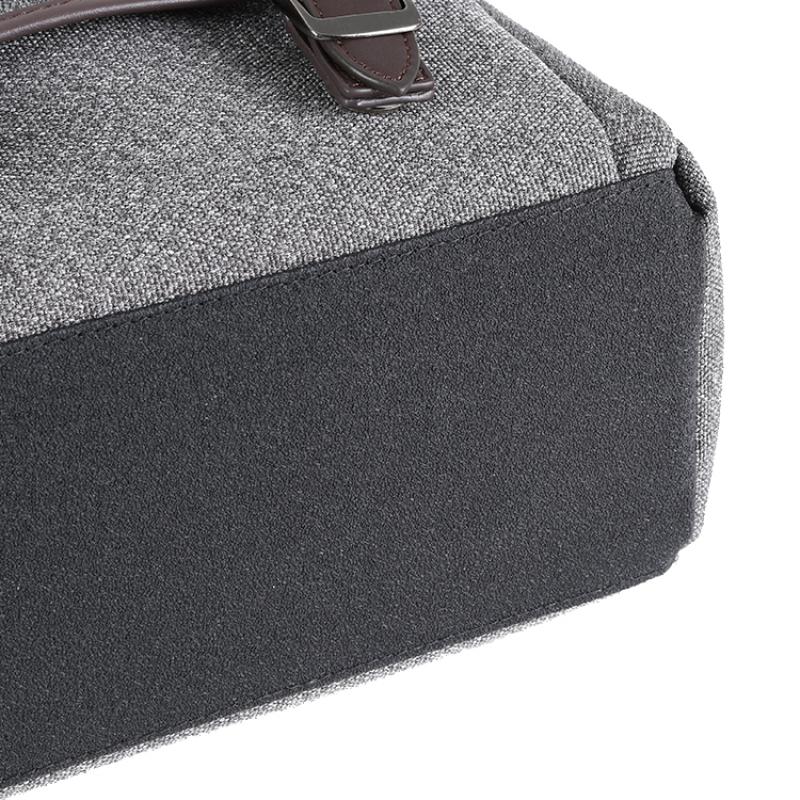
Before diving into the creation process, it’s crucial to understand what you need to accommodate in your camera case. Consider the size and shape of your camera, as well as any additional accessories you regularly use, such as lenses, memory cards, batteries, and tripods. Measure your camera and accessories to determine the interior dimensions required for your camera case.
2. Deciding on the Type of Case:
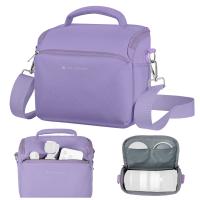
Camera cases can range from hard-shell cases for maximum protection to soft, padded cases for easier portability. Decide whether you need a hard case that offers robust protection for outdoor shoots or a soft case that is lightweight and convenient for cityscapes or studio work.
3. Sketching Your Design:
Create a rough sketch of your camera case design. This sketch should include compartments for each accessory. Think about the placement of dividers, padding, and any additional pockets you might need. Drawing out your design helps in visualizing the final product and is a useful reference during the building process.
Gathering Materials
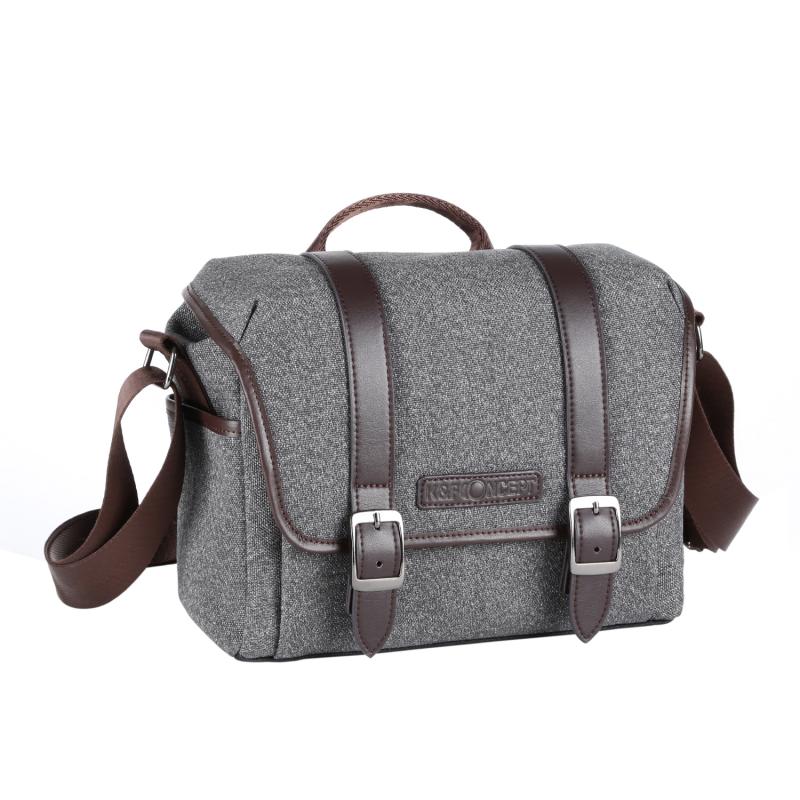
The materials you choose will largely depend on your design and the type of case you’re making. Here are some commonly used materials for both hard and soft camera cases:
1. Hard Case Materials:
- Heavy-duty plastic or metal for the outer shell
- Foam padding for shock absorption
- Fabric for lining the inside
2. Soft Case Materials:
- Durable fabric like nylon or canvas for the exterior
- Soft fabric like microfiber or fleece for the interior lining
- High-density foam for padding
3. Tools and Supplies:
- Measuring tape or ruler
- Scissors or a utility knife
- Sewing machine or needle and thread (for soft cases)
- Glue (for attaching foam padding)
- Zippers, Velcro, or other fasteners
Step-by-Step Construction Process
1. Cutting the Materials:
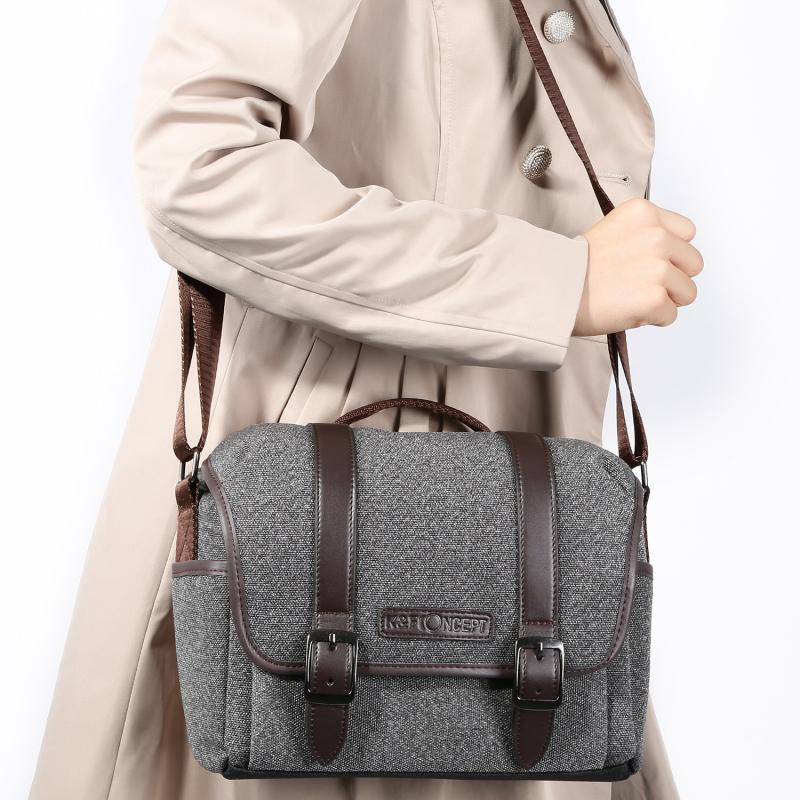
Start by cutting out the pieces for the outer shell of your case according to the dimensions you’ve measured. If you're making a hard case, this means cutting the panels of plastic or metal. For a soft case, cut out the fabric for the main body, top, and any side pockets.
2. Preparing the Padding:
Cut foam padding to fit the interior dimensions of your case. Foam padding generally comes as a solid sheet, which you can cut down to size and fit into your case. For added protection, consider using multiple layers of foam. Attach the foam padding to the inside walls of your hard case using adhesive. For a soft case, sew the foam padding to the fabric pieces before assembling the case.
3. Assembling the Outer Shell:
- Hard Case:
- Secure the panels together using screws or adhesive to form the box of your case.
- Attach hinges for the opening mechanism.
- Add latches or locks to secure the case when closed.
- Soft Case:
- Begin by sewing the main body pieces together.
- Stitch the zippers or Velcro onto the fabric for the opening.
- Assemble the case by sewing the edges while ensuring the foam padding remains secure within the lining.
4. Creating Compartments:
To organize your gear efficiently, create compartments within the case using extra pieces of foam or fabric dividers. Measure and cut these dividers to fit your specific gear, and attach them securely. In hard cases, use Velcro strips to make the dividers adjustable.
5. Adding Pockets and Final Touches:
For additional storage, sew or attach pockets to the exterior or interior of your case. These pockets can hold smaller accessories such as memory cards, batteries, or lens cleaning kits. Customize the case with extra features like handles, shoulder straps, or personalization with initials or logos.
Practical Considerations
1. Weatherproofing:
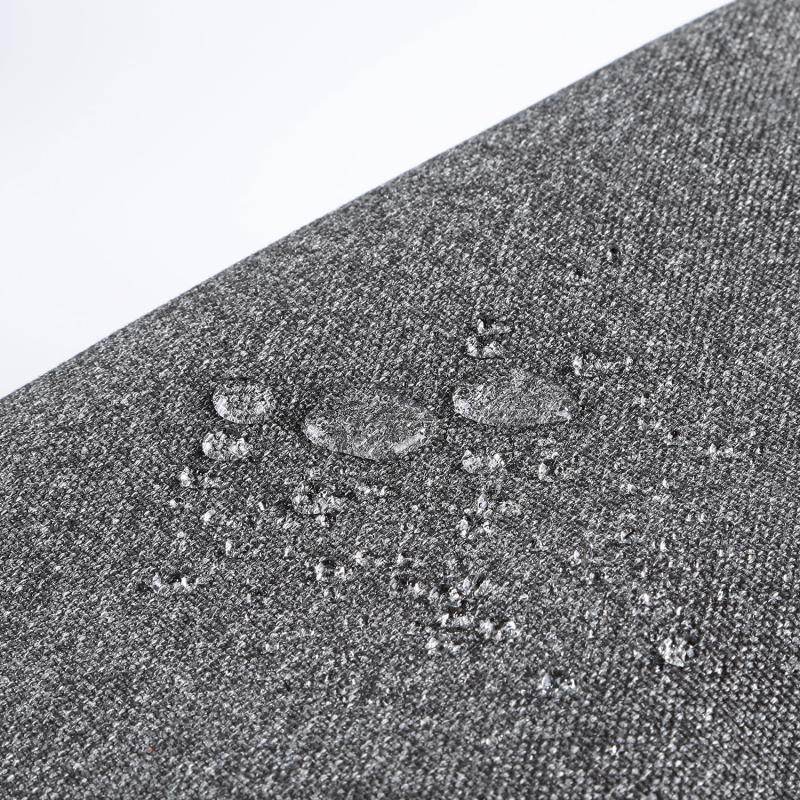
If you plan to use your camera case outdoors, consider adding weatherproofing. For hard cases, this might involve sealing seams with silicone. For soft cases, you can apply a water-resistant spray to the fabric exterior.
2. Weight and Portability:
Keep the weight of the final product in mind. Balancing durability with portability is crucial, especially for travel. Thinner layers of foam can be used in areas that require less protection to save on weight.
3. Versatility:
Design your case to be versatile; you might acquire new gear in the future that will also need to fit. Opt for a slightly larger case than necessary and use removable dividers to accommodate different setups.
Tips and Tricks for Customization
1. Modular Design:
Design your case to be modular. Using Velcro or snaps for dividers allows them to be moved or removed entirely depending on your needs.
2. Extra Padding:
Sensitive areas, particularly around the lens and camera body, should have extra padding. Consider layering foam or using bubble wrap for extra protection.
3. Contrast Lining:
Use a bright or contrasting color for the interior lining. This makes smaller items easier to spot and gives the case a professional look.
Common Issues and Solutions
1. Uneven Edges:
If the edges of your case are not even, use a file or sandpaper to smooth them out for hard cases. For soft cases, trim any excess fabric before sewing the final seams.
2. Weak Seams:
For both hard and soft cases, weak seams can compromise protection. Double-stitch and reinforce the seams, particularly around high-stress areas like the corners and the opening.
3. Zippers Getting Stuck:
Prevent zippers from sticking by applying a bit of wax or using a zipper lubricant. Ensure that the zipper is high quality and appropriately sized for the case.
Building your own camera case is a rewarding task that combines practicality with personal creativity. It not only ensures that your valuable camera equipment is well-protected but also allows you to have a unique piece that reflects your style. By carefully assessing your needs, choosing the right materials, and paying attention to detail during construction, you can create a custom camera case that meets all your requirements. Happy crafting!













There are no comments for this blog.