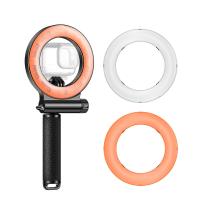
How To Make Your Own Circle Light?
Creating your own circle light, also known as a ring light, can be a cost-effective and satisfying project. Whether you need it for photography, videography, makeup application, or online meetings, a homemade ring light can provide you with even, shadow-free lighting. In this article, I’ll guide you through a couple of methods to make a circle light using materials you may already have at home. Let’s break down the process into manageable steps, exploring both the methods and the necessary precautions and tips to achieve professional-quality results.
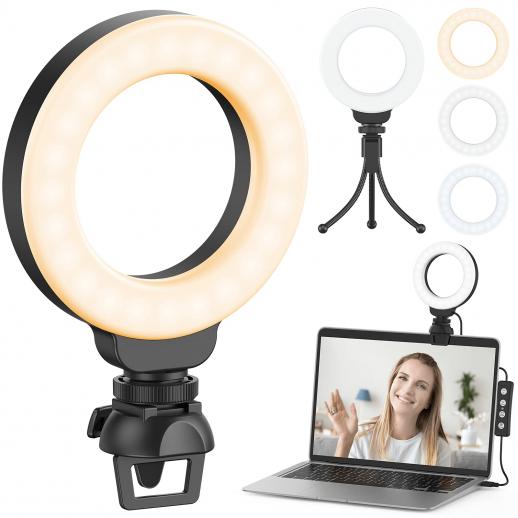
Understanding the Background
Before we dive into the step-by-step guide, it's essential to grasp why circle lights are so effective. A ring light works by providing uniform lighting around the subject, minimizing shadows and highlighting the primary focus area evenly. They are particularly advantageous in portrait photography and videography as they create an appealing catchlight in the eyes, adding depth and interest to the shot.
Materials You Will Need
While you can make a ring light using various methods, let’s consider two primary approaches: using LED strip lights or fairy lights. Below are the materials required for each method:
Method 1: Using LED Strip Lights
- LED strip lights (preferably with adhesive backing)
- A circular base (such as a Styrofoam wreath or embroidery hoop)
- Cardboard or plywood for backing (if using an embroidery hoop)
- Aluminum foil (optional)
- Power supply for LED strips
- Hot glue gun and glue sticks
- Scissors or a craft knife
Method 2: Using Fairy Lights
- String of fairy lights (preferably with battery pack)
- Circular base (Styrofoam wreath or embroidery hoop)
- Electrical tape
- Zip ties or twist ties
- Hot glue gun and glue sticks
- Scissors or a craft knife
Step-by-Step Instructions
Method 1: Using LED Strip Lights
Step 1: Prepare the Base
Begin with your circular base – an embroidery hoop or Styrofoam wreath. If you’re using an embroidery hoop, cut a backing out of cardboard or plywood that fits snugly within the hoop and attach it securely using glue or tape. This backing will provide support for the LED strips.
Step 2: Apply Aluminum Foil (Optional)
Cover your circular base with aluminum foil. This step is optional but can help to reflect light and amplify the brightness of your ring light.
Step 3: Attach the LED Strip Lights
Starting from one point on the base, attach the LED strip lights, moving in a circular pattern until the entire base is covered. Most LED strips come with an adhesive backing, making it easy to attach them to the base directly. Ensure that the light strips are evenly spaced and tightly coiled to avoid gaps.
Step 4: Power the LED Strips
Connect the LED strips to a power source. Most LED strips come with connectors that can be easily attached to an adapter or battery pack. Test the lighting before proceeding to ensure that the LEDs are working correctly.
Method 2: Using Fairy Lights
Step 1: Prepare the Base
Choose your circular base – either an embroidery hoop or Styrofoam wreath. If using an embroidery hoop, you may need to cut and attach a backing as described in Method 1.
Step 2: Attach the Fairy Lights
Wrap the fairy lights around the base snugly, ensuring even spacing. Use electrical tape at intervals to secure the fairy lights to the base. This will ensure they stay in place and provide uniform lighting.
Step 3: Secure the Battery Pack
Attach the battery pack of the fairy lights to the back of the base using electrical tape or zip ties. Ensure the pack is accessible for an easy battery change.
Step 4: Test the Lights
Turn on the fairy lights and check for uniformity and even distribution around the base. Adjust as necessary to ensure an even light spread.
Tips for Professional Results
1. Light Temperature: Consider the color temperature of your LEDs or fairy lights. Daylight-balanced LEDs (around 5500K) are ideal for most photography and videography applications as they mimic natural sunlight.
2. Diffusion: For a softer light, consider adding a layer of diffusion material like a white plastic sheet or parchment paper over the ring light. This will help to diffuse the light and reduce harsh shadows.
3. Power Management: Ensure your power source is stable. For prolonged usage, if you’re using a battery pack, keep spare batteries handy, or consider using an AC adapter for LED strips designed for this purpose.
4. Mounting the Ring Light: If you plan to use the ring light with a camera or smartphone, consider mounting it on a stand or tripod to keep it stable and at the right height and angle.
Applications and Uses
Once your ring light is complete, you’ll find it invaluable in various scenarios. Here are some practical applications:
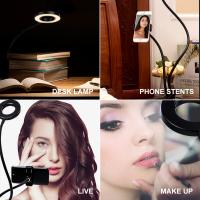
- Photography: Use the ring light to illuminate subjects evenly, making it perfect for portrait and macro photography.
- Videography: Enhance video quality by reducing shadows and providing consistent lighting, essential for tutorials, vlogs, or live streams.
- Makeup Application: Achieve precise and even lighting for makeup application, ensuring colors are true to life.
- Video Conferencing: Improve your appearance on video calls by providing good facial illumination, making you look professional on every call.
Creating your own circle light is a straightforward and highly rewarding project. By utilizing either LED strip lights or fairy lights, you can produce a versatile lighting tool that enhances the quality of your photos, videos, and everyday applications. The key to success lies in the even distribution of light and the secure attachment of materials.
Remember, the customization options are endless. You can tweak the design according to your specific needs, such as adding color filters or integrating dimming functionalities. With the steps and tips discussed, you can create a professional-quality ring light that meets your needs at a fraction of the cost. Happy crafting!


