How To Make Your Own Hidden Camera Detector?
In today's technology-driven world, maintaining personal privacy has become increasingly challenging. With the proliferation of hidden cameras in public spaces, hotels, and even private residences, the need for a reliable method to detect these intrusive devices has never been more crucial. This article explores practical steps to create your own hidden camera detector, enabling you to safeguard your privacy effectively. We will cover the materials you need, the assembly process, and some practical tips for using your newly built detector.
## Understanding Hidden Cameras and Their Detection
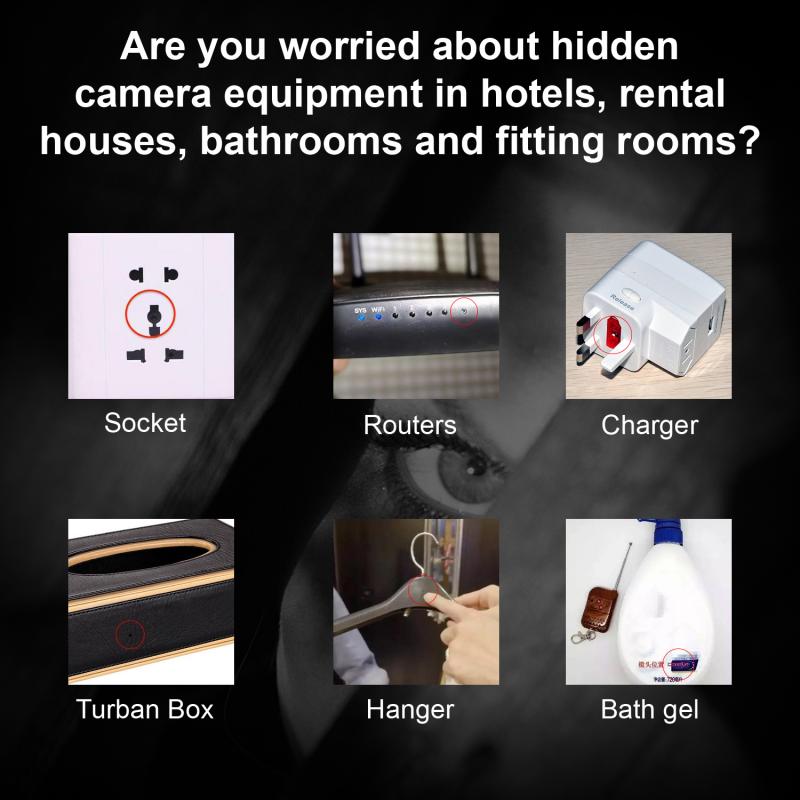
Before diving into the construction of your hidden camera detector, it's essential to understand the types of hidden cameras and how they operate. Hidden cameras are typically tiny cameras concealed within everyday objects such as clocks, smoke detectors, or phone chargers. They can capture both audio and visual information without your knowledge.
Types of Hidden Cameras:
1. Wired Cameras: These cameras are connected to a recording device or monitor via cables.
2. Wireless Cameras: These transmit video and audio data wirelessly to a receiver.
3. Self-Recording Cameras: They store data on a memory card or internal storage, which can be retrieved later.
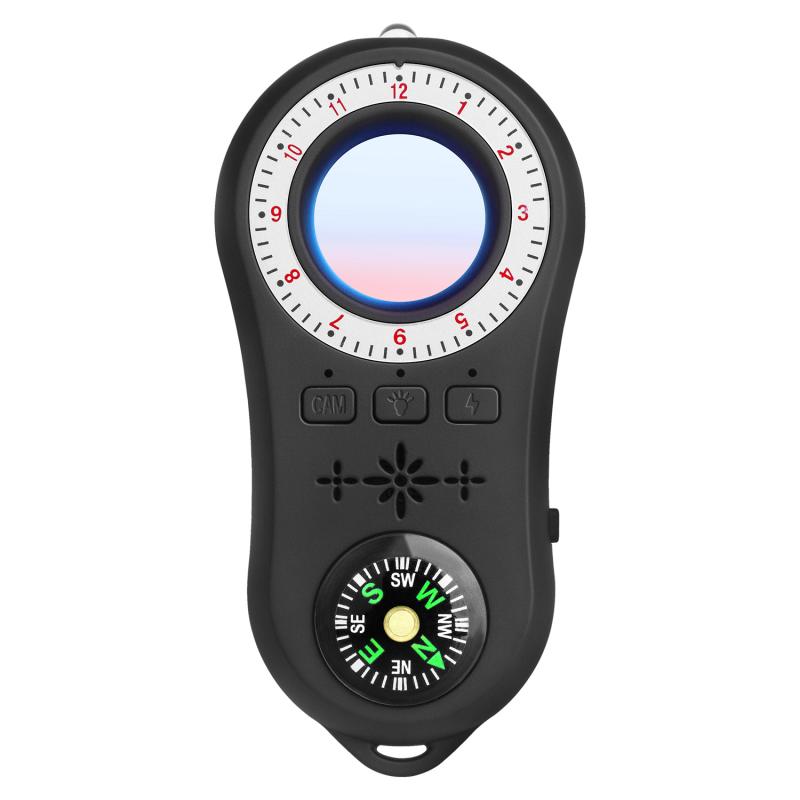
Given their stealth nature, hidden cameras can be challenging to detect. However, most hidden cameras emit a certain amount of electromagnetic radiation or have reflective lenses that can be picked up with the right tools.
## Materials Needed for Your Hidden Camera Detector
To build an effective hidden camera detector, you will need the following materials:
1. Infrared (IR) LED Light Source: Many hidden cameras have IR filters that reflect IR light. An IR LED can help in locating these cameras.
2. IR-sensitive CCD Camera: A camera sensitive to IR light, such as a smartphone camera or a webcam with its IR filter removed, can detect IR reflections.
3. Power Source: Batteries to power the IR LED light source.
4. Switch: To turn the IR LED light source on and off.
5. Housing: A small box or casing to house the components.
6. Wires and Connectors: For connecting the components safely.
## Step-by-Step Guide to Building Your Hidden Camera Detector
Step 1: Prepare the IR LED Light Source
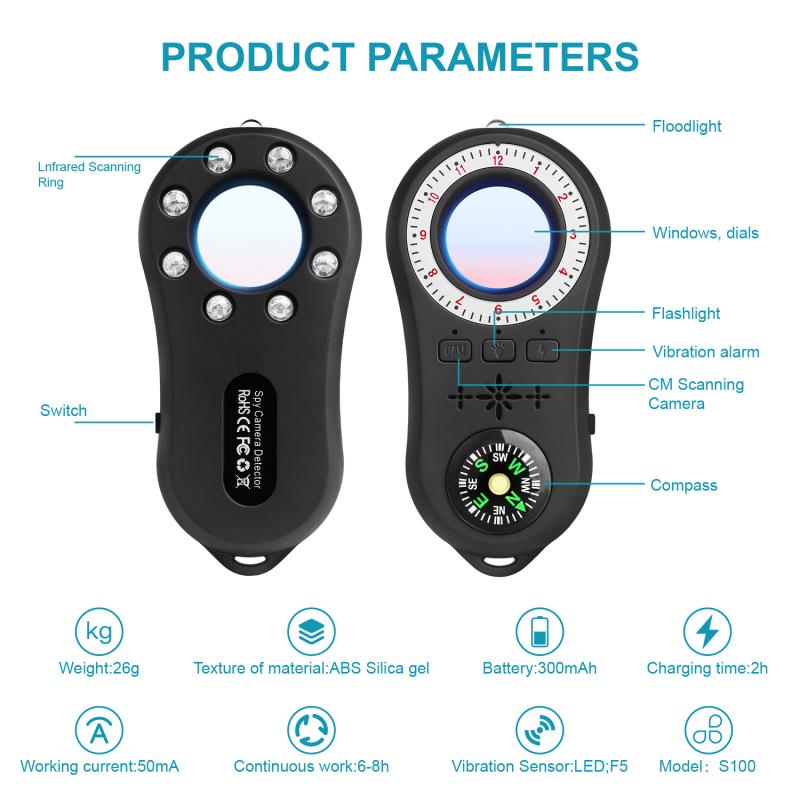
Start by assembling your IR LED light source. You can purchase an IR LED online or salvage one from an old remote control. Ensure that the LED is rated for the voltage of your power source. If needed, include a resistor to prevent the LED from burning out.
Step 2: Assemble the Power Source
Next, connect your power source to the IR LED light. If you are using batteries, ensure that you have a battery holder that matches the voltage requirements of your LED. Solder wires from the positive and negative terminals of the battery holder to the corresponding terminals on the LED.
Step 3: Add a Switch
Adding a switch to your circuit will allow you to control the IR LED light. Connect the switch inline with the positive wire leading to the LED. This will enable you to turn your detector on and off as needed.
Step 4: Prepare the IR-sensitive CCD Camera
Use an old smartphone camera or a webcam for this step. If you are using a webcam, you may need to disassemble it to remove the IR filter. Be careful during this process to avoid damaging the camera. Once the filter is removed, reassemble the camera, ensuring that it remains functional.
Step 5: Create the Housing
Prepare a small box or casing to house the components. Ensure that there are openings for the IR LED light and the camera lens. Secure the IR LED and camera inside the housing so that they are positioned to work together effectively.
Step 6: Final Assembly and Testing
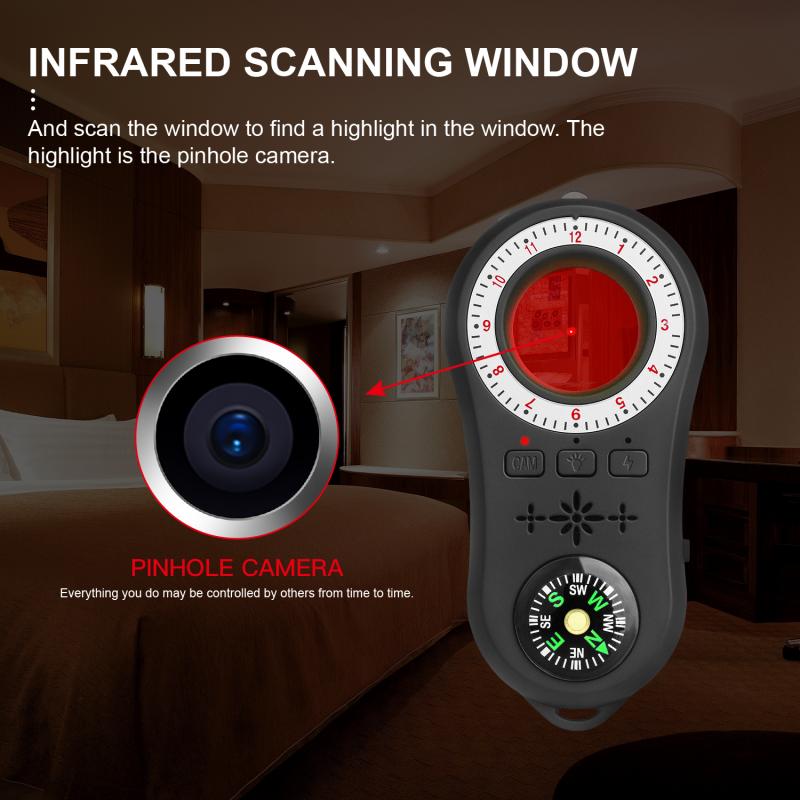
After placing all components in the housing, connect any remaining wires. Test the detector by turning on the IR LED and using the camera to scan an area where you want to check for hidden cameras. Look for small spots of reflected IR light, which indicate the presence of a hidden camera.
## Using Your Hidden Camera Detector
Now that your hidden camera detector is ready, it's time to put it to use. Here are a few tips for using it effectively:
1. Scan the Entire Room: Hidden cameras can be placed anywhere, so scan all areas of a room, including behind mirrors, smoke detectors, and inside objects.
2. Dim the Lights: IR reflections are easier to spot in low-light conditions. Turn off the lights or dim them while scanning.
3. Be Thorough: Hidden cameras are designed to be discreet. Take your time and be meticulous in your search.
4. Regular Checks: Make it a habit to scan rooms, especially in unfamiliar places like hotels and rental properties.
## Practical Applications and Limitations
Applications:
1. Personal Privacy: Use your detector at home or when traveling to ensure your privacy.
2. Workplace Security: Scan offices or meeting rooms to protect sensitive information.
3. Parental Surveillance: Ensure that your child's room is free from unauthorized surveillance.
Limitations:
1. False Positives: Certain reflective surfaces may produce false positives. Verify any detected reflection.
2. Camera Settings: Your detector's effectiveness can be influenced by the specific settings of your IR-sensitive camera.
3. Battery Life: Ensure that your power source is adequately charged or replace batteries regularly.
## Conclusion
Building your own hidden camera detector is a practical and rewarding project that enhances your ability to protect personal privacy. With a few simple components and some basic assembly, you can create a tool that provides peace of mind in an increasingly surveillance-heavy world. Regularly use your detector and stay vigilant to ensure that your private spaces remain just that—private.

















There are no comments for this blog.