How To Make Your Own Smart Watch?
Creating your own smartwatch can be an exciting and rewarding project, especially for tech enthusiasts and DIY hobbyists. This article will guide you through the process, from understanding the basic components to assembling and programming your smartwatch. By the end of this guide, you will have a functional smartwatch that you built yourself, tailored to your specific needs and preferences.
Understanding the Components

Before diving into the assembly and programming, it’s crucial to understand the basic components that make up a smartwatch. Here are the primary parts you will need:
1. Microcontroller or Microprocessor: This is the brain of your smartwatch. Popular choices include the Arduino, Raspberry Pi, or ESP32.
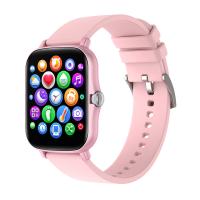
2. Display: An OLED or LCD screen to show the time and other information.
3. Battery: A rechargeable battery to power your smartwatch.
4. Sensors: Depending on the features you want, you might need accelerometers, gyroscopes, heart rate sensors, etc.
5. Bluetooth Module: For connectivity with your smartphone.
6. Case and Strap: To house all the components and wear the watch comfortably.
7. Miscellaneous: Wires, resistors, capacitors, and other small electronic components.
Step-by-Step Guide to Building Your Smartwatch
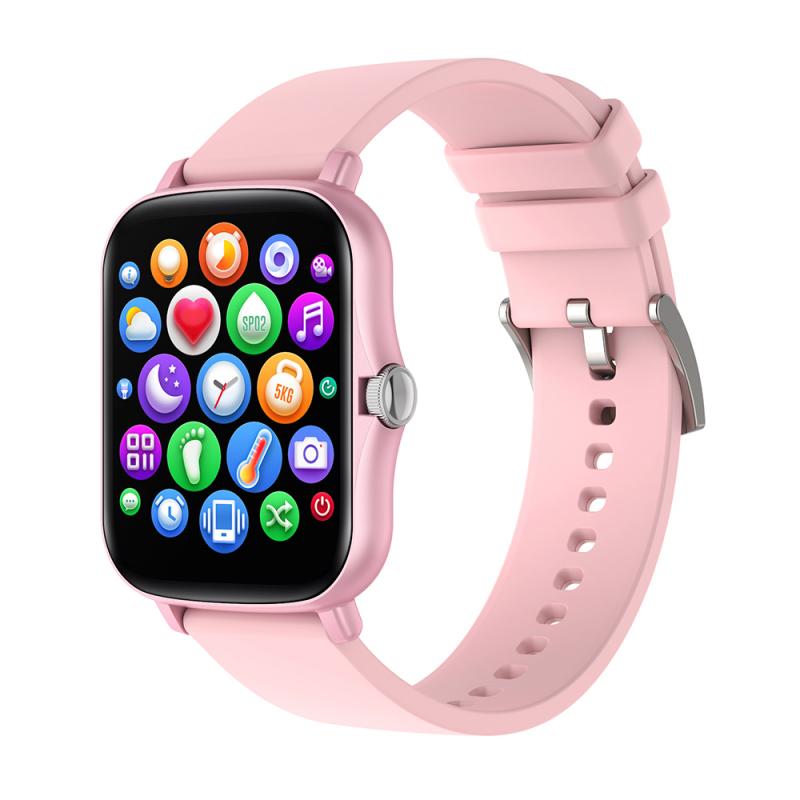
Step 1: Planning and Design
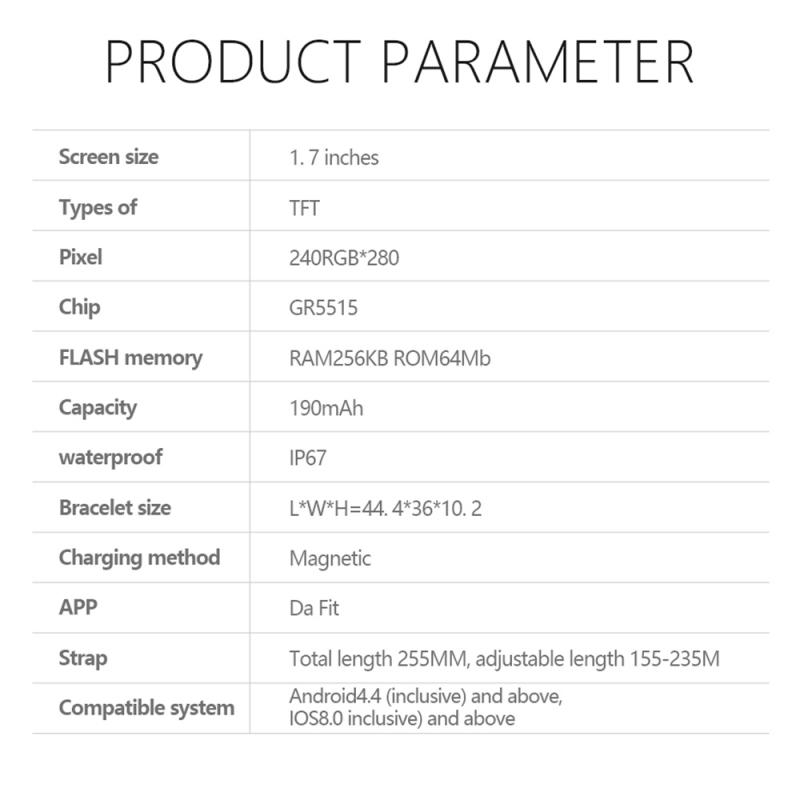
Start by sketching a rough design of your smartwatch. Decide on the features you want, such as time display, fitness tracking, notifications, etc. This will help you determine the components you need and how they will fit together.
Step 2: Gathering Components
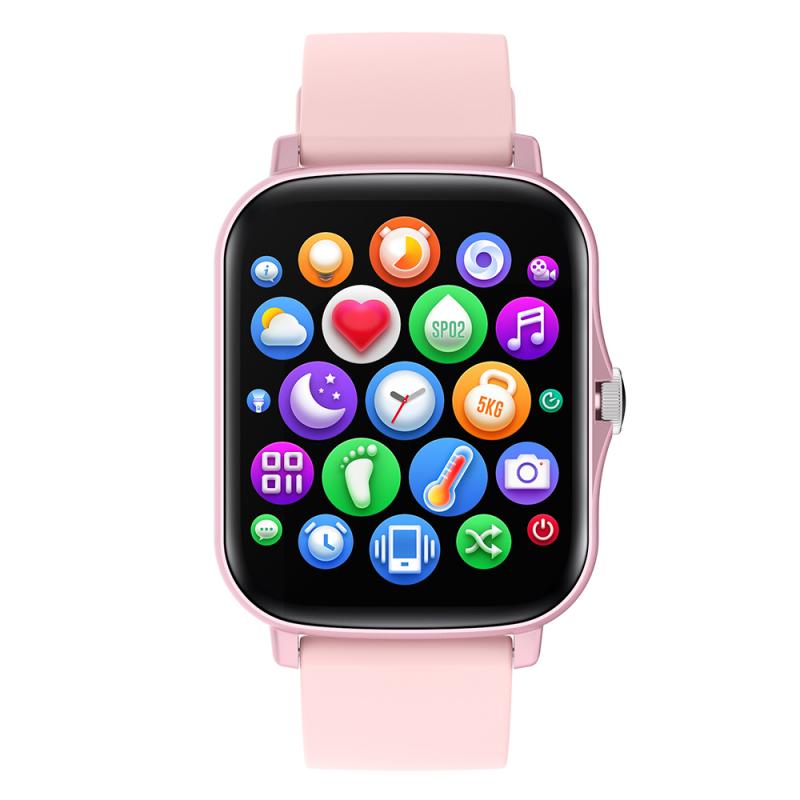
Once you have a clear design, gather all the necessary components. You can purchase these from online electronics stores or local suppliers. Ensure that all components are compatible with each other.
Step 3: Assembling the Hardware
1. Microcontroller Setup: Begin by setting up your microcontroller. If you are using an Arduino, connect it to your computer and install the necessary drivers and software.
2. Connecting the Display: Connect the display to the microcontroller. Follow the wiring diagram provided with your display module. Typically, you will need to connect power, ground, and data lines.
3. Adding Sensors: Connect any sensors you plan to use. For example, if you are adding an accelerometer, connect it to the appropriate pins on the microcontroller.
4. Bluetooth Module: Connect the Bluetooth module to enable communication with your smartphone. Ensure that the module is properly powered and connected to the correct data pins.
5. Power Supply: Connect the battery to the microcontroller. Use a voltage regulator if necessary to ensure the microcontroller receives the correct voltage.
6. Enclosure: Place all the components in the case. Ensure that the display is visible and the buttons (if any) are accessible. Secure the components using screws or adhesive.
Step 4: Programming the Smartwatch
1. Setting Up the Development Environment: Install the necessary software for programming your microcontroller. For Arduino, you will need the Arduino IDE. For Raspberry Pi, you might use Python or another suitable language.
2. Writing the Code: Write the code to control your smartwatch. Start with basic functionality, such as displaying the time. Gradually add more features, such as sensor data display, Bluetooth communication, and notifications.
3. Testing: Upload the code to your microcontroller and test each feature. Debug any issues that arise and make necessary adjustments to the code.
Step 5: Integrating with a Smartphone
To make your smartwatch truly smart, you need to integrate it with a smartphone. This typically involves creating a companion app that communicates with the smartwatch via Bluetooth.
1. Developing the App: Use a mobile development framework like Flutter, React Native, or native development tools for iOS and Android. The app should be able to send and receive data from the smartwatch.
2. Pairing the Devices: Implement Bluetooth pairing in both the smartwatch code and the mobile app. Ensure that the devices can establish a stable connection.
3. Data Synchronization: Write code to synchronize data between the smartwatch and the smartphone. This could include time updates, fitness data, notifications, etc.
Tips and Best Practices
1. Start Simple: Begin with basic functionality and gradually add more features. This will make debugging easier and help you understand each component's role.
2. Modular Design: Design your smartwatch in a modular way, so you can easily replace or upgrade components.
3. Power Management: Pay attention to power consumption. Use low-power components and implement sleep modes to extend battery life.
4. User Interface: Design a simple and intuitive user interface. Ensure that the display is easy to read and the controls are easy to use.
5. Documentation: Keep thorough documentation of your design, code, and assembly process. This will help you troubleshoot issues and make future upgrades easier.
Troubleshooting Common Issues
1. Display Not Working: Check the connections and ensure that the display is receiving power. Verify that the correct pins are used for data transmission.
2. Bluetooth Connectivity Issues: Ensure that the Bluetooth module is properly connected and powered. Check the pairing process and make sure the devices are within range.
3. Sensor Data Not Accurate: Calibrate the sensors and ensure they are securely connected. Verify that the correct libraries and code are used to read sensor data.
4. Battery Life Issues: Check for components that consume excessive power. Implement power-saving features in your code and consider using a larger capacity battery.
Building your own smartwatch is a challenging but rewarding project. It allows you to customize the features and design to suit your needs and gives you a deeper understanding of how smart devices work. By following this guide, you can create a functional and personalized smartwatch. Remember to start simple, document your process, and enjoy the journey of creating your own wearable technology.

