How To Make Your Recording Sound Clear?
Achieving Crystal Clear Audio in Recordings: Tips and Techniques
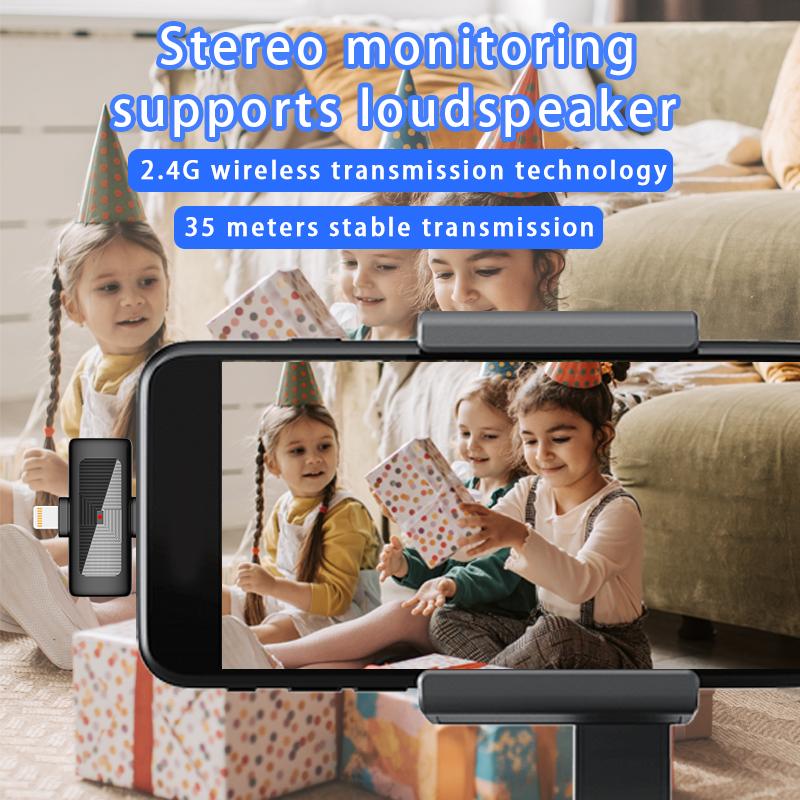
When creating recordings—whether for podcasts, videos, or professional voiceovers—clarity is paramount. Poor audio quality can detract from even the most engaging content, frustrating your audience and diminishing the impact of your work. In this article, we’ll explore the core principles and practical strategies for producing recordings with pristine audio clarity.
---
Understanding the Pillars of Clear Audio
Before diving into specific techniques, it's essential to grasp the fundamentals of clear audio recording. These include:
1. Minimizing Noise: External and environmental noise can muddle your recording and distract listeners.
2. Optimizing Equipment: Using the right tools for the job makes a significant difference.
3. Perfecting Technique: Proper usage of equipment and recording methods enhances clarity.
4. Post-Processing: Thoughtful editing can polish a recording and eliminate imperfections.
Let’s explore each in detail.
---
1. Controlling the Recording Environment
A controlled environment is the foundation of clear recordings. Even the best microphone will struggle in a noisy or poorly treated space.
Minimize Ambient Noise
- Location Selection: Record in a quiet area away from traffic, air conditioners, or other sources of noise.
- Soundproofing: Use soundproofing materials such as acoustic foam panels, curtains, or rugs to reduce echo and block external sounds.
- Turn Off Interfering Devices: Ensure that fans, HVAC systems, and other electronics are silent during recording.
Enhance Acoustics
- Avoid recording in large, empty rooms with hard surfaces, as these can create reverb.
- Use soft furnishings or portable sound booths to create a recording-friendly environment.
Time Management
- Choose times of day when external noise is minimal (e.g., late at night or early morning).
---
2. Selecting the Right Equipment
High-quality recordings start with the right tools. Investing in decent equipment tailored to your needs is crucial.
Microphone Selection
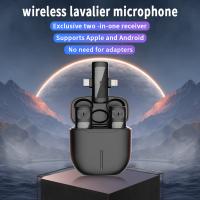
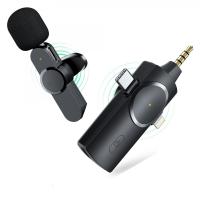
- Dynamic Microphones: Durable and good for live recordings, they reject background noise effectively.
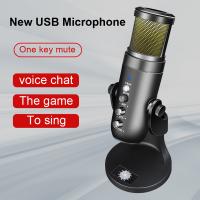
- Condenser Microphones: Sensitive and ideal for studio setups, they capture more detail but require a quieter environment.
Accessories Matter
- Pop Filters: These reduce plosive sounds (e.g., "p" and "b" sounds) that can distort recordings.
- Shock Mounts: They isolate the microphone from vibrations caused by movement or accidental bumps.
- Boom Arms or Stands: These ensure the microphone remains steady and at the correct height.
Audio Interface and Cables
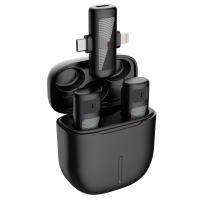
- Invest in a reliable audio interface to connect your microphone to your computer, converting analog signals into digital.
- Use quality cables to avoid interference and signal degradation.
---
3. Mastering Proper Recording Techniques
Even with top-tier equipment, poor technique can result in subpar recordings. Understanding how to use your tools effectively is key.
Microphone Positioning
- Distance: Position the microphone 6–12 inches away from your mouth. Too close, and you risk distortion; too far, and you’ll lose clarity.
- Angle: Point the microphone slightly off-axis to reduce plosive sounds without losing vocal clarity.
Consistent Voice Level
- Maintain a steady speaking volume. Sudden changes in volume can cause spikes or dips in the recording.
Monitor While Recording
- Use headphones to listen in real-time and catch issues like distortion or background noise.
Avoid Handling Noise
- Keep your hands off the microphone and stand to avoid unnecessary vibrations.
---
4. Leveraging Post-Processing
Editing and post-processing are where raw recordings transform into polished audio masterpieces.
Essential Post-Processing Steps
1. Noise Reduction: Use software tools to remove consistent background hums or hiss.
2. Equalization (EQ): Balance frequencies to enhance clarity. Boost mid-range frequencies for speech and reduce unnecessary bass.
3. Compression: Smooth out volume inconsistencies, ensuring quiet parts are audible and loud parts aren’t overwhelming.
4. De-Esser: Remove harsh "s" sounds, which can be grating on the ears.
Advanced Techniques
- Reverb Reduction: Apply tools to eliminate or reduce reverb from recordings done in less-than-ideal spaces.
- Multi-Band Compression: Fine-tune different frequency ranges for professional-sounding audio.
- Manual Editing: Manually remove breaths, clicks, or other undesirable sounds.
Recommended Software
- Beginner-friendly tools like Audacity or GarageBand are excellent starting points.
- Professionals often use tools like Adobe Audition, Pro Tools, or Logic Pro.
---
5. Testing and Iterating
Achieving clarity is an iterative process. Don’t expect perfection on your first attempt.
Test Runs
- Conduct test recordings in various setups to identify what works best for your environment and voice.
- Experiment with different microphone positions and settings.
Seek Feedback
- Share your recordings with others for critique. Fresh ears can catch issues you might overlook.
Adjust and Improve
- Use feedback to refine your techniques, equipment choices, or post-processing workflows.
---
Common Challenges and Solutions
Here are some frequently encountered problems and how to tackle them:
Challenge 1: Background Noise
Solution: Use noise gates during post-processing and prioritize soundproofing in your recording space.
Challenge 2: Plosive and Sibilant Sounds
Solution: Utilize pop filters and adjust microphone positioning.
Challenge 3: Uneven Volume Levels
Solution: Apply compression during post-processing to even out the dynamics.
Challenge 4: Muddy Sound
Solution: Focus on EQ adjustments to ensure clarity and eliminate unnecessary bass or low-mid frequencies.
Challenge 5: Echo or Reverb
Solution: Record in acoustically treated spaces and use de-reverb tools during editing.
---
Bonus Tips for Consistent Quality
1. Maintain Equipment: Regularly clean and inspect microphones, cables, and interfaces to avoid technical issues.
2. Develop a Routine: Follow a checklist to ensure all equipment is correctly set up before each session.
3. Warm Up Your Voice: Simple vocal exercises can enhance your tone and delivery.
4. Back Up Files: Always save recordings in multiple locations to avoid data loss.
---
Conclusion
Clear audio is the cornerstone of professional recordings, and achieving it requires a blend of preparation, the right tools, proper technique, and thoughtful editing. By implementing the strategies outlined in this article, you can significantly improve your recording quality and create content that resonates with your audience.
Remember, great audio doesn’t happen by chance—it’s a result of deliberate effort and attention to detail. With time, practice, and the right resources, you’ll master the art of producing recordings that sound as good as they look.










There are no comments for this blog.