How To Make Your Recordings Sound Professional?
In today’s world, creating high-quality audio recordings has never been more accessible. From podcasts to music, voiceovers to audiobooks, the ability to produce professional-grade audio is a skill that creators across industries aim to master. However, achieving a polished and professional sound requires more than just good equipment. It’s a combination of environment, technique, and post-production skills. In this article, we’ll explore actionable steps to elevate your recordings, ensuring they meet the standards of modern audiences.
---
1. Understand the Role of Equipment
Microphone Selection
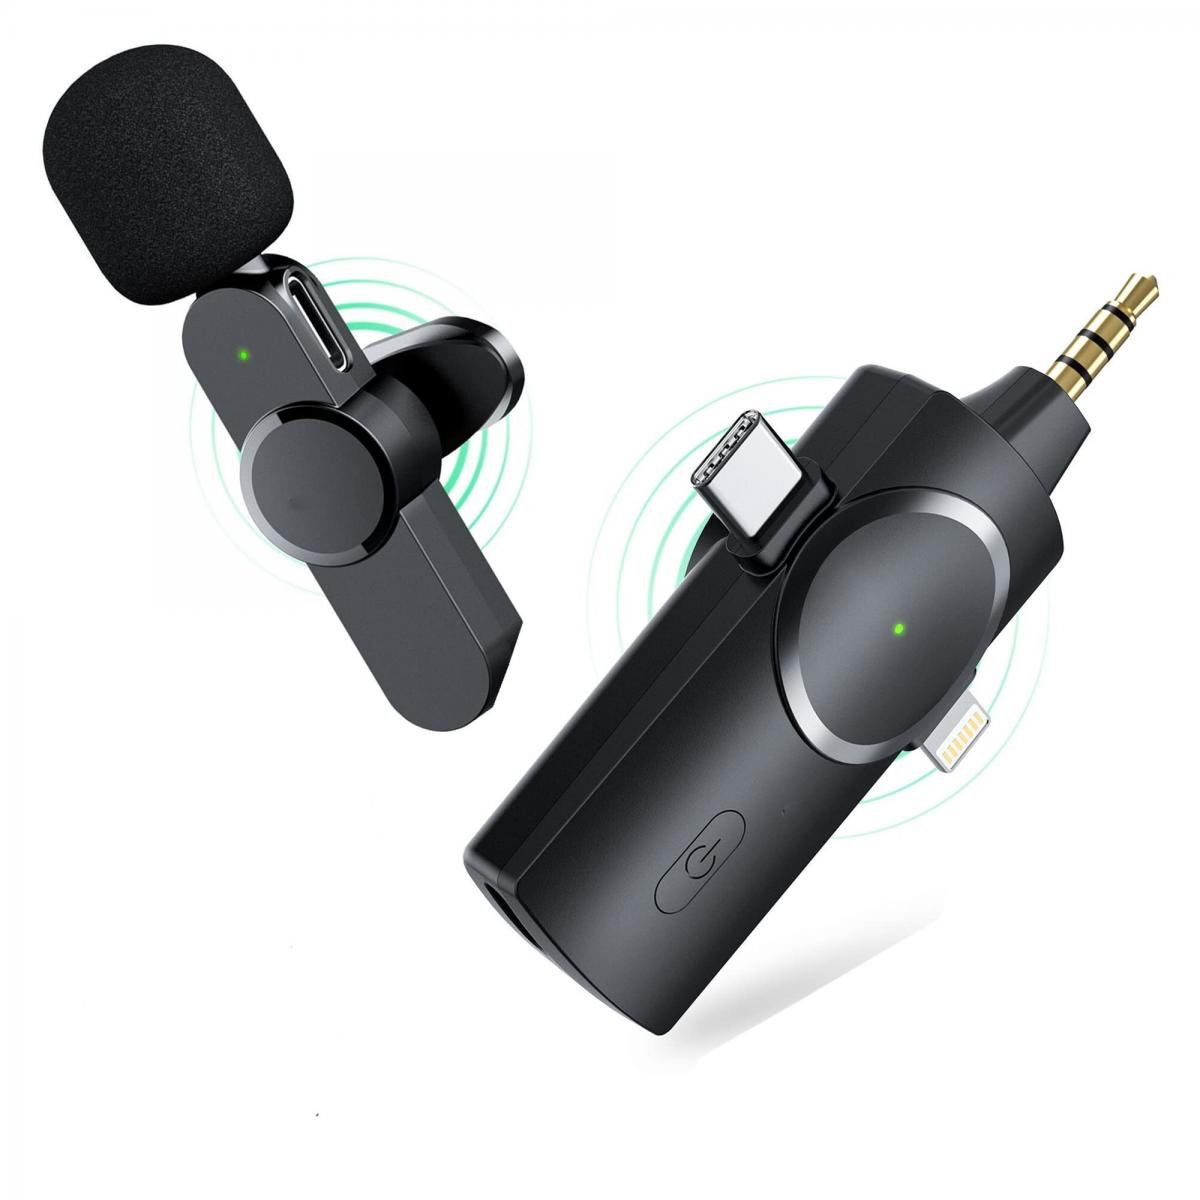
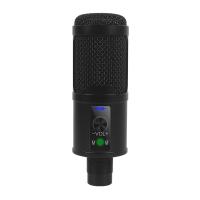
The microphone is the cornerstone of any recording setup. While it might be tempting to use a budget mic, investing in a decent condenser or dynamic microphone is crucial for capturing clear and detailed sound.
- Condenser Microphones: Best for studio recordings like vocals or acoustic instruments due to their sensitivity and broad frequency response.
- Dynamic Microphones: Durable and excellent for live settings or environments with less-than-ideal acoustics.
Audio Interface
An audio interface serves as the bridge between your microphone and computer. A quality interface reduces latency, improves preamp quality, and ensures a clean signal.
Accessories
- Pop Filters: Minimize plosive sounds like "P" and "B."
- Shock Mounts: Reduce vibrations from movements or desk noise.
- Quality Cables: Prevent unwanted noise or interference in your recordings.
---
2. Optimize Your Recording Environment
Even the best equipment can’t compensate for a poorly treated space. The recording environment has a profound impact on the sound quality.
Acoustic Treatment
Reflections, echoes, and background noise are the bane of professional recordings. Basic acoustic treatment includes:
- Absorption Panels: Reduce reverb and high-frequency reflections.
- Bass Traps: Handle low-frequency buildup in corners.
- Diffusers: Scatter sound evenly to prevent harsh reflections.
Noise Control
Select a quiet location away from external disturbances. Common strategies include:
- Turning off appliances like fans or air conditioning during recording.
- Using heavy curtains or carpets to dampen sound.
- Sealing windows and doors to block external noise.
Positioning
The placement of the microphone relative to the sound source is critical. Experiment with the angle and distance to find the sweet spot where your voice or instrument sounds natural and balanced.
---
3. Perfect Your Recording Techniques
A professional sound is not just about the hardware; it’s also about how you use it.
Gain Staging
Set your recording levels properly to avoid clipping or distortion. Aim for an average level of -12 dB to -6 dB, leaving enough headroom for peaks.
Microphone Technique
- Maintain a consistent distance from the microphone (typically 6–12 inches).
- Use the proximity effect creatively to add warmth to your voice or avoid it for clarity.
- Angle the microphone slightly off-axis to reduce plosive sounds and sibilance.
Control Dynamics
Control the volume fluctuations of your performance to avoid excessive peaks and valleys in the recording. If necessary, use a compressor in real-time or during post-production.
---
4. Mastering Post-Production
Once your recording is captured, post-production is where the magic happens.
Editing
- Noise Reduction: Use tools like iZotope RX or built-in DAW features to remove background noise.
- Cut Unnecessary Parts: Remove breaths, clicks, or long silences for a cleaner final product.
- Comping: Combine the best parts of multiple takes into one polished version.
Equalization (EQ)
EQ helps balance the frequencies in your recording. For vocals:
- Roll off frequencies below 80 Hz to remove rumble.
- Boost around 2–5 kHz to enhance clarity.
- Cut harsh frequencies between 7–10 kHz if necessary.
Compression
Compression evens out the dynamic range, ensuring consistency without squashing the natural tone. A typical setting for vocals might include:
- Ratio: 2:1 to 4:1
- Threshold: Adjust to catch peaks
- Attack: Slow enough to maintain natural transients
- Release: Fast enough to reset between phrases
Reverb and Effects
Use reverb sparingly to add depth without overwhelming the original sound. If needed, subtle delay or modulation effects can enhance the recording creatively.
---
5. Consistency and Workflow
Template Setup
Create templates in your Digital Audio Workstation (DAW) with preferred settings for EQ, compression, and reverb to save time and maintain consistency across projects.
File Organization
Develop a robust system for naming and organizing project files, stems, and final mixes. This avoids confusion and speeds up future revisions.
Version Control
Save multiple versions of your project as you edit. This lets you backtrack easily if something goes awry.
---
6. Advanced Tips for Professional Results
Reference Tracks
Listen to professionally produced recordings in your genre. Compare your work to these references and make adjustments to match tonal quality and dynamics.
Monitoring
Invest in high-quality headphones or studio monitors for accurate sound reproduction. Avoid mixing solely on consumer-grade equipment, as it may color the sound.
Mastering
After mixing, mastering polishes the final product to industry standards. Tools like multiband compression, limiters, and stereo widening can make your recording sound more cohesive and loud enough for distribution.
Feedback
Get second opinions from trusted peers or professionals. Fresh ears often catch issues you may have missed.
---
7. Avoiding Common Pitfalls
Overprocessing
It’s easy to go overboard with EQ, compression, or effects. The key is subtlety—enhance, don’t overshadow.
Ignoring Acoustics
Failing to address room acoustics leads to recordings that are harder to fix in post-production. Prevention is always better than correction.
Relying on Plugins Alone
While plugins can enhance sound quality, they can’t replace good recording practices. Focus on capturing the best raw sound possible.
---
Conclusion
Producing professional-sounding recordings is both an art and a science. It requires a balanced combination of quality equipment, a well-treated recording environment, refined techniques, and effective post-production. By following the steps outlined above, creators of all levels can achieve recordings that stand out in clarity, depth, and polish. Whether you’re a podcaster, musician, or voiceover artist, the effort you invest in improving your sound will pay dividends in the impression you leave on your audience.
Start small, refine your process, and remember: even the most seasoned professionals are continually learning and adapting. The journey to better recordings is an ongoing pursuit, but with each project, you’ll come closer to the sound you envision.















There are no comments for this blog.