How To Mount Microscope Lens On Camera?
In recent years, the fusion of microscopes and digital cameras has opened up new possibilities in fields ranging from scientific research to photography. By mounting a microscope lens on a camera, users can capture high-resolution images of microscopic subjects with ease, combining the best of both worlds. This guide will provide you with a step-by-step breakdown of how to mount a microscope lens on a camera, explore the necessary equipment, and discuss tips for optimizing your setup.
Understanding the Basics
Before we dive into the technicalities of mounting a microscope lens on a camera, it’s important to understand the basics of both microscopes and cameras. A microscope lens is designed to magnify objects that are too small to be seen by the naked eye. On the other hand, a camera’s lens focuses light onto a sensor to capture images. The process of mounting a microscope lens on a camera combines these two functionalities, enabling users to photograph specimens at high magnifications.
Types of Microscope Lenses
Microscope lenses typically come in several varieties, each designed for specific types of magnification. These are commonly categorized as:
1. Objective Lenses: These are the primary lenses used in microscopes. They are designed to provide varying levels of magnification (e.g., 4x, 10x, 40x, or 100x).
2. Eyepiece Lenses: These lenses are used for viewing the image directly, but in photography, they are less commonly used for mounting.
3. Camera Adapters: Some microscopes are designed with camera adapters that allow easy integration with a digital camera.
When mounting a microscope lens to a camera, the most common type of lens used is the objective lens. This is because the objective lens provides the required magnification for capturing detailed images of microscopic subjects.
Required Equipment
To successfully mount a microscope lens on a camera, you'll need several pieces of equipment. The most important of these are:
1. Microscope: The instrument providing the magnification.
2. Microscope Objective Lens: A high-quality objective lens is critical for achieving the best results.
3. Camera: Typically, a digital single-lens reflex (DSLR) camera, mirrorless camera, or even a compact camera can be used.
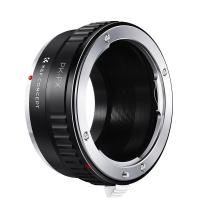
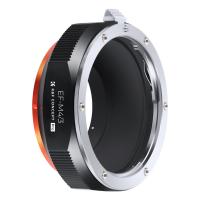
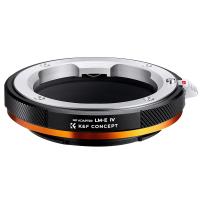
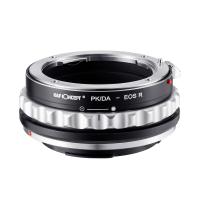
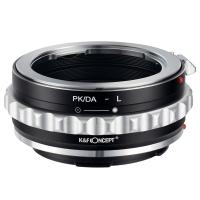
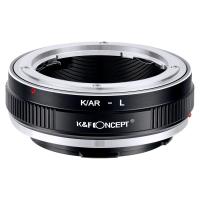
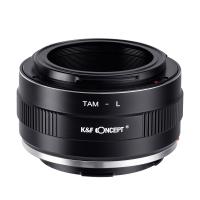
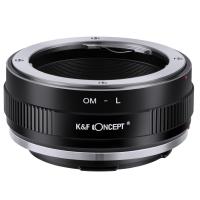
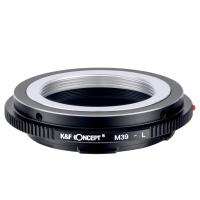
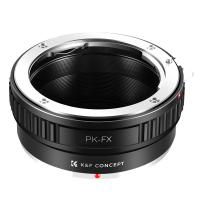
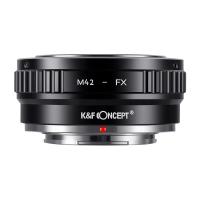
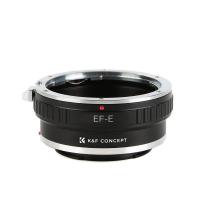
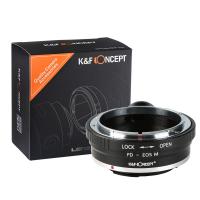
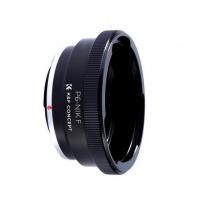
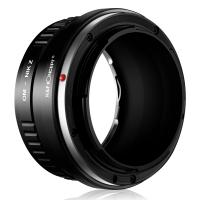
4. Camera Adapter/Adapter Ring: An adapter is necessary to connect the microscope’s objective lens to the camera body. These adapters come in different types, such as T-mount adapters, C-mount adapters, and special microscope camera adapters.
5. Extension Tube: This is useful for adjusting the working distance between the microscope lens and the camera sensor.
6. Tripod or Stable Mounting System: A tripod will help stabilize your setup and reduce any potential camera shake when taking high-magnification photos.
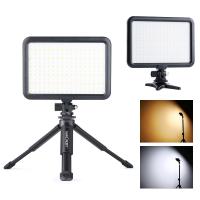
7. Light Source: Microscopic photography often requires controlled lighting, as higher magnifications tend to reduce the amount of light reaching the sample. LED light sources are commonly used for this purpose.
---
Step-by-Step Guide to Mounting a Microscope Lens on a Camera
Step 1: Choose the Right Microscope Lens
The first step in setting up a microscope camera system is selecting the right lens. The choice of objective lens depends on the level of magnification required. For instance:
- Low Magnification (e.g., 4x to 10x) is suitable for observing larger specimens, such as plant cells, insects, or small circuit boards.
- High Magnification (e.g., 40x to 100x) is required for detailed structures such as bacteria, blood cells, or fine features of small organisms.
Make sure the lens you choose provides the magnification you need, and ensure it’s compatible with the camera and the microscope.
Step 2: Select the Correct Camera
Not all cameras are equally suited for microscope photography. DSLRs and mirrorless cameras are often preferred because they offer manual control over settings like aperture, shutter speed, and ISO, which is essential for capturing high-quality images in low-light conditions.
For professional-grade images, it’s best to use a camera that supports manual exposure control and has a sensor large enough to capture the detailed images provided by the microscope lens. A camera with a high resolution (20 MP or above) is also recommended to ensure clear and sharp images.
Step 3: Acquire the Correct Adapter
In order to mount the microscope lens to the camera, you will need an adapter that connects the two. These adapters come in various forms depending on the type of camera and microscope you are using. Some common options include:
- C-mount Adapters: These are often used in laboratory settings, particularly for mounting microscopes that have a C-mount thread to a DSLR or mirrorless camera.
- T-mount Adapters: This type of adapter is useful for attaching the microscope lens to cameras that have a T-thread. T-mounts typically offer more flexibility and are more common for attaching telescopes and microscopes to cameras.
- Dedicated Microscope Camera Adapters: Some microscope manufacturers offer specialized adapters for their microscopes, designed to make camera attachment seamless. These adapters may come with additional features, such as built-in focusing mechanisms.
It’s important to choose an adapter that fits both the microscope lens and the camera body. Double-check the thread sizes (C-mount, T-mount, etc.) to ensure compatibility.
Step 4: Attach the Adapter to the Camera
Once you have the correct adapter, the next step is to attach it to the camera body. Depending on the adapter type, this process can vary:
- For C-mount adapters, align the adapter with the camera’s lens mount and screw it in securely.
- For T-mount adapters, align the T-thread on the adapter with the camera body and ensure a tight fit.
Ensure that the adapter is securely mounted before proceeding. This step is critical, as any loose connections could result in poor image quality or instability during your shoot.
Step 5: Attach the Microscope Objective Lens to the Adapter
After securing the camera to the adapter, the next step is attaching the microscope’s objective lens. Depending on the microscope’s design, the objective lens might have a standard thread that fits directly into the adapter. If not, you may need additional accessories such as an extension tube to achieve the correct working distance.
When attaching the lens, make sure it is mounted firmly and in the correct orientation. Most objective lenses have a specific front and back, and improper alignment could result in blurry images or damaged equipment.
Step 6: Adjust the Focusing System
Once everything is connected, you will need to adjust the focus. Unlike traditional cameras, focusing on a microscope setup is a bit more involved due to the high magnification levels. There are several ways to adjust focus:
1. Manual Focus: Use the camera’s focus ring (if available) to adjust focus manually. If the camera does not have a focus ring, use the microscope’s focus mechanism to fine-tune the image.
2. Live View Mode: Turn on the camera’s live view mode to monitor the focus in real time on the camera’s screen. This can make focusing easier than relying on the optical viewfinder.
3. Fine Focus Knob: Many microscopes have a fine focus knob that allows precise adjustments. Use this to sharpen the image at higher magnifications.
Be patient, as fine-tuning focus can take time, especially at higher magnifications where depth of field is very shallow.
Step 7: Optimize Lighting Conditions
Proper lighting is crucial when taking microscope photographs. Higher magnifications tend to reduce the amount of light entering the camera, which can result in dark or noisy images. To ensure optimal lighting, consider these tips:
- Use LED Ring Lights or Spotlights: These provide consistent, bright lighting that can illuminate the specimen evenly.
- Adjust Camera Settings: Increase the camera’s ISO and adjust the shutter speed if the image is too dark. However, be cautious with high ISO settings, as this can introduce noise.
- Use Diffused Light: Direct light can cause harsh shadows and reflections. Using a light diffuser or adjusting the light position can provide softer, more even lighting.
Step 8: Capture the Image
Now that everything is set up—camera, microscope, adapter, focus, and lighting—you’re ready to take the shot. Use your camera’s manual mode to adjust the aperture, shutter speed, and ISO to suit the lighting and magnification.
At high magnifications, even the slightest movement can blur the image, so it's essential to use a stable tripod or mounting system. If your camera has a remote shutter release or a self-timer function, use it to avoid any vibrations caused by pressing the shutter button.
Step 9: Post-Processing
After capturing your images, you may need to enhance them through post-processing. This can involve adjusting exposure, contrast, sharpness, and color balance to bring out the finer details of the specimen. Software like Adobe Photoshop or Lightroom can be invaluable tools in this step.
---
Mounting a microscope lens on a camera is a powerful way to capture highly detailed images of microscopic subjects. While the process may seem complex, with the right equipment and setup, it becomes straightforward. By carefully selecting your microscope lens, camera, adapter, and lighting, you can create stunning high-resolution images suitable for research, education, or artistic exploration. Always remember to take your time with focusing and lighting, as these are crucial elements in achieving sharp, high-quality results.
Whether you're a scientist looking to document your research or a hobbyist exploring the hidden world of tiny organisms, mastering the art of microscope photography can open up new doors to discovery and creativity. Happy photographing!









There are no comments for this blog.