How To Mount Security Cameras Outdoor?
Mounting security cameras outdoors can be a crucial step in ensuring the safety and security of your property. Whether you're looking to deter burglars, monitor package deliveries, or keep an eye on your property's surroundings, understanding the correct methods and best practices for mounting outdoor security cameras is essential. This detailed guide will walk you through the vital steps and considerations to successfully install outdoor security cameras.
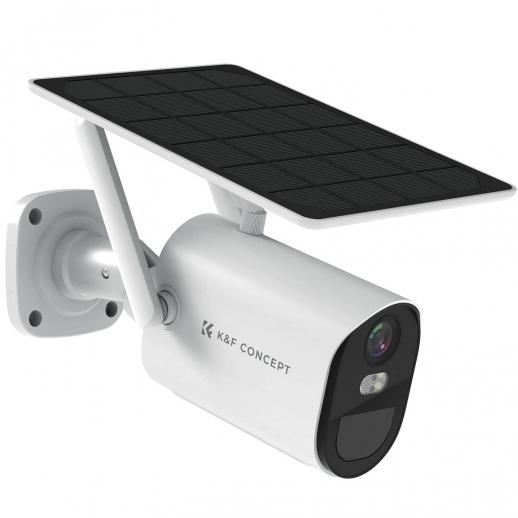
Choosing the Right Camera and Location
The first step in mounting outdoor security cameras is choosing the right camera and determining the optimal locations for installation.
1. Type of Camera:
- Wired Cameras: Wired cameras provide robust, uninterrupted connections but require more extensive installation.
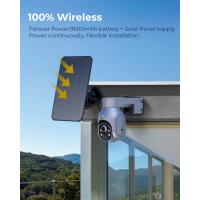
- Wireless Cameras: These are easier to install and more flexible in terms of placement but require a reliable Wi-Fi connection.
- Battery-Powered Cameras: Ideal for areas where installing power cables is not feasible, but need regular battery maintenance.
2. Camera Features:
- Night Vision: Essential for monitoring low-light conditions.
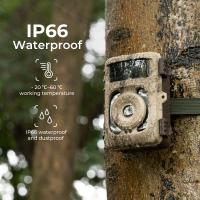
- Weatherproofing: Ensure the camera is rated for outdoor use (IP65, IP66, or higher).
- Field of View: Wide-angle lenses can cover larger areas but may sacrifice detail.
- Resolution: High-resolution cameras (1080p or higher) provide better image quality.
3. Optimal Locations:
- Entry Points: Front doors, back doors, and first-floor windows are the most common entry points for burglars.
- Garages and Driveways: These areas often see considerable activity and provide access to the house.
- Yard and Perimeter: Ensuring you have visibility of your property's boundaries can deter unauthorized entry.
- Blind Spots: Identify and cover areas that are not easily visible from windows or other cameras.
Pre-Installation Preparations
Before you begin the physical installation of your cameras, it is crucial to prepare adequately.
1. Permissions and Regulations: Check local regulations regarding surveillance equipment, especially if any cameras will capture footage beyond your property.
2. Tools and Equipment:
- Drill and appropriate bits
- Screws and anchors suitable for your mounting surface (e.g., brick, wood, stucco)
- Screwdriver
- Waterproof sealant (for wired installations)
- Ladder
3. Power Source: Ensure there is an accessible power source if using wired or plug-in cameras.
Mounting the Cameras
Once you have chosen the right camera and location, follow these steps to mount your outdoor security camera correctly.
1. Mark the Location:
- Use a pencil to mark where the screws will go.
- Drill pilot holes to make the installation easier and prevent splitting or cracking the mounting surface.
2. Install the Mounting Bracket:
- Attach the bracket or mounting plate to the wall using screws and anchors. Make sure it is securely fastened.
3. Attach the Camera:
- Mount the camera onto the bracket. Many cameras come with adjustable mounts to allow you to angle the camera appropriately.
- Tighten all screws and ensure the camera is securely attached.
4. Wiring (if applicable):
- Run the cables through the nearest access point.
- Seal any gaps or holes to protect against weather conditions.
- Connect the camera to your power source and recorder or network (depending on the type of camera).
5. Test the Camera:
- Once installed, test the camera to make sure it captures the desired area.
- Adjust the angle and focus to ensure optimal coverage.
- Check the camera feed on your monitor or smartphone app to verify the image quality and field of view.
Maintenance and Troubleshooting
After installing your cameras, regular maintenance and occasional troubleshooting will ensure they continue to function effectively.
1. Regular Maintenance:
- Clean the camera lens periodically to avoid dust or debris blocking the view.
- Check the wiring for signs of wear or damage, especially after severe weather.
- Ensure the connections remain secure and free from corrosion.
2. Troubleshooting Common Issues:
- Loss of Signal: This may happen with wireless cameras. Check the Wi-Fi signal strength and consider moving the router or using a range extender if necessary.
- Poor Image Quality: Ensure the lens is clean and that the camera settings (such as resolution and focus) are correctly adjusted.
- Power Issues: Verify that all power connections are secure. For battery-powered cameras, ensure the batteries are charged or replaced.
- Weather Damage: Regularly inspect the cameras for weather-related wear and tear. Replace any damaged components promptly.
Legal and Ethical Considerations
While mounting security cameras outdoors, always be mindful of legal and ethical concerns.
1. Privacy Laws: Ensure your cameras do not infringe on your neighbors' privacy. Avoid positioning cameras where they can monitor private areas of adjacent properties.
2. Signage: In some areas, it may be required or advisable to post signs indicating that surveillance is in operation. This transparency can also act as a deterrent to potential intruders.
3. Data Protection: Secure your camera system to protect the data it collects. Use strong passwords and secure encryption methods to prevent unauthorized access.
Conclusion
Mounting security cameras outdoors is a practical and effective measure to enhance the safety and security of your property. By carefully selecting the right type of camera, preparing adequately, following a systematic installation process, and adhering to legal and ethical guidelines, you can create a robust surveillance system. Regular maintenance and timely troubleshooting will ensure your cameras continue to provide reliable evidence and peace of mind. With these practices, you can protect your home or business from potential threats and stay aware of activities around your property.



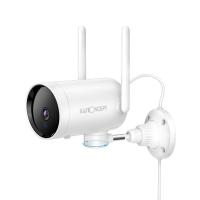
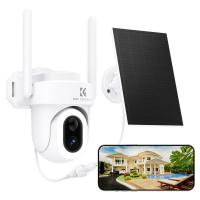
![[4X Optical Zoom] Recharge power Security Camera PTZ Outdoor for Home Security with Human Detection Auto Tracking-EU Standard [4X Optical Zoom] Recharge power Security Camera PTZ Outdoor for Home Security with Human Detection Auto Tracking-EU Standard](https://img.kentfaith.com/cache/catalog/products/us/KF50.0003/KF50.0003-1-200x200.jpg)









There are no comments for this blog.