How To On Flash In Camera?
In the realm of photography, mastering the use of your camera's flash can significantly enhance the quality of your images, especially in low-light conditions. Whether you're a budding photographer or a seasoned professional, understanding how to effectively use your camera's flash is crucial. This article will delve into the various aspects of using a camera flash, including the types of flashes when to use them, and practical tips for achieving the best results.
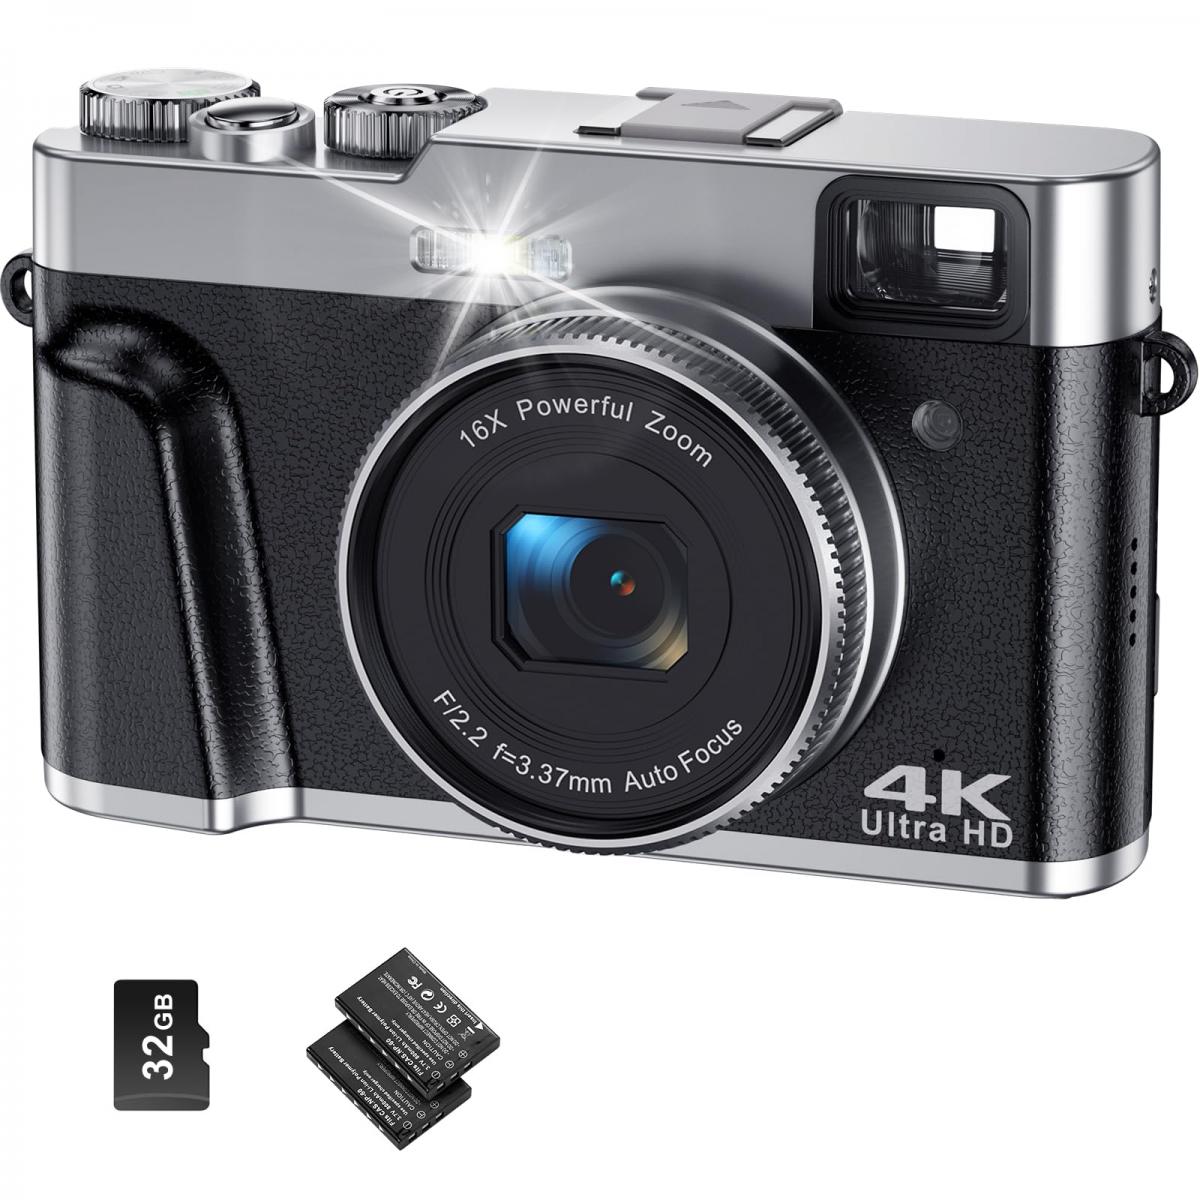
Understanding Camera Flash
Before diving into the specifics of how to turn on and use your camera's flash, it's essential to understand the different types of flashes available:
1. Built-in Flash: Most consumer cameras come with a built-in flash. This is a small, integrated flash unit that pops up or is fixed on the camera body. It's convenient and easy to use but often lacks the power and flexibility of external flashes.
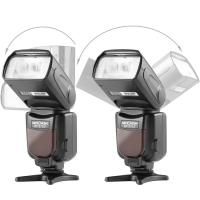
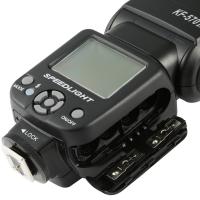
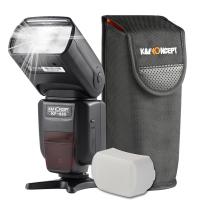
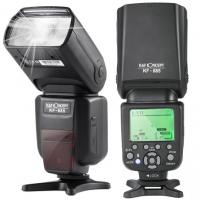
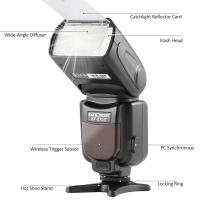
2. External Flash (Speedlight): An external flash, also known as a Speedlight, is a separate unit that attaches to your camera's hot shoe. These flashes offer more power, better control, and the ability to modify the direction and quality of light.
3. Studio Strobes: These are powerful, professional-grade flashes used in studio settings. They require external power sources and offer the highest level of control and light output.
When to Use Flash
Knowing when to use your camera's flash is as important as knowing how to turn it on. Here are some scenarios where using a flash can be beneficial:
1. Low-Light Conditions: When natural light is insufficient, a flash can provide the necessary illumination to capture clear and detailed images.
2. Backlit Subjects: If your subject is backlit, using a flash can help balance the exposure and prevent the subject from appearing as a silhouette.
3. Fill Flash: In bright conditions, a fill flash can help eliminate harsh shadows on your subject's face, resulting in a more evenly lit photograph.
4. Freezing Motion: A flash can help freeze fast-moving subjects, making it ideal for action photography.
How to Turn On Flash in Different Cameras
The process of turning on the flash varies depending on the type and model of your camera. Here are some general steps for different types of cameras:
1. DSLR Cameras
For most DSLR cameras, the built-in flash can be activated by pressing a dedicated flash button, usually marked with a lightning bolt icon. Here’s a step-by-step guide:
1. Locate the Flash Button: Find the flash button on your camera body. It’s typically located near the top of the camera, close to the viewfinder.
2. Press the Flash Button: Press the button to pop up the built-in flash. If your camera is in auto mode, the flash may pop up automatically in low-light conditions.
3. Adjust Flash Settings: Use your camera’s menu to adjust flash settings such as flash mode (auto, fill, red-eye reduction) and flash compensation.
2. Mirrorless Cameras
Mirrorless cameras often have similar controls to DSLRs but may vary slightly depending on the brand and model:
1. Access the Flash Menu: On most mirrorless cameras, you can access the flash settings through the camera’s menu system.
2. Select Flash Mode: Choose the desired flash mode from the menu. Common options include auto, fill, and off.
3. Activate the Flash: If your camera has a built-in flash, it will pop up automatically when needed. For external flashes, ensure the flash is securely attached to the hot shoe and turned on.
3. Compact Cameras
Compact cameras, also known as point-and-shoot cameras, usually have a straightforward process for activating the flash:
1. Find the Flash Button: Look for a button with a lightning bolt icon on the camera body.
2. Press the Flash Button: Cycle through the flash modes by pressing the button. Options typically include auto, on, off, and red-eye reduction.
3. Confirm Flash Activation: An icon on the camera’s screen will indicate the current flash mode.
Practical Tips for Using Camera Flash
Now that you know how to turn on your camera’s flash, here are some practical tips to help you make the most of it:
1. Avoid Direct Flash: Direct flash can create harsh shadows and unflattering highlights. To soften the light, try bouncing the flash off a ceiling or wall if you’re using an external flash.
2. Use Diffusers: A flash diffuser can help spread the light more evenly, reducing harshness and creating a more natural look.
3. Experiment with Flash Compensation: Flash compensation allows you to adjust the intensity of the flash. Experiment with different settings to find the right balance for your scene.
4. Consider Flash Gels: Flash gels are colored filters that can be placed over your flash to change the color of the light. They’re useful for matching the flash color to ambient light or creating creative effects.
5. Practice Flash Photography: Like any other photography skill, mastering flash photography takes practice. Experiment with different settings, angles, and techniques to see what works best for you.
Mastering the use of your camera’s flash can open up new possibilities in your photography, allowing you to capture stunning images in a variety of lighting conditions. By understanding the different types of flashes, knowing when to use them, and following practical tips, you can enhance your photography skills and achieve professional-looking results. Whether you’re using a DSLR, mirrorless, or compact camera, the key is to practice and experiment with your flash settings to find what works best for your unique style and needs. Happy shooting!









There are no comments for this blog.