How To Open Sd Card On Macbook Pro?
Opening an SD card on a MacBook Pro is a common task that many users need to perform, whether for transferring photos, videos, or other files. However, the process can sometimes be confusing, especially for those who are new to macOS or are using a MacBook Pro model that lacks a built-in SD card slot. This article will guide you through the various methods to access and manage your SD card on a MacBook Pro, addressing common issues and providing practical solutions.
Understanding Your MacBook Pro Model
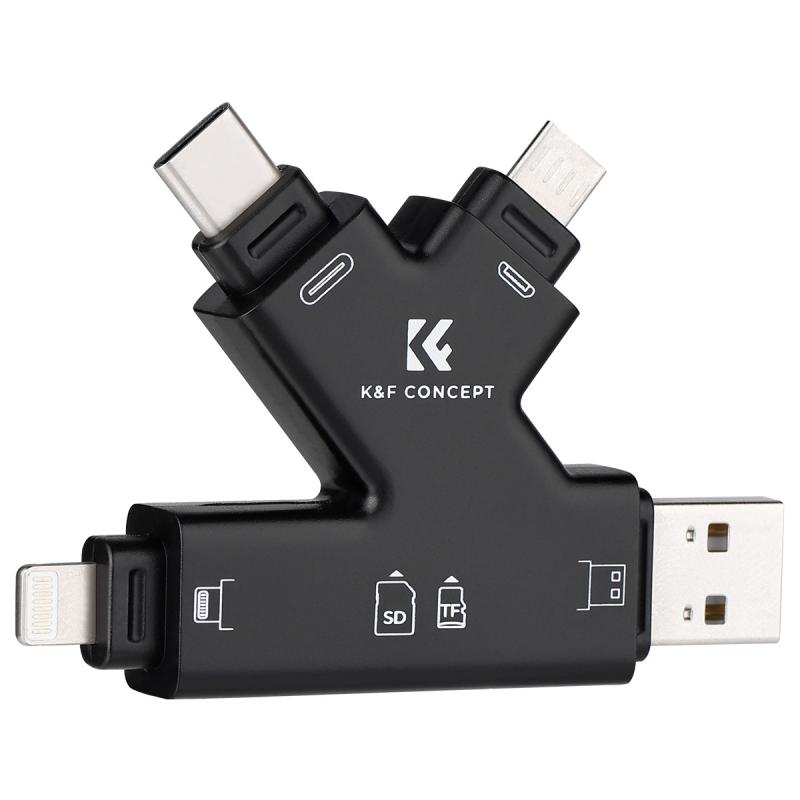
Before diving into the steps, it's essential to understand the specific model of your MacBook Pro, as this will determine the method you need to use to access your SD card. MacBook Pro models released before 2016 typically come with a built-in SD card slot, while newer models do not. If your MacBook Pro lacks an SD card slot, you will need an external card reader.
Method 1: Using the Built-in SD Card Slot
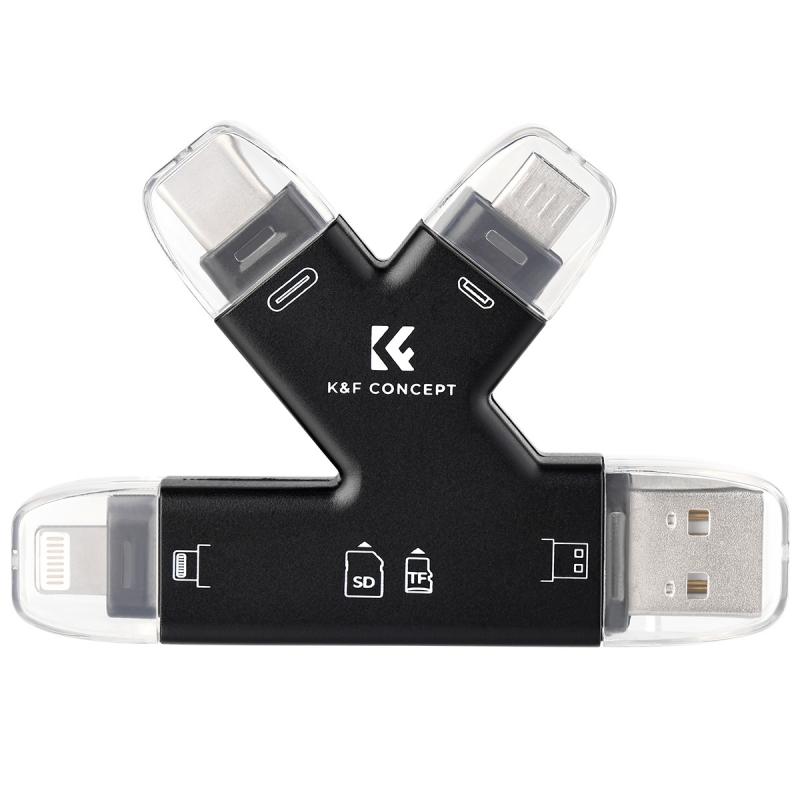
For MacBook Pro models with a built-in SD card slot, the process is straightforward:
1. Insert the SD Card: Gently insert the SD card into the SD card slot on the side of your MacBook Pro. Ensure that the metal contacts on the card are facing down and towards the computer.
2. Open Finder: Once the SD card is inserted, it should automatically appear on your desktop and in the Finder sidebar under "Devices."
3. Access Files: Click on the SD card icon to open it and access your files. You can now copy, move, or delete files as needed.
4. Eject the SD Card: Before removing the SD card, make sure to eject it properly by right-clicking the SD card icon and selecting "Eject," or by dragging the icon to the Trash.
Method 2: Using an External Card Reader
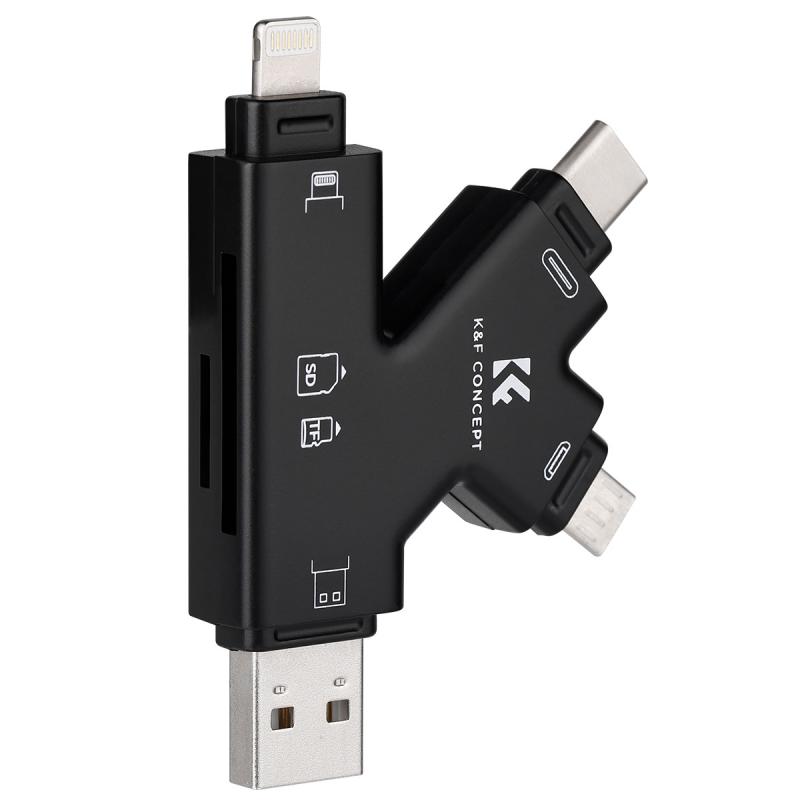
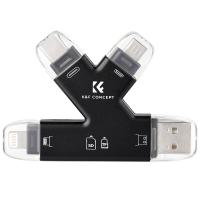
For newer MacBook Pro models without a built-in SD card slot, you will need an external card reader. Here’s how to use one:
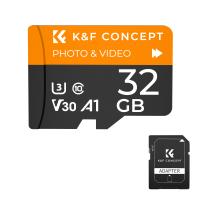
1. Purchase an External Card Reader: Ensure that the card reader is compatible with macOS and supports the type of SD card you are using (e.g., SDHC, SDXC).
2. Connect the Card Reader: Plug the card reader into one of the USB-C or USB-A ports on your MacBook Pro. You may need a USB-C to USB-A adapter if your card reader uses a USB-A connection.
3. Insert the SD Card: Insert the SD card into the card reader. The card should appear on your desktop and in the Finder sidebar under "Devices."
4. Access Files: Click on the SD card icon to open it and manage your files.
5. Eject the SD Card: Eject the SD card properly before removing it from the card reader.
Troubleshooting Common Issues
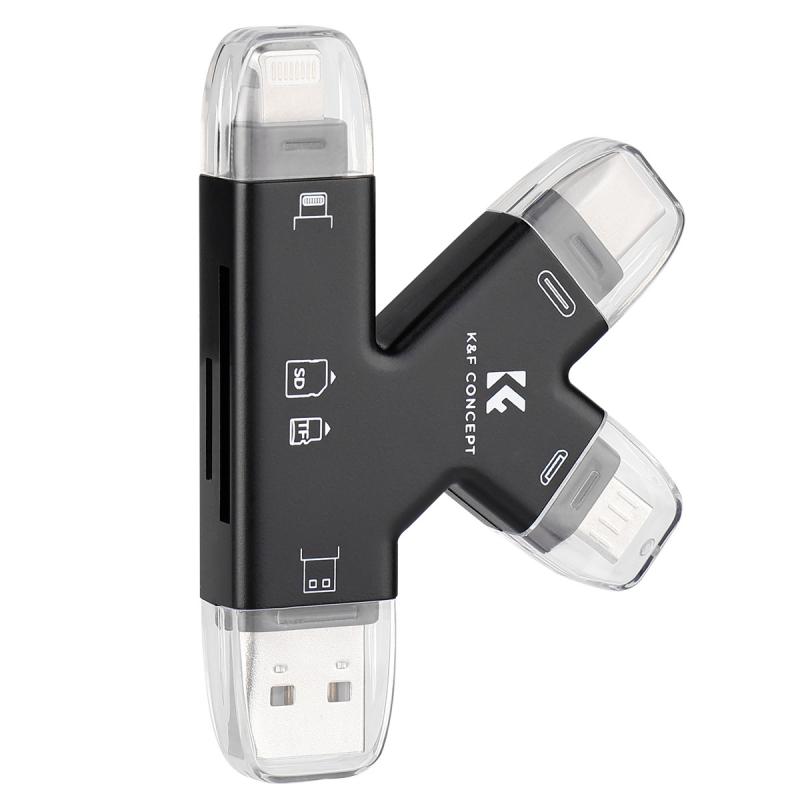
Sometimes, you may encounter issues when trying to access your SD card. Here are some common problems and their solutions:
1. SD Card Not Recognized: If your SD card is not appearing on your desktop or in Finder, try the following steps:
- Check Connections: Ensure that the SD card is properly inserted and that the card reader is securely connected to your MacBook Pro.
- Restart Your MacBook Pro: Sometimes, a simple restart can resolve recognition issues.
- Check Finder Preferences: Go to Finder > Preferences > General and ensure that "External disks" is checked. Also, check the "Sidebar" tab to make sure "External disks" is selected.
- Try a Different Card Reader or SD Card: The issue might be with the card reader or the SD card itself. Test with another card reader or SD card to isolate the problem.
2. Read/Write Errors: If you encounter errors while trying to read or write files on the SD card:
- Check for Physical Damage: Inspect the SD card for any physical damage or dirt on the metal contacts.
- Format the SD Card: If the card is not formatted correctly, you may need to format it. Be aware that formatting will erase all data on the card. To format, open Disk Utility (Applications > Utilities > Disk Utility), select the SD card, and choose "Erase." Select the appropriate format (usually "ExFAT" for compatibility with both macOS and Windows) and click "Erase."
3. Slow Transfer Speeds: If file transfers are slower than expected:
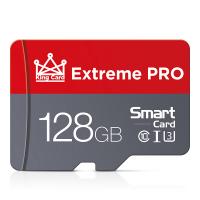
- Check Card Speed: Ensure that you are using a high-speed SD card (e.g., Class 10, UHS-I) and that your card reader supports high-speed transfers.
- Close Background Applications: Running multiple applications can slow down your MacBook Pro. Close unnecessary applications to free up system resources.
Managing SD Card Data
Once you have successfully accessed your SD card, you may want to manage the data on it. Here are some tips for efficient data management:
1. Organize Files: Create folders to organize your files logically. For example, you can create separate folders for photos, videos, and documents.
2. Backup Important Data: Regularly back up important files from your SD card to your MacBook Pro or an external hard drive to prevent data loss.
3. Use File Management Software: Consider using file management software like Adobe Bridge or Apple Photos for organizing and editing media files.
Accessing and managing an SD card on a MacBook Pro is a relatively simple process, whether you have a built-in SD card slot or need to use an external card reader. By following the steps outlined in this article, you can efficiently transfer and manage your files, troubleshoot common issues, and ensure that your data is well-organized and backed up. With these tips, you'll be well-equipped to handle any SD card-related tasks on your MacBook Pro.













There are no comments for this blog.