How To Operate A Camera Mounted Flash?
Operating a camera-mounted flash can be a game-changer for photographers, whether you're a beginner or a seasoned professional. Understanding how to use this tool effectively can significantly enhance the quality of your photos, especially in low-light conditions or when you need to fill in shadows. In this article, we will delve into the essentials of operating a camera-mounted flash, covering everything from basic setup to advanced techniques.
Understanding the Basics
1. Mounting the Flash
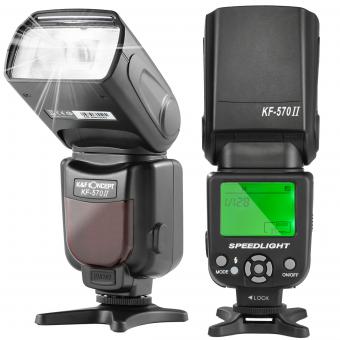
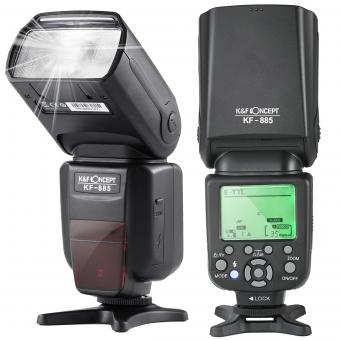
The first step in using a camera-mounted flash is, of course, mounting it onto your camera. Most flashes are designed to fit into the camera's hot shoe, a bracket located on the top of the camera body. Ensure that the flash is securely attached and locked into place to prevent it from falling off during use.
2. Powering On
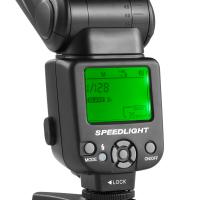
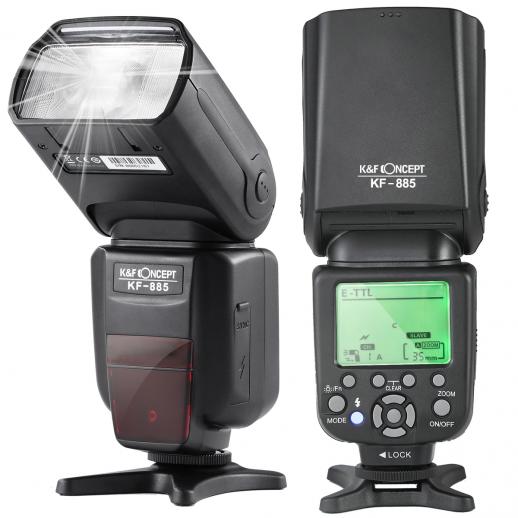
Once the flash is mounted, turn it on. Most flashes have a power switch or button. Some advanced models may also have an LCD screen that displays various settings. Make sure the flash is fully charged or has fresh batteries to avoid interruptions during your shoot.
3. Basic Settings
Familiarize yourself with the basic settings of your flash. These typically include:
- Mode: Most flashes have several modes, such as TTL (Through The Lens), Manual, and Multi. TTL mode automatically adjusts the flash output based on the camera's metering system, while Manual mode allows you to set the flash power manually.
- Zoom: The zoom setting adjusts the flash coverage to match the focal length of your lens. This helps in directing the light more precisely.
- Exposure Compensation: This setting allows you to increase or decrease the flash output to achieve the desired exposure.
Advanced Techniques
1. Bounce Flash
One of the most effective ways to use a camera-mounted flash is to bounce the light off a ceiling or wall. This technique diffuses the light, creating a softer and more natural look. To do this, tilt the flash head upwards or to the side, depending on your shooting environment. Bouncing the flash can significantly reduce harsh shadows and produce more flattering portraits.
2. Diffusers and Modifiers
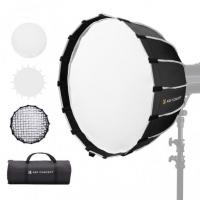
Using diffusers and other light modifiers can further soften the light from your flash. A diffuser is a simple attachment that spreads the light more evenly. Other modifiers, such as softboxes or bounce cards, can also be used to control the direction and quality of the light.
3. High-Speed Sync
High-Speed Sync (HSS) is a feature that allows you to use the flash at shutter speeds faster than the camera's native sync speed. This is particularly useful for outdoor photography when you need to balance the flash with bright ambient light. To enable HSS, consult your flash and camera manuals, as the process can vary between models.
4. Rear Curtain Sync
Rear Curtain Sync is a technique where the flash fires at the end of the exposure rather than at the beginning. This can create interesting motion blur effects, making it ideal for capturing dynamic subjects like dancers or athletes. To use this feature, set your camera to a slower shutter speed and enable Rear Curtain Sync in the flash settings.
Practical Tips
1. Avoid Red-Eye
Red-eye occurs when the flash is too close to the lens, causing light to reflect off the subject's retina. To minimize this, use a flash with a red-eye reduction mode or position the flash further away from the lens. You can also use post-processing software to correct red-eye in your photos.
2. Balancing Flash and Ambient Light
Achieving a natural look often involves balancing the flash with the ambient light. Start by setting your camera to expose for the ambient light, then adjust the flash output to fill in the shadows. This technique, known as fill flash, is particularly useful for outdoor portraits.
3. Using Flash Gels
Flash gels are colored filters that can be attached to your flash to match the color temperature of the ambient light. For example, if you're shooting under tungsten lighting, using an orange gel can help balance the color temperature, resulting in more natural-looking photos.
4. Experiment with Angles
Don't be afraid to experiment with different flash angles. Direct flash can be harsh and unflattering, but angling the flash or using bounce techniques can create more pleasing results. Try different positions and angles to see what works best for your subject and environment.
Troubleshooting Common Issues
1. Overexposure or Underexposure
If your photos are consistently overexposed or underexposed, check your flash settings. In TTL mode, you can use flash exposure compensation to adjust the output. In Manual mode, try adjusting the flash power or changing the distance between the flash and the subject.
2. Flash Misfires
Flash misfires can be frustrating, especially during important shoots. Ensure that your flash is fully charged and that the contacts between the flash and the camera are clean. If the problem persists, try resetting the flash or consulting the user manual for troubleshooting tips.
3. Slow Recycle Time
Recycle time is the duration it takes for the flash to recharge between shots. If you find the recycle time too slow, consider using high-capacity batteries or an external battery pack. Some flashes also have a power-saving mode that can help extend battery life.
Mastering the use of a camera-mounted flash can significantly elevate your photography, allowing you to capture well-lit, professional-quality images in a variety of settings. By understanding the basics, experimenting with advanced techniques, and troubleshooting common issues, you can make the most of this versatile tool. Whether you're shooting portraits, events, or creative projects, a camera-mounted flash can be an invaluable addition to your photographic arsenal.

