How To Position Ring Light For Zoom?
In the era of remote work and virtual meetings, having a professional and well-lit appearance on Zoom calls has become increasingly important. One of the most effective tools to achieve this is a ring light. However, simply owning a ring light is not enough; knowing how to position it correctly can make a significant difference in your on-screen presence. This article will guide you through the best practices for positioning a ring light for Zoom calls, ensuring you look your best in every virtual meeting.
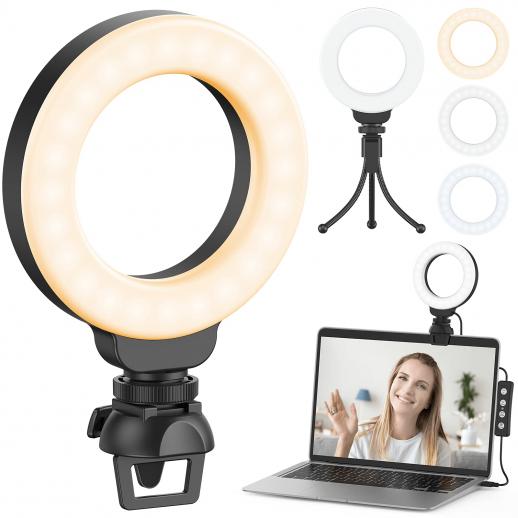
Understanding the Basics of Ring Light Positioning
Before diving into the specifics, it's essential to understand why ring light positioning matters. A ring light provides even, diffused lighting that minimizes shadows and highlights your features. Proper positioning can enhance your appearance, making you look more professional and approachable. Here are the key factors to consider:
1. Height and Angle: The height and angle of the ring light can dramatically affect how you look on camera. Ideally, the ring light should be positioned at eye level or slightly above, angled downwards to reduce shadows under your eyes and chin.
2. Distance: The distance between you and the ring light is crucial. Too close, and the light can be harsh and unflattering; too far, and it may not provide sufficient illumination. A good rule of thumb is to place the ring light about 2-3 feet away from your face.
3. Brightness and Color Temperature: Most ring lights come with adjustable brightness and color temperature settings. Adjust these settings to match the ambient lighting in your room and to complement your skin tone.
Step-by-Step Guide to Positioning Your Ring Light
Step 1: Set Up Your Workspace
Start by setting up your workspace. Ensure that your background is tidy and professional, as this will also contribute to your overall appearance on Zoom. Position your computer or webcam at eye level to avoid unflattering angles.
Step 2: Position the Ring Light
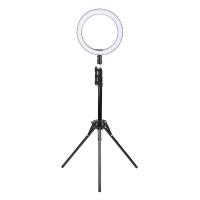
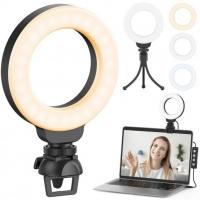
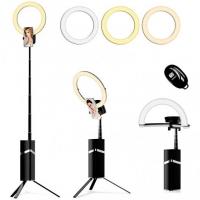
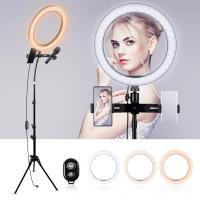
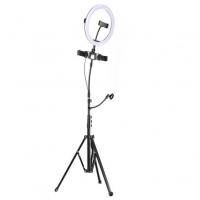
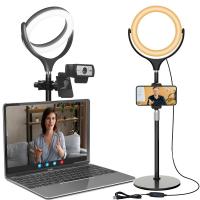
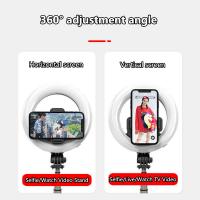
Place the ring light directly behind your webcam or laptop screen. This ensures that the light is evenly distributed across your face. If your ring light comes with a tripod, adjust the height so that the center of the ring is at eye level or slightly above.
Step 3: Adjust the Angle
Tilt the ring light downwards slightly. This angle helps to reduce shadows under your eyes and chin, creating a more flattering and even lighting effect. Avoid positioning the light too high or too low, as this can create unflattering shadows.
Step 4: Fine-Tune the Distance
Experiment with the distance between you and the ring light. Start with the light about 2-3 feet away from your face and adjust as needed. The goal is to achieve a soft, even illumination without harsh shadows or overly bright spots.
Step 5: Adjust Brightness and Color Temperature
Most ring lights have adjustable brightness and color temperature settings. Begin with a medium brightness level and adjust based on the ambient lighting in your room. For color temperature, aim for a natural, daylight-like setting (around 5000K) to avoid looking too warm or too cool on camera.
Additional Tips for Optimal Lighting
1. Use Natural Light: If possible, position yourself near a window to take advantage of natural light. Combine this with your ring light for a balanced and natural look.
2. Avoid Backlighting: Ensure that there are no strong light sources behind you, as this can create a silhouette effect and make it difficult for others to see your face clearly.
3. Diffuse the Light: If your ring light is too harsh, consider using a diffuser or placing a piece of white cloth over it to soften the light.
4. Check Your Appearance: Before joining a Zoom call, check your appearance in the video preview. Make any necessary adjustments to your lighting, camera angle, and background.
Common Mistakes to Avoid
1. Incorrect Height: Positioning the ring light too high or too low can create unflattering shadows. Always aim for eye level or slightly above.
2. Too Close or Too Far: Placing the ring light too close can result in harsh lighting, while positioning it too far may not provide sufficient illumination. Find the right balance.
3. Ignoring Ambient Light: Failing to account for the ambient light in your room can lead to an unnatural appearance. Adjust your ring light settings to complement the existing light.
4. Overexposure: Avoid setting the brightness too high, as this can wash out your features and create an unnatural look. Aim for a soft, even illumination.
Positioning a ring light correctly for Zoom calls can significantly enhance your on-screen appearance, making you look more professional and approachable. By following the steps outlined in this article, you can achieve optimal lighting that highlights your features and minimizes shadows. Remember to experiment with different settings and make adjustments based on your specific environment. With the right setup, you'll be ready to shine in every virtual meeting.















There are no comments for this blog.