How To Put A Camera Lens On?
Attaching a camera lens to your camera body is a fundamental skill that every photographer, whether amateur or professional, needs to master. This process, while seemingly straightforward, can be daunting for beginners. In this article, we will walk you through the steps to properly attach a camera lens, discuss common issues you might encounter, and provide tips to ensure you get the best performance from your equipment.
Understanding the Basics
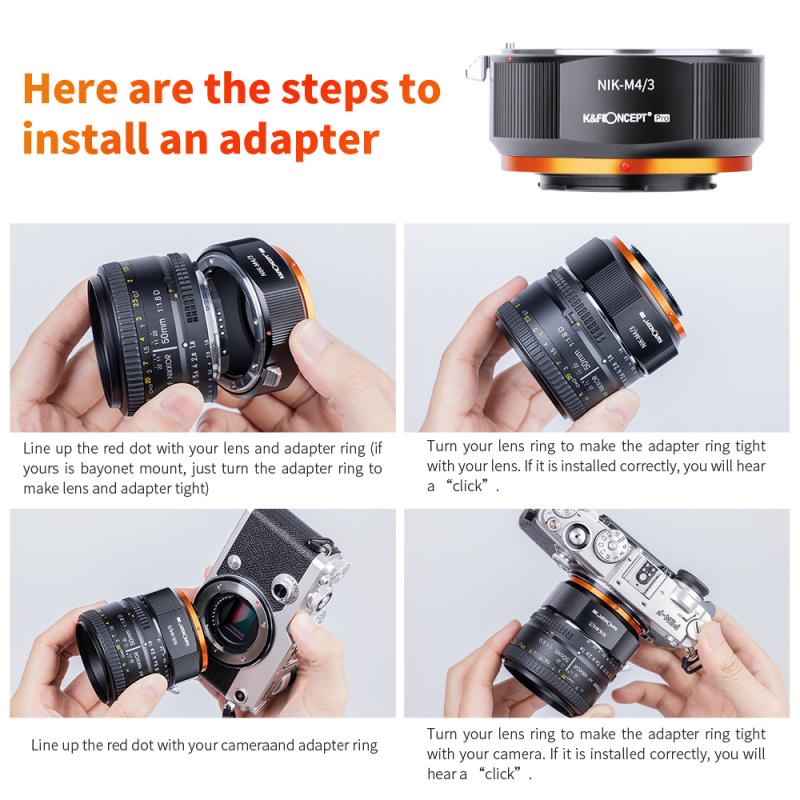
Before diving into the step-by-step process, it’s essential to understand the basic components involved:
1. Camera Body: This is the main part of your camera, which houses the sensor and the controls.
2. Lens: The optical component that focuses light onto the camera sensor.
3. Lens Mount: The interface on both the camera body and the lens that allows them to connect securely.
Different camera brands have different lens mounts, so ensure that your lens is compatible with your camera body.
Step-by-Step Guide to Attaching a Camera Lens
Step 1: Prepare Your Workspace
Find a clean, dust-free environment to change your lens. Dust and debris can easily get into your camera and lens, potentially damaging the sensor or affecting image quality.
Step 2: Turn Off Your Camera
Always turn off your camera before changing lenses. This helps prevent any electrical damage and reduces the risk of dust being attracted to the sensor due to static electricity.
Step 3: Remove the Rear Lens Cap and Body Cap
Both your camera body and lens will have protective caps. Remove the rear lens cap from the lens and the body cap from the camera. Keep these caps in a safe place as you will need them when you detach the lens.
Step 4: Align the Mounting Indexes
Most cameras and lenses have alignment marks (usually a dot or a line). Align these marks to ensure that the lens is positioned correctly before attaching it to the camera body.
Step 5: Attach the Lens
Gently insert the lens into the camera body, aligning the mounting indexes. Once aligned, rotate the lens clockwise (or counterclockwise, depending on your camera model) until you hear a click. This click indicates that the lens is securely attached.
Step 6: Check the Connection
Gently wiggle the lens to ensure it is firmly attached. There should be no movement between the lens and the camera body. If the lens feels loose, remove it and repeat the process.
Common Issues and Troubleshooting
Issue 1: Lens Won’t Attach
If the lens doesn’t seem to fit, double-check the alignment marks. Ensure that you are using a compatible lens for your camera body. Forcing a lens that doesn’t fit can damage both the lens and the camera.
Issue 2: Dust on the Sensor
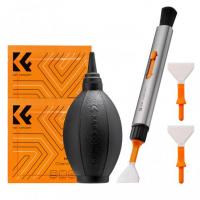
If you notice dust spots on your images, it’s likely that dust has entered the camera body during the lens change. Use a blower to gently remove dust from the sensor. Avoid using canned air as it can damage the sensor.
Issue 3: Autofocus Not Working
If the autofocus isn’t working after attaching the lens, ensure that the lens is fully attached and that the camera is set to autofocus mode. Check the lens contacts for any dirt or debris and clean them if necessary.
Tips for Maintaining Your Camera and Lenses
Tip 1: Regular Cleaning
Regularly clean your camera and lenses to maintain optimal performance. Use a microfiber cloth to clean the lens glass and a blower to remove dust from the camera body.
Tip 2: Use Lens Caps
Always use lens caps when the lens is not in use. This protects the lens from dust, scratches, and other potential damage.
Tip 3: Store Properly
Store your camera and lenses in a dry, cool place. Use a camera bag or case to protect your equipment from physical damage and environmental factors.
Tip 4: Avoid Changing Lenses in Harsh Conditions
Try to avoid changing lenses in windy, dusty, or wet conditions. If you must change lenses in such environments, do so quickly and shield your camera and lens as much as possible.
Advanced Considerations
Lens Calibration
Over time, you might notice that your lens isn’t focusing as accurately as it used to. This can be due to slight misalignments that occur with regular use. Many cameras offer a lens calibration feature that allows you to fine-tune the focus for each lens.
Firmware Updates
Both camera bodies and lenses can have firmware updates that improve performance or add new features. Check the manufacturer’s website regularly for updates and follow their instructions to keep your equipment up to date.
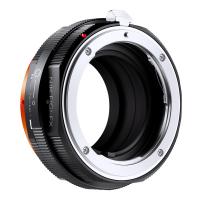
Using Lens Adapters
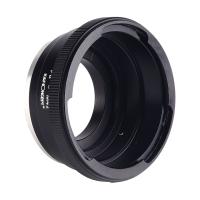
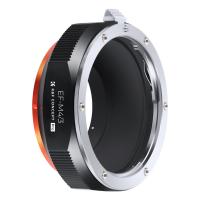
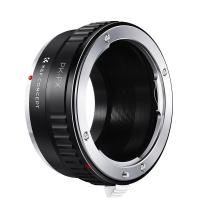
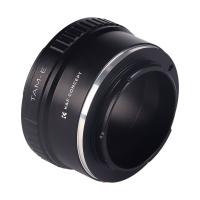
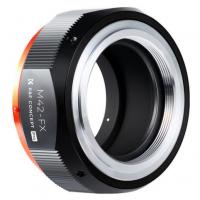
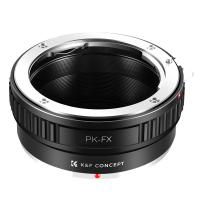
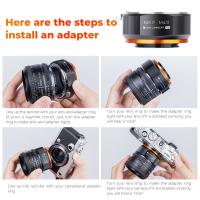
If you have lenses from different brands or older lenses, you might be able to use them with your camera body using a lens adapter. However, be aware that not all functions (like autofocus) may work with adapted lenses.
Attaching a camera lens is a fundamental skill that, once mastered, becomes second nature. By following the steps outlined in this article, you can ensure that your lens is properly attached, reducing the risk of damage and ensuring optimal performance. Regular maintenance and proper handling of your camera and lenses will extend their lifespan and keep your photography equipment in top condition.
Whether you are a beginner or an experienced photographer, understanding how to properly attach and care for your lenses is crucial. With practice and attention to detail, you can avoid common pitfalls and enjoy the full potential of your photography gear. Happy shooting!


