How To Put Bluetooth Speakers In Motorcycle Helmet?
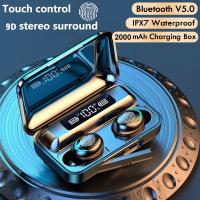
Integrating Bluetooth speakers into a motorcycle helmet can significantly enhance your riding experience by allowing you to listen to music, take calls, or receive GPS directions without compromising safety. This article will guide you through the process of installing Bluetooth speakers in your motorcycle helmet, ensuring a seamless and enjoyable ride.
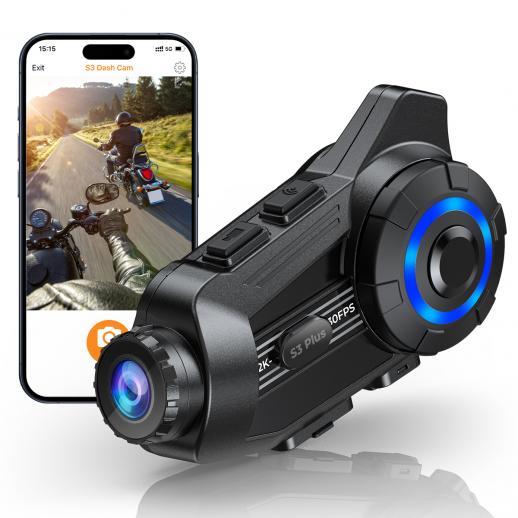
Understanding the Basics
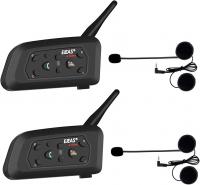
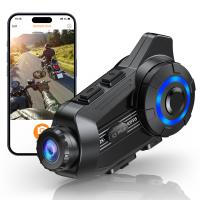
Before diving into the installation process, it's essential to understand the components and tools you'll need. Typically, a Bluetooth speaker system for a motorcycle helmet includes:
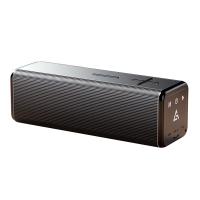
1. Bluetooth Speakers: These are small, compact speakers designed to fit inside the helmet.
2. Microphone: For making and receiving calls.
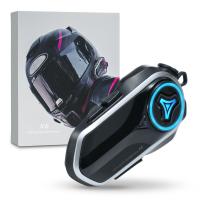
3. Bluetooth Module: This is the control unit that connects to your smartphone or other Bluetooth-enabled devices.
4. Wiring and Mounting Accessories: These include adhesive pads, Velcro strips, and clips to secure the components inside the helmet.
Step-by-Step Installation Guide
Step 1: Choose the Right Bluetooth System
There are various Bluetooth systems available on the market, ranging from basic models to advanced ones with noise-cancellation features. Some popular brands include Sena, Cardo, and UClear. Choose a system that fits your budget and meets your requirements.
Step 2: Prepare Your Helmet
Before installing the Bluetooth speakers, ensure your helmet is clean and dry. Remove any removable padding or liners to make the installation process easier. Familiarize yourself with the interior layout of your helmet to determine the best placement for the speakers and microphone.
Step 3: Position the Speakers
Most helmets have designated ear pockets or cutouts for speaker placement. If your helmet lacks these, you can create space by slightly modifying the padding. Position the speakers in these pockets, ensuring they align with your ears for optimal sound quality. Use the provided adhesive pads or Velcro strips to secure the speakers in place.
Step 4: Install the Microphone
The microphone should be positioned near your mouth for clear communication. Depending on your helmet type (full-face, modular, or open-face), you may need to adjust the microphone's placement. For full-face helmets, the microphone is usually mounted inside the chin bar. Use the provided mounting accessories to secure the microphone.
Step 5: Route the Wires
Carefully route the wires from the speakers and microphone to the Bluetooth module. Ensure the wires are tucked away neatly to avoid any discomfort or interference while wearing the helmet. Use adhesive clips or Velcro strips to secure the wires along the helmet's interior.
Step 6: Mount the Bluetooth Module
The Bluetooth module is typically mounted on the exterior of the helmet, usually on the left side for easy access. Use the provided mounting bracket or adhesive pad to secure the module. Ensure the module is easily accessible but does not interfere with your helmet's functionality.
Step 7: Test the System
Once all components are installed, test the Bluetooth system to ensure everything is working correctly. Pair the Bluetooth module with your smartphone or other devices and check the sound quality, microphone clarity, and overall functionality. Make any necessary adjustments to the speaker or microphone placement for optimal performance.
Tips for Optimal Performance
1. Sound Quality: Ensure the speakers are correctly aligned with your ears. Misalignment can result in poor sound quality and discomfort.
2. Microphone Placement: Position the microphone close to your mouth but not directly in front of it to avoid wind noise and distortion.
3. Wire Management: Keep the wires neatly tucked away to prevent any discomfort or interference while wearing the helmet.
4. Battery Life: Regularly charge the Bluetooth module to ensure it doesn't run out of power during your rides.
Safety Considerations
While Bluetooth speakers can enhance your riding experience, it's crucial to prioritize safety. Here are some safety tips to keep in mind:
1. Volume Control: Keep the volume at a reasonable level to ensure you can still hear surrounding traffic and emergency signals.
2. Distraction: Avoid getting too engrossed in music or phone calls. Stay focused on the road and your surroundings.
3. Legal Compliance: Check local laws and regulations regarding the use of Bluetooth devices while riding. Some regions may have restrictions or specific requirements.
Troubleshooting Common Issues
1. Poor Sound Quality: If you experience poor sound quality, check the speaker alignment and ensure they are securely positioned. Also, verify that the Bluetooth connection is stable.
2. Microphone Issues: If the microphone is not picking up your voice clearly, adjust its placement and ensure it's not obstructed by the helmet padding.
3. Connection Problems: If the Bluetooth module is not connecting to your device, ensure it's fully charged and within range. Restart both the module and your device if necessary.
Installing Bluetooth speakers in your motorcycle helmet can significantly enhance your riding experience by providing entertainment and communication capabilities. By following this step-by-step guide, you can ensure a seamless installation process and enjoy the benefits of a Bluetooth-enabled helmet. Remember to prioritize safety and stay focused on the road while using your Bluetooth system. Happy riding!













There are no comments for this blog.