How To Put Camera On Ring Light?
How to Mount a Camera on a Ring Light: A Comprehensive Guide
Whether you’re a professional content creator, an aspiring vlogger, or merely someone who loves capturing perfect selfies, having the right setup is crucial. One of the most popular configurations for getting optimal illumination and vibrant visuals is the combination of a camera and a ring light. This guide will walk you through the process of mounting a camera on a ring light, ensuring that you have a seamless and enhanced filming experience.
Understanding the Basics
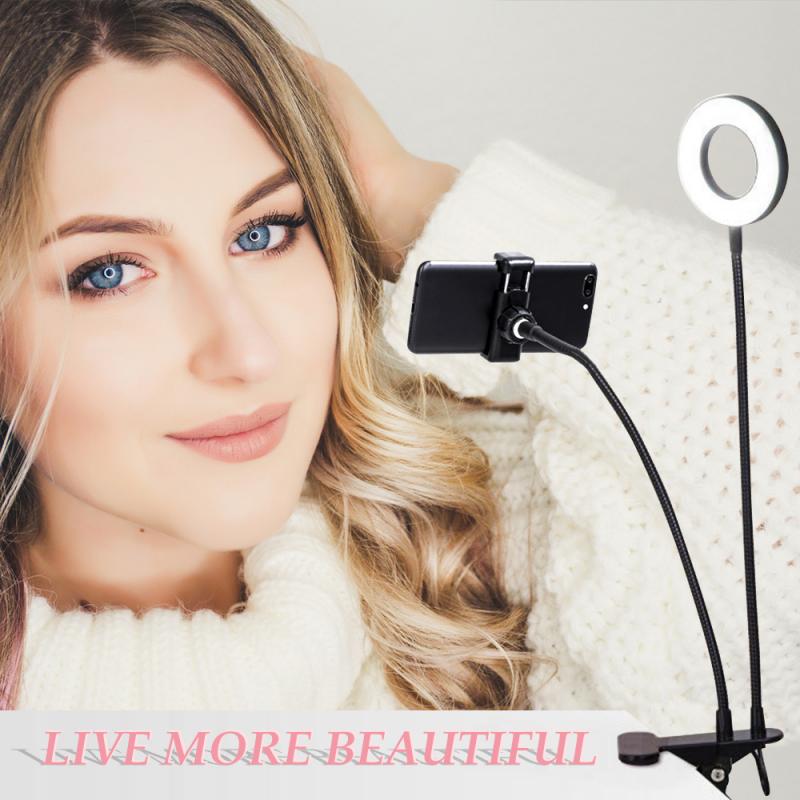
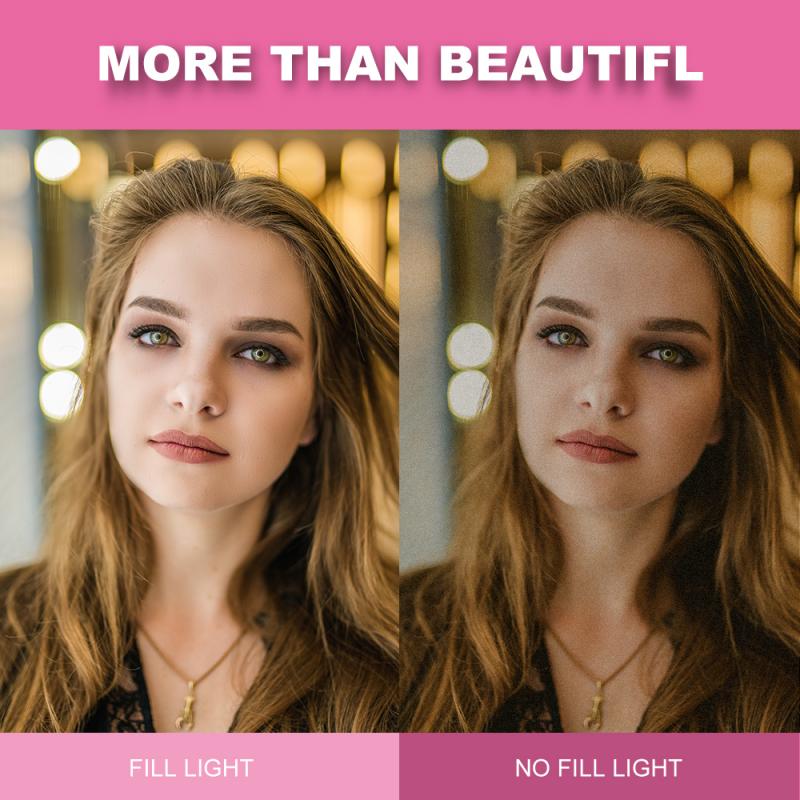
Before delving into the step-by-step instructions, it’s essential to understand why the combination of a camera and ring light is effective. Ring lights are designed to distribute light evenly around the subject, reducing shadows and enhancing details. This is particularly useful in photography and videography, ensuring that your subjects are well-lit and appear vibrant. Mounting the camera directly on the ring light ensures that the light source is aligned with the lens, providing flawless illumination.
Tools and Equipment Required
To mount your camera on a ring light, you will need the following tools and equipment:
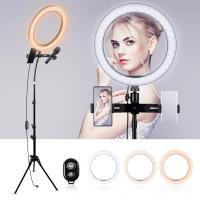
1. Ring Light: Ensure that your ring light is compatible with camera mounts and has the necessary attachment points.
2. Camera: Any camera with a standard tripod mount should work.
3. Mounting Bracket: Some ring lights come with their own mounting brackets. If yours doesn’t, you might need to purchase a compatible bracket.
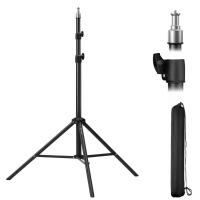
4. Tripod Stand (optional): For additional stability, a tripod stand may be required.
Step-by-Step Guide
Step 1: Prepare Your Ring Light
First, set up your ring light on a stable surface. If your ring light comes with a stand, extend the stand and secure it properly. Ensure that the ring light is positioned at a comfortable height. For best results, the light should be at the same level as the subject you intend to film or photograph.
Step 2: Attach the Mounting Bracket
If your ring light has a built-in camera mount, you can skip this step. Otherwise, attach the mounting bracket to the ring light. Most ring lights have a screw hole in the middle of the circle where the bracket can be fixed. Rotate the bracket’s screw until it is tightly secured to the ring light. Ensure there’s no wobble or loose fittings.
Step 3: Secure the Camera
Now, it’s time to mount your camera on the bracket. Align the camera’s screw hole with the mounting screw on the bracket. Carefully rotate the screw, ensuring it fits tightly into the camera. Once secure, gently tug the camera to confirm that it’s stable and won’t loosen or fall during use.
Step 4: Adjust the Angle
After securing the camera, adjust the angle based on your filming needs. Most brackets will allow you to tilt and rotate the camera. Make sure the lens aligns perfectly with the ring light’s center for consistent lighting. Fine-tune the angle until you achieve the desired framing and focus.
Step 5: Power Up and Test
With the camera mounted and the angle set, power on both the ring light and the camera. Conduct a test shot or recording to ensure that the lighting is even and the camera is stable. Check for any shadows or glares, and make necessary adjustments. If the lighting is too harsh, consider adjusting the ring light’s brightness or adding a diffuser.
Additional Tips
Use a Tripod for Added Stability
While most ring lights will sit stably on their stands, using a tripod can provide additional support, especially if you’re filming extended content. A tripod will help prevent any accidental knocks or movements that could disrupt your recording.
Experiment with Light Settings
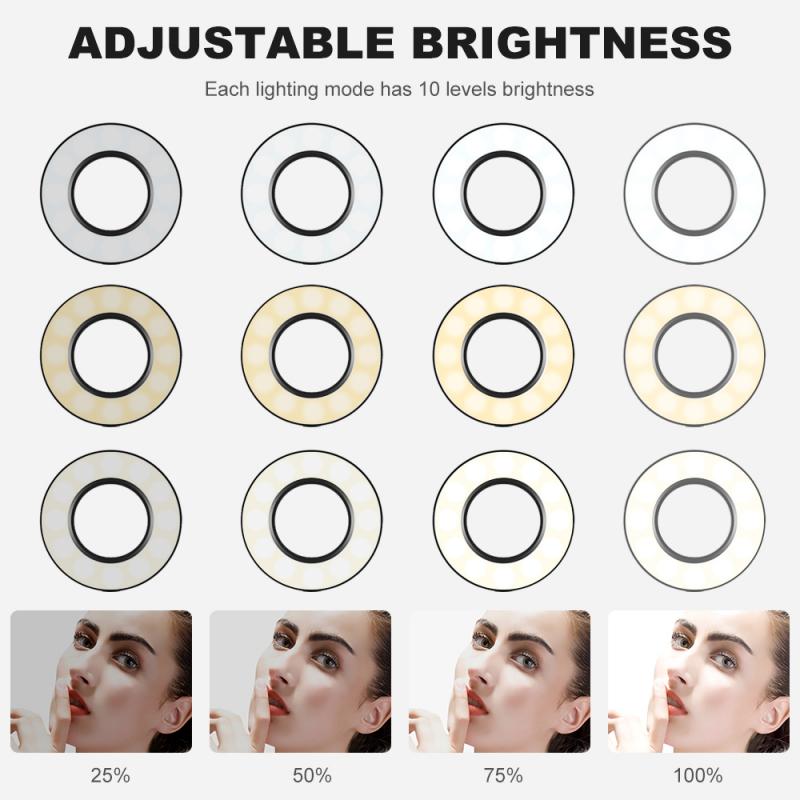
Many ring lights come with adjustable brightness and color temperatures. Experiment with these settings to find the best lighting for your setup. Warmer temperatures are often more flattering for skin tones, while cooler light can bring out more detail.
Cable Management
Ensure that the power cables and any connection cords do not obstruct your setup. Secure them neatly to prevent them from becoming a tripping hazard or pulling on the ring light or camera.
Use a Remote Trigger
If your camera has the functionality, consider using a remote trigger. This allows you to start and stop recording or take photos without touching the camera, thereby avoiding any potential shaking or misalignment.
Regular Maintenance
After multiple uses, ensure that all screws and brackets remain tight. Regular maintenance prevents any wear and tear from causing your setup to become unstable.
Common Problems and Solutions
Camera Weight
Some cameras might be too heavy for certain ring light mounts. If you notice the bracket struggling to hold the weight, consider using a more robust mounting solution or a support arm to alleviate some of the pressure.
Balancing Light and Camera
If you’re unable to get a balance between your camera and the ring light, consider repositioning the ring light or using secondary light sources to fill in the gaps.
Glares and Reflective Surfaces
Glares can be an issue, especially with glasses or shiny surfaces. Adjusting the angle of the ring light or adding a diffuser can help minimize these unwanted reflections.
Mounting a camera on a ring light might seem initially challenging, but with the right tools and a methodical approach, it’s quite straightforward. This setup offers an incredible way to achieve professional-quality lighting for your videos and photos. By following the steps outlined in this guide, you’ll ensure a stable, well-illuminated setup that can enhance the quality of your content, making sure your visual output always stands out.
Whether you’re a novice or a seasoned pro, understanding how to effectively combine lighting and camera placement can have a profound impact on your work. Take the time to experiment, make adjustments, and find the settings that best meet your needs. Happy filming!


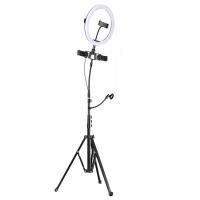
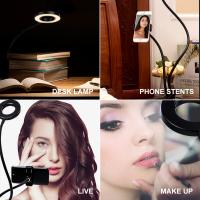
![K&F Concept Selfie Ring Light with Cell Phone Holder for Live Stream and Makeup, LED Light [3-Light Mode] [10-Level Brightness] with Remote Control and Flexible Hose Bracket for iPhone Android【Ship to the US Only】 K&F Concept Selfie Ring Light with Cell Phone Holder for Live Stream and Makeup, LED Light [3-Light Mode] [10-Level Brightness] with Remote Control and Flexible Hose Bracket for iPhone Android【Ship to the US Only】](https://img.kentfaith.com/cache/catalog/products/us/KF34.001/KF34.001-1-200x200.jpg)








There are no comments for this blog.