How To Put Screen Record With Sound?
Screen recording with sound has become an essential tool for many users, whether for creating tutorials, recording gameplay, or capturing important moments on their devices. However, the process can sometimes be confusing, especially with the variety of devices and software available. This article aims to provide a comprehensive guide on how to screen record with sound across different platforms, ensuring you can capture both video and audio seamlessly.
Understanding the Basics of Screen Recording
Before diving into the specifics, it's important to understand the basic components of screen recording:
1. Video Capture: This involves recording the visual output of your screen.
2. Audio Capture: This includes recording system sounds, microphone input, or both.
Screen Recording on Different Platforms
1. Windows
Windows offers several methods to screen record with sound, ranging from built-in tools to third-party software.
Using Xbox Game Bar:
1. Press `Win + G` to open the Xbox Game Bar.
2. Click on the "Capture" widget.
3. Ensure the microphone icon is toggled on if you want to record external audio.
4. Click the "Start Recording" button (or press `Win + Alt + R`).
Using OBS Studio:
1. Download and install OBS Studio from the official website.
2. Open OBS Studio and create a new scene.
3. Add a "Display Capture" source to capture your screen.
4. Add an "Audio Input Capture" source to record from your microphone.
5. Add an "Audio Output Capture" source to record system sounds.
6. Click "Start Recording" to begin.
2. MacOS
Mac users can utilize the built-in QuickTime Player or third-party applications like ScreenFlow.
Using QuickTime Player:
1. Open QuickTime Player.
2. Go to `File > New Screen Recording`.
3. Click the drop-down arrow next to the record button to select your audio source.
4. Click the record button to start recording.
Using ScreenFlow:
1. Download and install ScreenFlow.
2. Open ScreenFlow and create a new recording.
3. Select the screen and audio sources you want to capture.
4. Click "Record" to start.
3. iOS
iOS devices have a built-in screen recording feature that can capture both video and audio.
Using the Built-in Screen Recorder:
1. Go to `Settings > Control Center > Customize Controls`.
2. Add "Screen Recording" to your Control Center.
3. Open the Control Center and long-press the screen recording button.
4. Toggle on the microphone if you want to record external audio.
5. Tap "Start Recording".
4. Android
Android devices may vary, but most modern devices have a built-in screen recording feature.
Using the Built-in Screen Recorder:
1. Swipe down to access the Quick Settings menu.
2. Look for the screen recording icon and tap it.
3. Toggle on the microphone if you want to record external audio.
4. Tap "Start" to begin recording.
Using Third-Party Apps:
1. Download a screen recording app like AZ Screen Recorder from the Google Play Store.
2. Open the app and configure your recording settings.
3. Tap the record button to start.
Tips for High-Quality Screen Recording
1. Check Audio Levels: Ensure your microphone and system audio levels are balanced to avoid distortion.
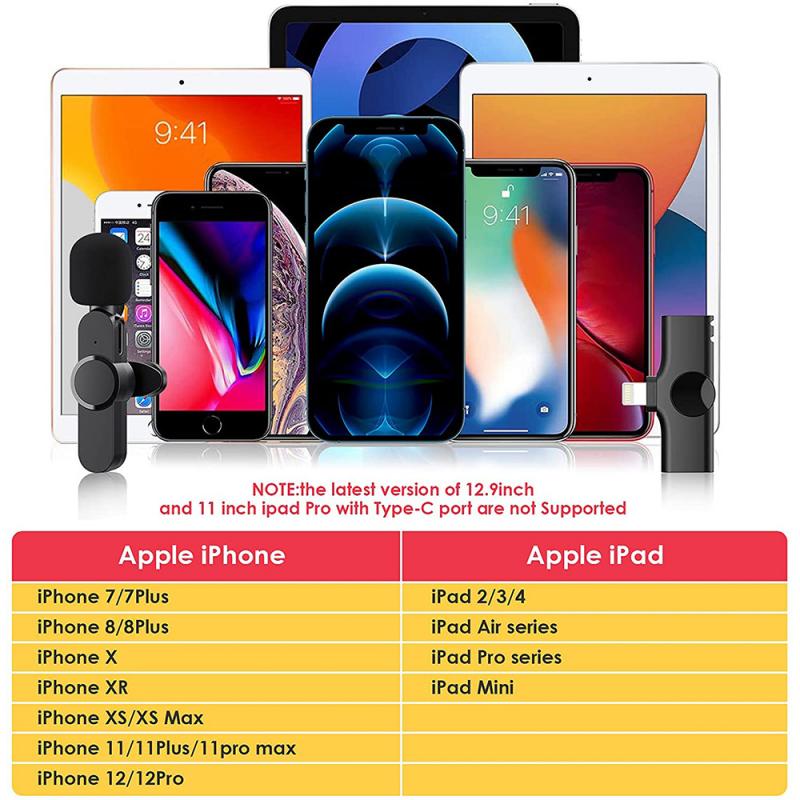
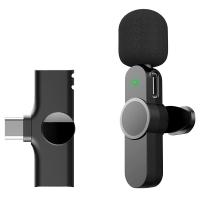
2. Use a Good Microphone: External microphones often provide better audio quality than built-in ones.
3. Minimize Background Noise: Record in a quiet environment to reduce unwanted noise.
4. Test Before Recording: Do a test recording to ensure everything is working correctly.
5. Edit Your Recording: Use video editing software to trim, enhance, and polish your recordings.
Troubleshooting Common Issues
1. No Sound in Recording:
- Ensure the correct audio source is selected.
- Check if the microphone is muted.
- Update your audio drivers.
2. Poor Audio Quality:
- Use a higher quality microphone.
- Record in a quieter environment.
- Adjust the audio input levels.
3. Recording Lag:
- Close unnecessary applications to free up system resources.
- Lower the recording resolution or frame rate.
- Ensure your device meets the software's system requirements.
Screen recording with sound is a powerful tool that can be used for various purposes, from creating educational content to capturing memorable moments. By understanding the different methods available on various platforms and following best practices, you can ensure high-quality recordings every time. Whether you're using built-in tools or third-party software, the key is to experiment and find the setup that works best for your needs. Happy recording!








There are no comments for this blog.