How To Put Voice Recording Over Video?
Adding a voice recording over a video is a common task for content creators, educators, and professionals who want to enhance their visual content with audio narration. Whether you're creating a tutorial, a presentation, or a vlog, knowing how to effectively overlay voice recordings can significantly improve the quality and engagement of your video. In this article, we will explore the various methods and tools available for adding voice recordings to videos, providing a step-by-step guide to help you achieve professional results.
Understanding the Basics
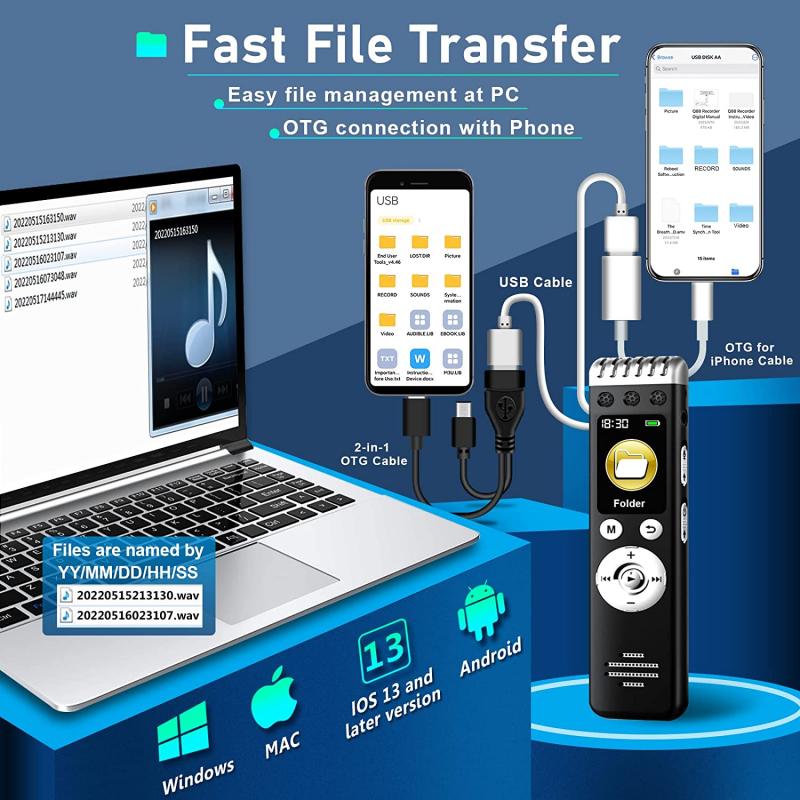
Before diving into the technical aspects, it's essential to understand the basic requirements for adding voice recordings to videos. The process generally involves three main steps:
1. Recording the Voiceover: This can be done using a microphone and audio recording software.
2. Editing the Audio: Ensuring the audio is clear, free of background noise, and appropriately timed.
3. Syncing the Audio with the Video: Using video editing software to align the voice recording with the visual content.
Tools and Software
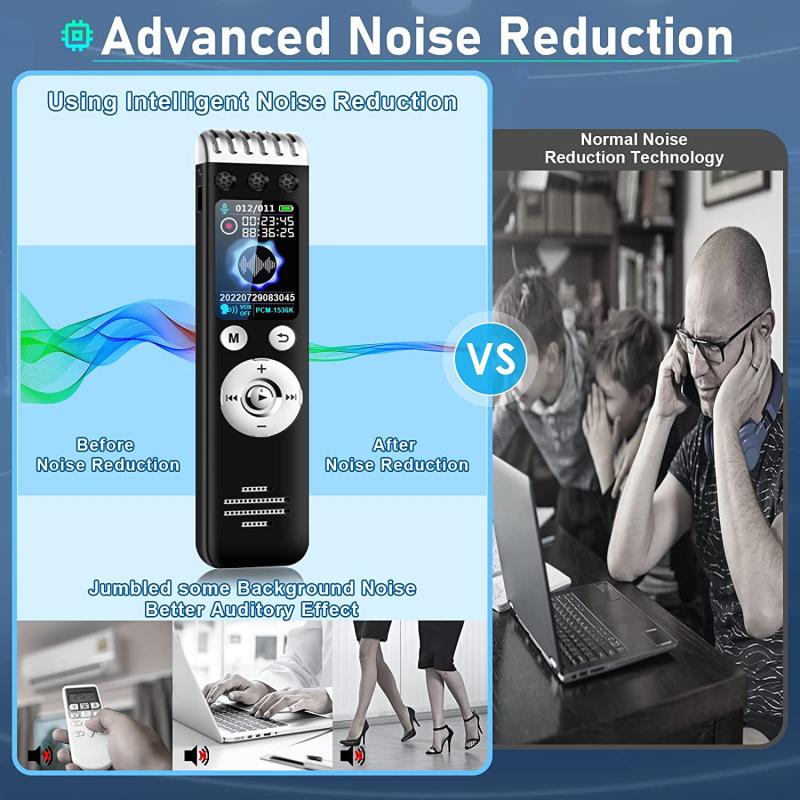
Several tools and software options are available for recording and editing voiceovers and videos. Here are some popular choices:
- Audacity: A free, open-source audio recording and editing software.
- Adobe Audition: A professional audio editing tool with advanced features.
- iMovie: A user-friendly video editing software for Mac users.
- Adobe Premiere Pro: A professional video editing software with extensive features.
- Final Cut Pro: Another professional video editing software for Mac users.
- Camtasia: A screen recording and video editing tool that is great for creating tutorials.
Step-by-Step Guide
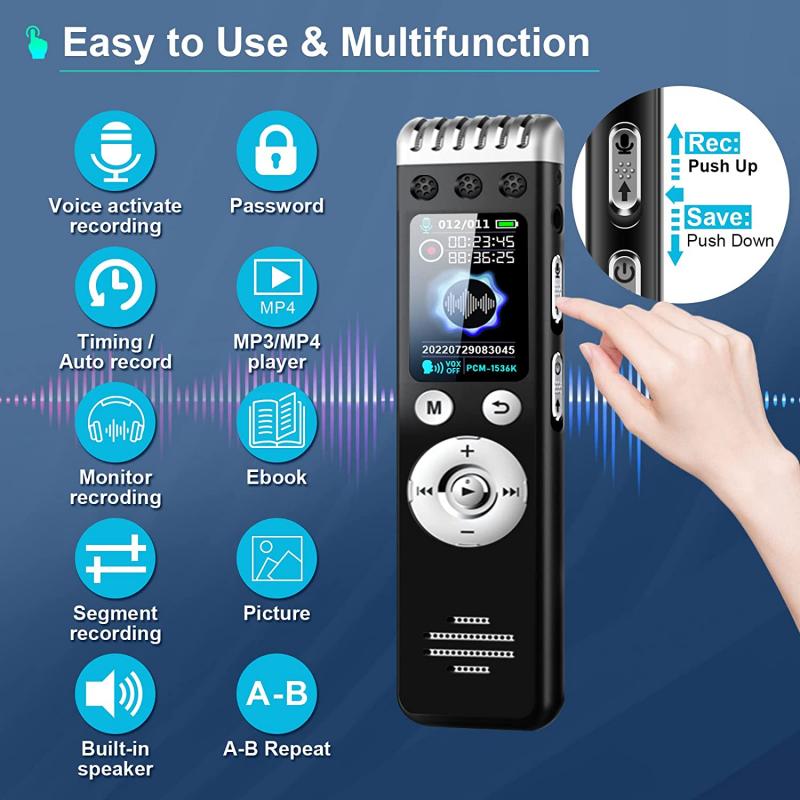
Step 1: Recording the Voiceover
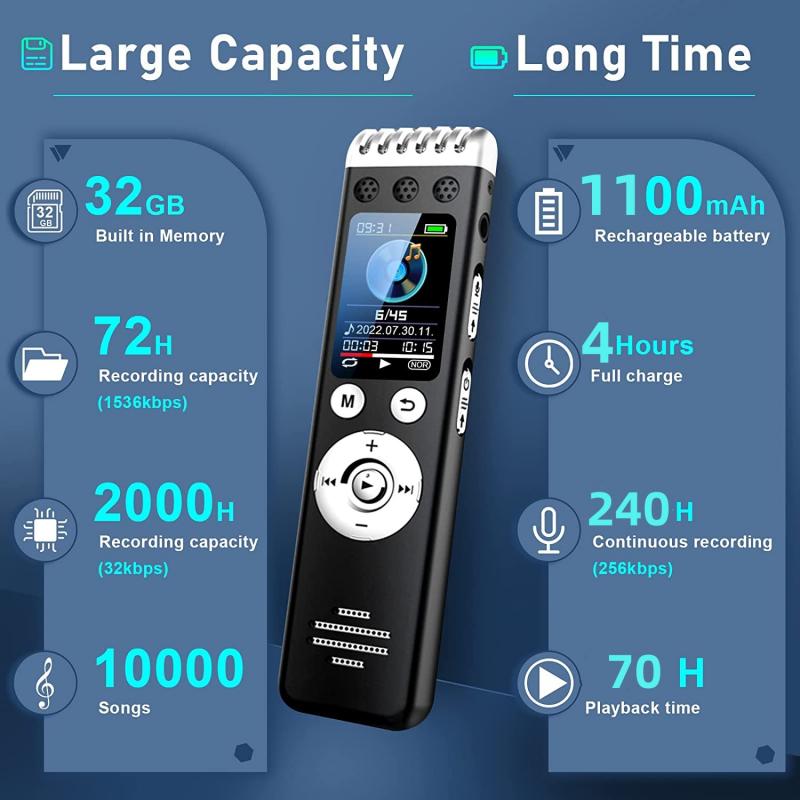
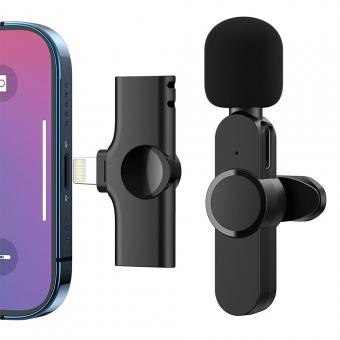
1. Choose Your Microphone: Invest in a good quality microphone to ensure clear and crisp audio. USB microphones like the Blue Yeti or XLR microphones with an audio interface are popular choices.
2. Set Up Your Recording Environment: Find a quiet space to record your voiceover. Use soundproofing materials if necessary to minimize background noise.
3. Use Audio Recording Software: Open your chosen audio recording software (e.g., Audacity or Adobe Audition). Set the microphone as the input device and adjust the recording settings (sample rate, bit depth, etc.).
4. Record the Voiceover: Press the record button and start speaking. Make sure to speak clearly and at a consistent volume. Pause and re-record if you make any mistakes.
5. Save the Audio File: Once you're satisfied with the recording, save the audio file in a high-quality format (e.g., WAV or MP3).
Step 2: Editing the Audio
1. Import the Audio File: Open the audio file in your audio editing software.
2. Remove Background Noise: Use noise reduction tools to eliminate any unwanted background noise.
3. Adjust the Volume Levels: Normalize the audio to ensure consistent volume levels throughout the recording.
4. Cut and Trim: Remove any unnecessary parts of the recording, such as long pauses or mistakes.
5. Add Effects (Optional): You can add effects like equalization, compression, or reverb to enhance the audio quality.
6. Export the Edited Audio: Save the edited audio file in a high-quality format.
Step 3: Syncing the Audio with the Video
1. Import the Video and Audio Files: Open your video editing software (e.g., Adobe Premiere Pro, iMovie, or Camtasia) and import both the video and the edited audio files.
2. Align the Audio with the Video: Drag the audio file to the timeline and align it with the video. Make sure the voiceover matches the visual content.
3. Adjust the Timing: If necessary, cut or extend parts of the audio to ensure it syncs perfectly with the video.
4. Add Background Music (Optional): If you want to add background music, import the music file and adjust its volume so it doesn't overpower the voiceover.
5. Preview the Video: Play the video to ensure the audio and video are perfectly synced and make any final adjustments.
6. Export the Final Video: Once you're satisfied with the result, export the video in your desired format and resolution.
Tips for a Professional Finish
- Script Your Voiceover: Write a script for your voiceover to ensure clarity and coherence. Practice reading it a few times before recording.
- Use a Pop Filter: A pop filter can help reduce plosive sounds (like "p" and "b") that can cause distortion in the recording.
- Monitor Audio Levels: Keep an eye on the audio levels while recording and editing to avoid clipping or distortion.
- Consistent Tone and Pace: Maintain a consistent tone and pace throughout the voiceover to keep the audience engaged.
- Test Different Microphone Positions: Experiment with different microphone positions to find the best sound quality.
Common Challenges and Solutions
- Background Noise: Use noise reduction tools and record in a quiet environment to minimize background noise.
- Audio Sync Issues: Carefully align the audio with the video and use markers or timestamps to ensure precise syncing.
- Poor Audio Quality: Invest in a good quality microphone and use audio editing tools to enhance the recording.
- Inconsistent Volume Levels: Normalize the audio and use compression to maintain consistent volume levels.
Adding a voice recording over a video can significantly enhance the quality and engagement of your content. By following the steps outlined in this guide and using the right tools, you can achieve professional results that captivate your audience. Whether you're creating educational content, tutorials, or vlogs, mastering the art of voiceover can elevate your videos to the next level. Remember to invest in good equipment, practice your delivery, and take the time to edit and sync your audio carefully. With these tips and techniques, you'll be well on your way to creating compelling and polished videos.

