How To Record Audio On A Macbook?
Mastering Audio Recording on a MacBook: A Comprehensive Guide
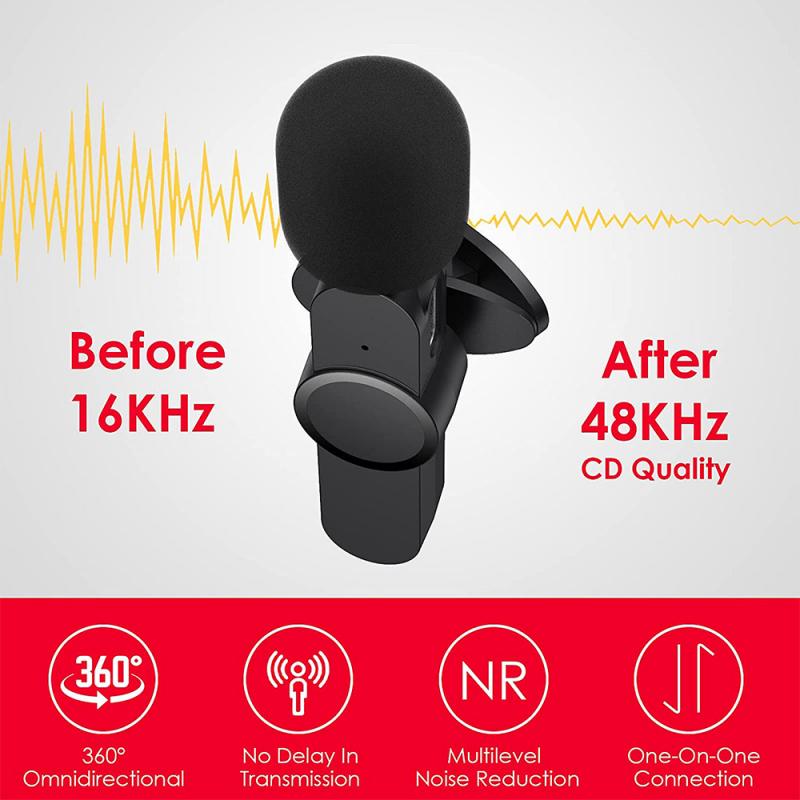
Recording audio on a MacBook is an essential skill for students, professionals, podcasters, musicians, and casual users alike. Whether you’re looking to create high-quality content, capture notes from a meeting, or record your next musical masterpiece, macOS provides a suite of tools that cater to your needs. This article breaks down the various methods for audio recording on a MacBook, from built-in solutions to third-party options, so you can choose the best fit for your requirements.
---
Why Use a MacBook for Audio Recording?
MacBooks are renowned for their user-friendly interface, reliable hardware, and seamless integration with professional audio software. Here are a few reasons why they’re ideal for audio recording:
1. High-Quality Microphones: Modern MacBooks come equipped with advanced microphones, which ensure clarity and reduce background noise.
2. Robust Software Ecosystem: macOS offers a variety of built-in and third-party applications for audio recording and editing.
3. Portability: The lightweight design makes it easy to record audio anywhere, anytime.
Whether you’re using a built-in mic or an external device, MacBooks adapt well to diverse audio recording scenarios.
---
Preparation: Setting Up Your MacBook for Recording
Before diving into the recording process, it’s essential to optimize your MacBook for the best results:
1. Check Your Microphone:
- For casual recordings, the built-in microphone suffices. Ensure your MacBook’s microphone is clean and unobstructed.
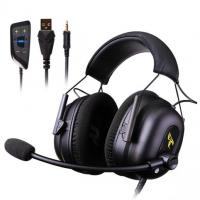
- For professional-grade recordings, consider an external microphone. USB mics are plug-and-play, while XLR mics may require an audio interface.
2. Minimize Background Noise:
- Record in a quiet environment to reduce unwanted sounds.
- Use noise-dampening materials, like foam or heavy curtains, if recording in an echo-prone room.
3. Adjust Audio Settings:
- Go to `System Preferences` > `Sound` > `Input` to select your preferred microphone and adjust the input volume.
4. Install Necessary Software:
- Depending on your needs, download apps like GarageBand, QuickTime Player, or professional tools like Logic Pro or Audacity.
---
Methods for Audio Recording on a MacBook
1. Using QuickTime Player (For Basic Needs)
QuickTime Player is a pre-installed application that provides a simple and effective way to record audio.
Steps:
1. Open QuickTime Player.
2. Click `File` > `New Audio Recording`.
3. In the recording window, click the dropdown arrow next to the red record button.
- Choose your input source (e.g., internal mic or external mic).
- Adjust the input quality settings (choose "High" for better results).
4. Click the red button to start recording.
5. Click the same button to stop the recording. Save the file to your desired location.
Best For:
Quick voice memos, personal notes, or basic recordings.
---
2. Using GarageBand (For Music and Podcasts)
GarageBand is a powerful, free DAW (Digital Audio Workstation) included with macOS, making it perfect for creating music, podcasts, or layered audio projects.
Steps:
1. Open GarageBand and select a project template (e.g., "Empty Project").
2. Set up a new audio track by clicking `Track` > `New Track` > `Audio`.
- Choose between “Microphone” or “Instrument” based on your input device.
3. Configure input and output settings:
- Use the track settings to enable monitoring and adjust input levels.
4. Click the red record button to begin recording.
5. Use GarageBand’s editing tools to trim, layer, or add effects.
6. Export your audio by clicking `Share` > `Export Song to Disk`.
Best For:
Musicians, podcasters, and users requiring multi-track recording and advanced editing features.
---
3. Using Voice Memos App (For Convenience)
The Voice Memos app is simple, fast, and synced with your iCloud for easy access across Apple devices.
Steps:
1. Open the Voice Memos app.
2. Click the red record button to start recording.
3. Tap `Pause` or `Done` to stop and save the recording.
4. Rename and organize recordings for easy retrieval.
Best For:
Quick recordings, interviews, and capturing ideas on the go.
---
4. Using Third-Party Software (For Advanced Features)
If your requirements exceed what Apple’s native apps provide, consider using third-party software:
- Audacity: A free, open-source audio editor that supports multi-track recording and extensive post-processing options.
- Logic Pro: Apple’s professional-grade DAW, ideal for music production and complex audio projects.
- Adobe Audition: Perfect for audio editing, mixing, and mastering, favored by podcasters and sound designers.
General Steps:
1. Install the chosen software from its official website or the Mac App Store.
2. Connect your input device (if using an external microphone).
3. Follow the software’s instructions to set up your project, record audio, and edit as needed.
Best For:
Professional audio creators, sound engineers, and those with advanced editing needs.
---
Enhancing Audio Quality
Recording audio is only part of the process. To ensure your recordings are of the highest quality, consider the following:
1. Use Pop Filters and Windscreens:
- These tools reduce plosive sounds and wind noise, especially for vocals.
2. Apply Post-Processing:
- Use noise reduction tools to clean up background noise.
- Normalize and equalize your audio to balance sound levels.
3. Experiment with Effects:
- Tools like GarageBand and Logic Pro offer reverb, compression, and other effects to enhance your recordings.
4. Monitor While Recording:
- Use headphones to monitor the input and detect issues in real-time.
---
Troubleshooting Common Issues
1. Low Audio Quality
- Ensure your microphone is working properly and not obstructed.
- Increase input levels in `System Preferences`.
2. Background Noise
- Use noise reduction tools in GarageBand or Audacity.
- Record in a quieter environment.
3. External Microphone Not Detected
- Check the USB or audio interface connection.
- Verify input device settings in `System Preferences`.
4. Software Crashes
- Ensure macOS and your recording software are up-to-date.
- Close unnecessary applications to free up system resources.
---
Practical Applications of MacBook Audio Recording
1. Content Creation:
- Record podcasts, voiceovers, or video narration.
- Create tutorial or educational content.
2. Music Production:
- Compose and produce tracks with GarageBand or Logic Pro.
- Capture live instrument sessions or vocal performances.
3. Professional Use:
- Record meetings or presentations for later review.
- Create audio documentation for projects.
4. Personal Use:
- Maintain a digital diary with voice memos.
- Record interviews or conversations for personal archives.
---
Final Thoughts
Recording audio on a MacBook is straightforward, thanks to its versatile tools and intuitive interface. By choosing the right method—whether it’s QuickTime Player for simplicity, GarageBand for creative projects, or third-party software for advanced capabilities—you can tailor the recording process to your specific needs. With a bit of preparation and practice, you’ll be able to produce professional-quality audio recordings directly from your MacBook.
Whether you’re a beginner or an experienced audio producer, the tips and techniques shared in this guide will empower you to make the most of your MacBook’s audio recording capabilities. Start experimenting today, and turn your creative ideas into reality!














There are no comments for this blog.