How To Record Audio On Xbox Clips?
Recording audio on Xbox clips can elevate your gameplay content by adding commentary, capturing in-game sound effects, or even recording live interactions with friends. While Xbox provides a powerful set of tools for capturing video gameplay, recording high-quality audio requires understanding the platform's built-in features as well as external options for fine-tuning the audio experience.
In this article, we'll walk you through the process of recording audio on Xbox clips. From adjusting settings to understanding compatible tools and troubleshooting common issues, this guide will cover everything you need to know to improve your Xbox recording setup.
Understanding Xbox Game Clips and Recording Features
Before we dive into how to record audio on Xbox clips, let's take a step back and understand how Xbox handles game recording.
Xbox offers a built-in feature called Game DVR, which allows players to capture video and audio of their gaming sessions. The primary function of this tool is to let you record clips for sharing with friends, social media, or creating content. By default, Xbox records the in-game sound and party chat audio (if you're in a party), but additional configurations are needed for specific audio requirements.
The Xbox console provides multiple ways to capture video and audio:
1. Manual Recording: You can start and stop recordings using the Xbox controller.
2. Automatic Recording: Xbox automatically records the last 30 seconds to 5 minutes of gameplay (depending on your settings), giving you a chance to save a clip if something noteworthy happens unexpectedly.
Now that you're familiar with the basic functionality, let's explore how to ensure the best audio recording quality.
Step-by-Step Guide: How to Record Audio on Xbox Clips

1. Setting Up Your Xbox for Audio Recording
To start recording, the first thing you’ll want to do is make sure your Xbox is set up to capture the appropriate audio. Here’s how to configure it:
1. Go to the Settings Menu: Press the Xbox button to open the guide, and navigate to Profile & System > Settings.
2. Select Audio Settings: Under the General tab, go to Volume & Audio Output.
3. Adjust Audio Output Settings:
- Ensure your Audio Output is set correctly, whether you’re using a headset or speakers.
- Select Stereo uncompressed or Windows Sonic for Headphones (if you're using a headset), as these will provide the clearest sound for your recordings.
4. Enable Chat Mixer: Under Audio settings, ensure that the Chat Mixer is set to “Do Nothing” for the best balance between game audio and chat audio.
These settings ensure your Xbox is primed to capture both game sound and voice chat (if you're in a party or multiplayer session).
2. Recording Your Gameplay with Audio
Now that your Xbox is set up for optimal audio, it’s time to start recording. Here’s how to do it:
1. Record Manually:
- To start recording your gameplay, press the Xbox button to bring up the guide, then navigate to the Capture & Share tab.
- Select Start Recording to capture the last 30 seconds of gameplay.
- If you want to record for a longer duration, press Record from now to start recording from the moment you press the button. The maximum recording time is usually up to 10 minutes, but this can vary based on your settings.
2. Record Automatically:
- If you want Xbox to capture video automatically when something exciting happens, adjust the Recording length under Settings > Capture & Share.
- Xbox will save the last 30 seconds to 5 minutes of your gameplay depending on your preference, but remember, the audio is only captured when it’s within this window.
3. Recording Party Chat Audio
If you want to include party chat audio in your Xbox clip (such as voice chat with friends), follow these steps:
1. Join a Party: Open the Xbox Guide, navigate to the Parties & Chats tab, and join or create a party with your friends.
2. Ensure Party Audio is Included:
- Go to Settings > Audio > Party Chat Output, and set this to Headset (if you want to hear your friends' voices through your headset).
- Adjust the Chat Mixer to control the balance between game sound and party chat. If you want party chat to be included in the recording, select Do Nothing.
3. Record Your Clip: Now, when you start recording a clip, it will automatically include both the game audio and any conversations in the party chat.
4. Using a Microphone for Commentary
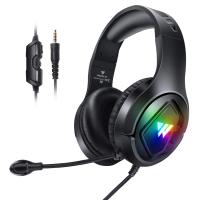
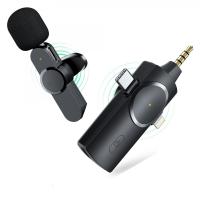
For those looking to add their voice commentary to their gameplay clips, using a separate microphone is essential. Here’s how to set up a microphone for better audio clarity:
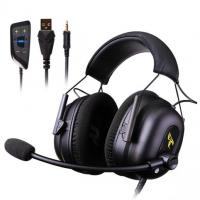
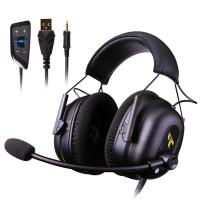
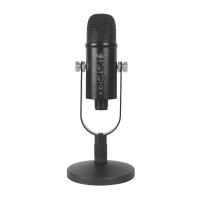
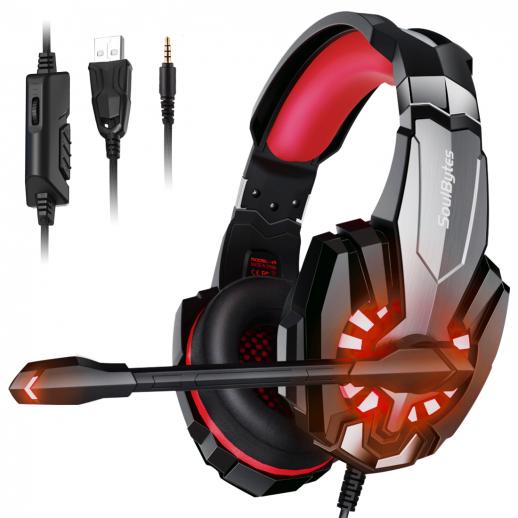
1. Connect a Microphone: Plug your external microphone or a gaming headset into your Xbox controller or console.
2. Adjust Mic Settings: In the Settings menu, adjust the Microphone Monitoring level to ensure you can hear yourself through the headset without too much echo.
3. Enable Microphone Audio for Recording: Make sure your microphone is enabled for audio recording in the Audio settings under Profile & System > Settings > Devices & Connections.
Once this setup is done, your commentary will be recorded along with the game sounds and any party chat, resulting in a fully integrated clip.
5. Post-Processing and Sharing Your Clips
After you’ve recorded a clip, you can edit and share it to make your content stand out. Xbox offers basic editing tools, but you may want to explore external apps for more advanced features.
1. Basic Editing on Xbox:
- You can trim your clips directly on the Xbox console by selecting Manage > Trim from the clip’s menu.
- This allows you to cut the beginning or end of the clip to remove unwanted footage.
2. Advanced Editing on External Software:
- For more control over your clip, including effects, transitions, and audio mixing, transfer your clip to a PC or Mac.
- Use editing software like Adobe Premiere Pro or DaVinci Resolve to fine-tune the audio and video. You can add background music, adjust levels, or even sync your voice commentary with the gameplay.
Once your clip is ready, share it with your Xbox friends, upload it to Xbox Live, or use external platforms like YouTube and Twitch to showcase your content.
Troubleshooting Common Audio Recording Issues
While recording audio on Xbox clips is usually straightforward, you may run into some issues along the way. Here are some common problems and solutions:
1. No Game Audio in Clips:
- Ensure that the Stereo uncompressed or Windows Sonic for Headphones is selected in your Audio Output settings.
- Check that the Game Volume is not muted, and the Chat Mixer is set to “Do Nothing” to balance game sound with voice chat.
2. No Party Chat Audio:
- Ensure your party chat is enabled in the Audio settings.
- Double-check the Chat Mixer settings to confirm the correct balance between game and chat audio.
3. Low Microphone Volume:
- Go to Settings > Devices & Connections > Accessories to check your mic’s volume and settings.
- Make sure the microphone is correctly positioned and fully connected to the controller or console.
4. Audio Sync Issues:
- If you notice that the audio is out of sync with the video, try adjusting your game’s audio output settings.
- Additionally, you can use external editing software to manually synchronize audio with video.
Recording audio on Xbox clips is a straightforward process, but the quality of your recording depends on a few critical factors, such as proper settings, using the right equipment, and troubleshooting any audio issues. By following the steps outlined in this guide, you'll be able to create engaging clips with both game audio and commentary. Whether you're a gamer looking to share your gameplay highlights with friends or a content creator producing professional videos, mastering Xbox's recording and audio settings is key to enhancing your content creation experience.
Take advantage of the tools available on Xbox, experiment with external mics and editing software, and don’t forget to optimize your audio and video settings to get the most out of your recordings. With a little practice, you can record high-quality clips that stand out and captivate your audience. Happy gaming and content creation!


