How To Record Good Audio At Home?
Recording high-quality audio at home has become increasingly important for many people, whether for podcasts, online courses, voiceovers, music production, or even just for clear communication in virtual meetings. Fortunately, with the right approach, recording professional-grade audio from the comfort of your home is entirely feasible. This article aims to break down the essential steps and tips to achieve great audio recordings without needing a professional studio.
Understanding the Basics of Audio Recording
Before diving into the equipment and techniques, it's crucial to understand some basic concepts of audio recording:
1. Soundproofing: Minimizing unwanted external noise.
2. Acoustics: Ensuring your recording space has the right sound properties.
3. Microphone Techniques: Proper use and placement of microphones.
4. Audio Interfaces and Software: Connecting and recording your audio digitally.
5. Post-Production: Editing and refining your recorded audio.
Choosing the Right Space
The room in which you record plays a vital role in the quality of your audio. Follow these guidelines to choose and prepare the ideal recording space:
1. Quiet Environment: Select a room that is naturally quiet, far from street noise, appliances, and other disturbances.
2. Minimal Reflections: Rooms with hard, reflective surfaces can cause echo and reverb, which can degrade audio quality. Softer, smaller rooms with furnishings (e.g., carpets, curtains, furniture) help absorb sound.
3. DIY Soundproofing: You can mitigate some noise issues by using blankets, foam panels, or even pillows to dampen sound reflections and outside noise.
Selecting the Right Equipment
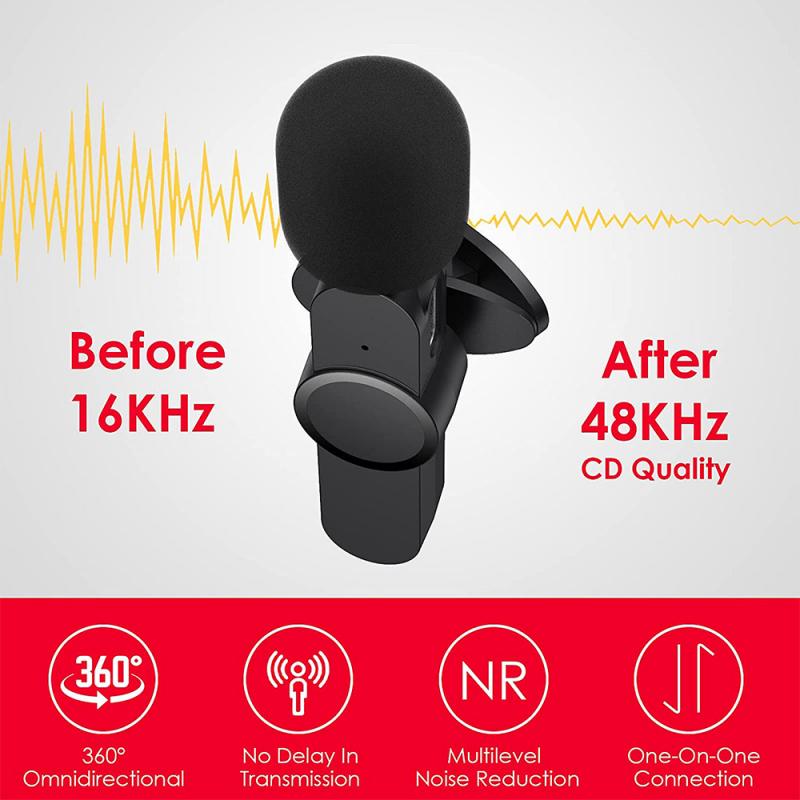
Good equipment is critical for high-quality recordings:
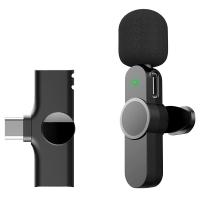
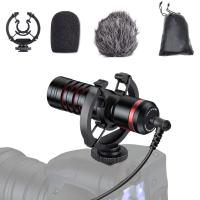
1. Microphones:
- Dynamic Microphones: Good for noisy environments, less sensitive to background noise.
- Condenser Microphones: More sensitive and offer higher fidelity, ideal for quieter, controlled environments.
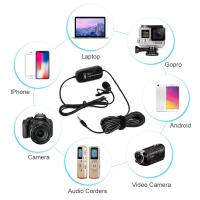
2. Audio Interface: Connects your microphone to your computer and converts analog signals into digital audio.
- Ensure it has good preamps and the necessary inputs for your setup.
3. Recording Software (DAW): Digital Audio Workstation software is used for recording, editing, and mixing your audio.
- Options include Audacity, GarageBand, Adobe Audition, Reaper, etc.
Proper Microphone Setup and Techniques
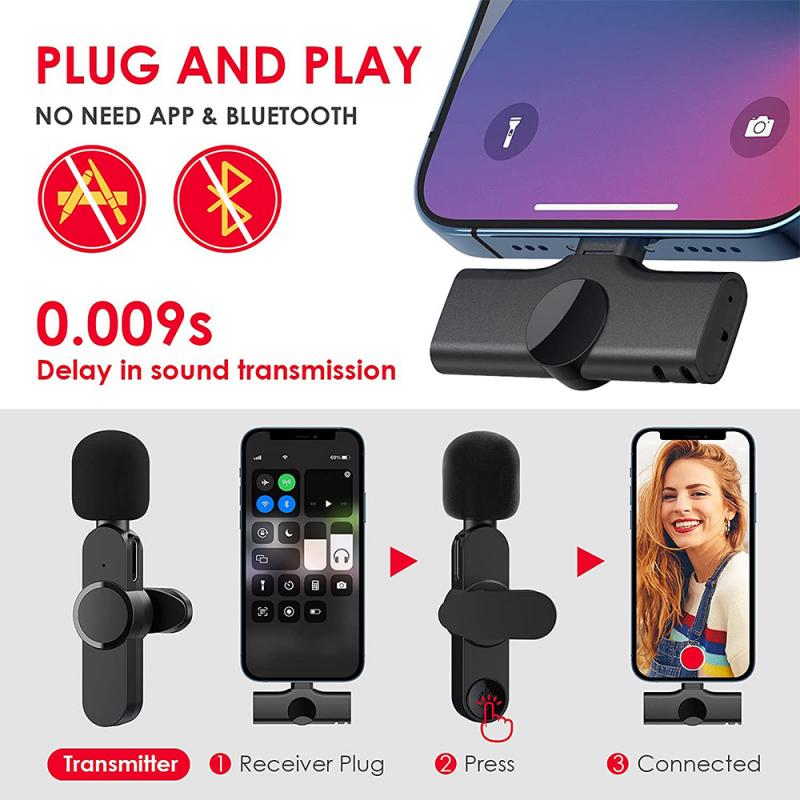
How you use and position your microphone significantly impacts the recording quality:
1. Proximity: Keep a consistent distance from the microphone to avoid volume fluctuations.
2. Pop Filter: A pop filter helps reduce plosive sounds (e.g., 'p' and 'b' sounds) that can distort the audio.
3. Shock Mount: Isolates the microphone from vibrations that can create unwanted noise.
4. Orientation and Angle: Position the microphone appropriately to capture the best sound.
5. Testing Levels: Before recording, test your levels to ensure you’re not peaking (distorting) and that the audio is clear.
Recording Process
1. Preparation: Write a script or outline for your content to keep your recording organized.
2. Quiet Time: Record during times when external noise is minimal.
3. Multiple Takes: Don’t hesitate to record multiple takes to capture the best performance.
4. Monitoring: Use headphones to monitor your recording in real-time to catch any issues immediately.
Post-Production Tips
Good recording is just the start; post-production is crucial for polishing your audio:
1. Noise Reduction: Use software tools to minimize any remaining background noise.
2. EQ (Equalization): Adjust the frequency balance to enhance clarity.
3. Compression: Balances the dynamic range, making quiet parts louder and loud parts quieter.
4. Reverb and Effects: These can add depth and space but should be used sparingly to avoid unwanted echoes.
5. Editing: Cut out any mistakes, gaps, or breaths to make the recording smooth.
Practical Tips and Common Mistakes to Avoid
1. Backup Your Files: Always make backups of your recordings to avoid losing your work.
2. Listen on Different Devices: Test your audio on various playback systems (headphones, speakers, smartphones) to ensure it sounds good everywhere.
3. Avoid Overprocessing: While effects can enhance your audio, overuse can degrade it.
4. Healthy Vocal Practices: Stay hydrated and avoid substances that can strain your voice before recording.
Real-World Applications
Here’s how some professionals apply these tips:
- Podcasters: Use soundproof closet spaces with condenser mics and pop filters, paired with easy-to-use DAWs like Audacity.
- Voiceover Artists: Often have dedicated small booth setups with professional-grade equipment and acoustic treatment.
- Musicians: Utilize DAWs with multi-track recording capabilities and layer various instrument tracks, often recording in different home "studios" for different sounds.
- Teachers and Course Creators: Opt for clear, straightforward recording setups with a focus on reducing ambient noise to ensure intelligibility.
By selecting the right environment, using quality equipment, employing proper recording techniques, and polishing your work in post-production, you can achieve high-quality audio recordings at home. Remember, practice and experimentation are key; the more you record and refine your technique, the better your results will be.
Armed with this knowledge, you can embark on creating audio content that meets professional standards, all from the comfort of your home studio.


