How To Record Music Videos With Good Sound?
Producing a music video with excellent sound quality is both an art and a technical process. Unlike live performances or simple audio recordings, creating a music video involves synchronizing visual and audio elements to deliver a cohesive and professional result. Here’s a detailed guide on how to achieve high-quality sound in your music videos.

1. Plan Your Recording Process
Sound quality begins with meticulous planning. Decide whether you will record the audio live during the video shoot or use a pre-recorded track. Each approach has its pros and cons:
- Pre-recorded Tracks: This is the most common method for professional music videos. You record the audio in a studio environment to achieve optimal sound quality and then lip-sync during the video shoot.
- *Pros*: Clean, controlled sound.
- *Cons*: Requires precision in syncing.
- Live Recording: In this method, audio is recorded during the video shoot itself.
- *Pros*: Authentic and engaging for performances.
- *Cons*: Sound quality might suffer due to uncontrolled environmental factors.
---
2. Select the Right Equipment
The tools you use can make or break the sound quality of your music video. Here’s what you need:
- Microphones:
- Studio-quality microphones for pre-recorded audio.
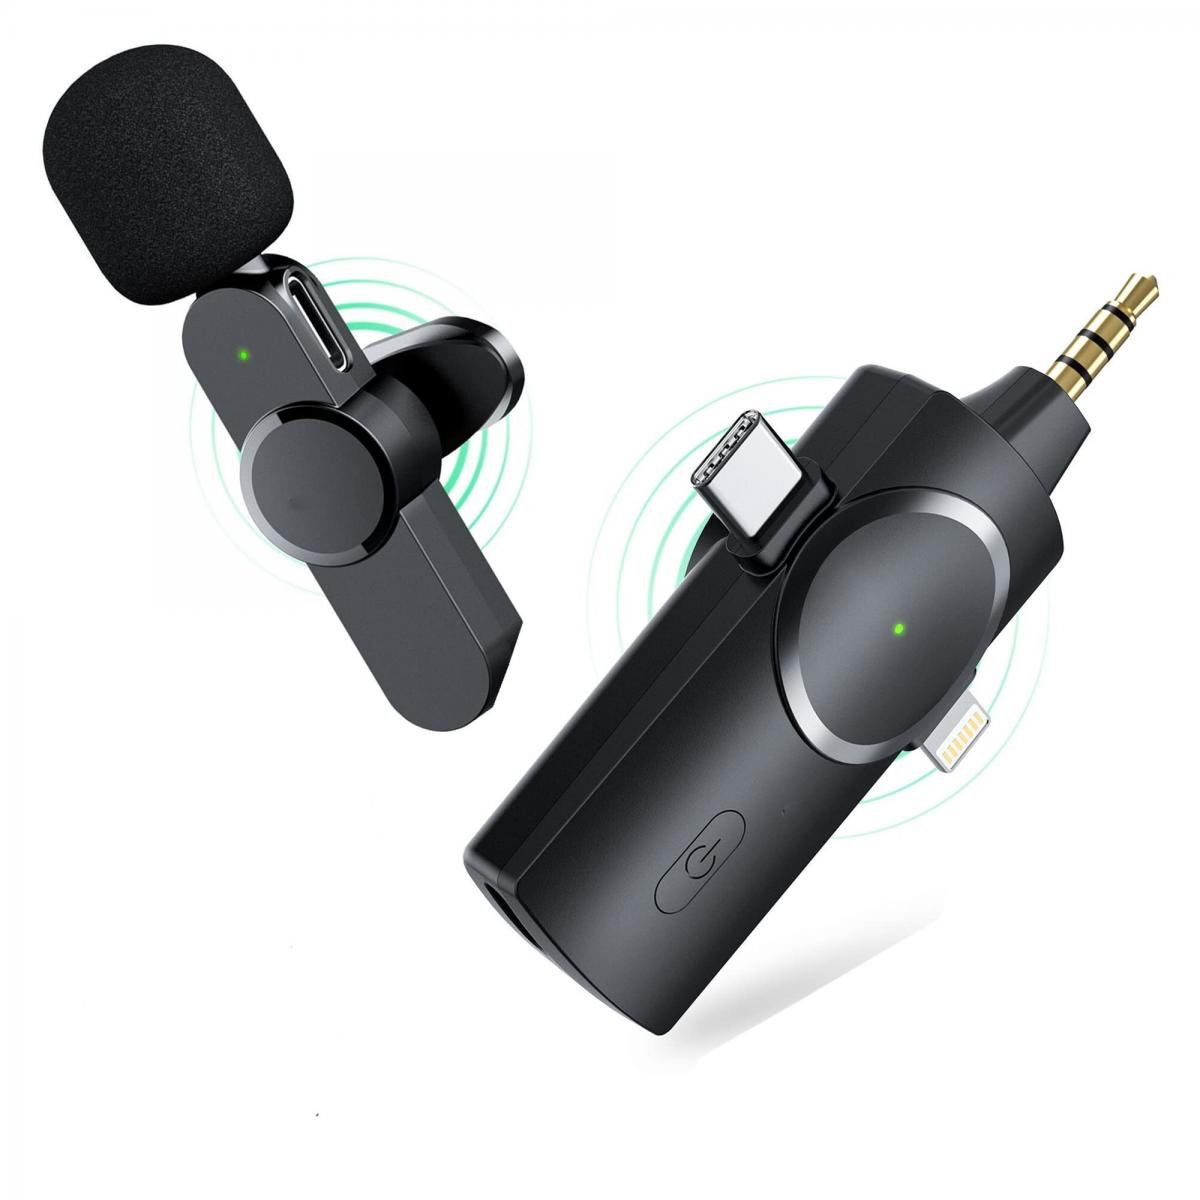
- Directional microphones or lavalier mics for live audio recording.
- Audio Interface: Connects your microphones and instruments to your computer or recording device for digital audio capture.
- Digital Audio Workstation (DAW): Software like Pro Tools, Logic Pro, or Ableton Live can be used to edit and mix your recordings.
- On-Camera Microphones: If you opt for live audio, ensure you use high-quality on-camera microphones or external recorders to capture sound effectively.
- Pop Filters and Shock Mounts: These minimize noise and vibrations, ensuring clean recordings.
---
3. Optimize the Recording Environment
The recording environment plays a critical role in sound quality. Follow these tips to prepare your space:
- Studio Recording:
- Soundproof the room to block external noise.
- Use acoustic panels or foam to reduce echo and reverb.
- On-location Recording:
- Scout for quiet locations with minimal ambient noise.
- Use windscreens on microphones if recording outdoors.
---
4. Mastering the Syncing Process
For music videos using pre-recorded tracks, syncing audio and video is vital. Here’s how to do it seamlessly:
- Use a *clapperboard* to mark the start of each take. The visual clap and sound can serve as sync points during editing.
- Record the video while playing back the pre-recorded audio. Ensure the artist lip-syncs perfectly to avoid discrepancies.
- In post-production, align the waveforms of the pre-recorded track and the on-set audio to achieve perfect synchronization.
---
5. Record Clean Live Audio
If you choose to record live audio for your music video, follow these best practices:
- Multi-track Recording: Capture each sound source (vocals, instruments) on separate tracks to provide flexibility during mixing.
- Monitor Levels: Use headphones to monitor sound levels during recording. Avoid distortion or clipping.
- Close Mic’ing: Place microphones close to the sound source to minimize ambient noise.
---
6. Post-production Magic
Post-production is where raw audio transforms into a polished masterpiece. Key steps include:
- Audio Cleaning: Remove background noise using tools like iZotope RX or Adobe Audition.
- Mixing: Balance levels, pan tracks, and add effects like reverb or compression to enhance sound quality.
- Mastering: Adjust the overall volume and tonal balance to make the track sound consistent across playback systems.
---
7. Integrate Audio with Video
Merging audio and video effectively is crucial for delivering a professional music video. Here’s how:
- Use video editing software like Adobe Premiere Pro or Final Cut Pro to align your audio and video tracks.
- Check synchronization at multiple points in the video to avoid drift.
- Fine-tune audio levels to ensure the music complements the visuals without overpowering them.
---
8. Consider Creative Sound Elements
Good sound in a music video isn’t just about clarity; it’s also about creativity. Experiment with:
- Foley Effects: Add subtle sound effects to match visual actions (e.g., footsteps, closing doors).
- Atmospheric Soundscapes: Incorporate ambient sounds to create a specific mood or setting.
---
9. Test and Review
Before finalizing your music video, test it on various devices and sound systems. This ensures that your audience experiences consistent sound quality, whether they watch on a smartphone or a home theater system.
---
10. Tips for a Successful Production
Here are additional tips to ensure the best sound quality:
- Backup Everything: Save your audio and video files in multiple locations to prevent data loss.
- Invest in Training: Familiarize yourself with sound recording and editing techniques through online courses or tutorials.
- Collaborate with Professionals: If budget permits, hire sound engineers or post-production specialists to elevate your project.
---
Common Pitfalls and How to Avoid Them
- Poor Synchronization: Use high-quality editing tools and reference points to prevent syncing errors.
- Overprocessing: Avoid excessive use of effects during mixing, as this can distort the sound.
- Ignoring the Visual Aspect: Ensure that your audio complements the visual elements of your music video.
---
Conclusion
Recording music videos with good sound quality requires careful planning, the right equipment, and meticulous post-production. Whether you choose to use pre-recorded tracks or live audio, the goal is to deliver a seamless blend of sight and sound that resonates with your audience. By following the steps outlined in this guide, you can create music videos that not only captivate visually but also impress aurally, leaving a lasting impression on viewers.
Good sound is the cornerstone of any successful music video—investing in it is investing in the impact of your artistry.


