How To Record Online Video With Sound?
In today’s digital age, recording online videos with sound has become an essential skill for a variety of purposes, from creating educational content to documenting live events, or even capturing gaming sessions. Despite the widespread availability of tools, many users still find themselves uncertain about the best methods to achieve clear, high-quality recordings. This article aims to provide a comprehensive guide on how to record online videos with sound, covering both software and hardware requirements, and offering troubleshooting tips for common issues.
Choosing the Right Software
The first step in recording online videos with sound is selecting the right software. There are numerous programs available, each with its unique features and complexities. Here are some popular options:
1. OBS Studio (Open Broadcaster Software): OBS Studio is a free, open-source software that's widely used for video recording and live streaming. Its robust features allow you to capture high-quality videos with sound from multiple sources.
2. Camtasia: Known for its user-friendly interface, Camtasia offers powerful editing tools alongside its recording functionalities. It's ideal for tutorials and detailed presentations.
3. Bandicam: This software is especially popular among gamers due to its ability to record high-resolution videos with minimal performance impact on the system.
4. Screencast-O-Matic: A great option for beginners, this web-based tool offers easy recording and editing capabilities without the need for installation.
5. QuickTime Player (for Mac users): QuickTime Player offers a straightforward option for recording your screen and audio on Mac devices directly.
Setting Up Your Hardware
The quality of your recordings is highly dependent on your hardware setup. Here's what you'll need:
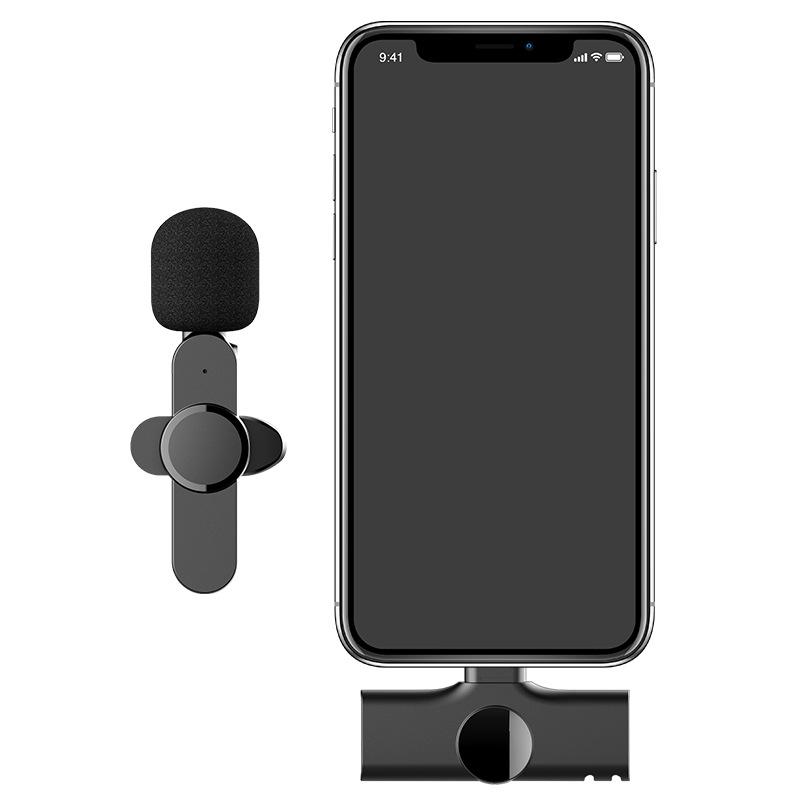
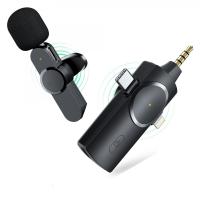
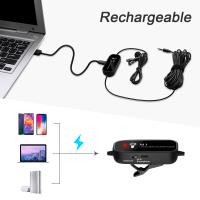
1. Microphone: Investing in a high-quality microphone can make a significant difference. While built-in microphones on laptops can suffice, external microphones provide clearer audio. USB and condenser microphones are popular choices for their superior sound quality.
2. Headphones: Using headphones can prevent audio feedback and ensure that the recorded sound is consistent and clear.
3. Graphic Card: If you plan to record high-quality videos, a good graphics card can help handle the load, especially for gameplay recordings.
Configuring Your Software
Once your hardware is set up, the next step is configuring your recording software. Here are some general steps to get you started with OBS Studio as an example:
1. Install and Set Up OBS Studio:
- Download and install OBS Studio from the official website.
- Launch OBS and go through the auto-configuration wizard for optimal settings based on your hardware and requirements.
2. Add Sources:
- Click the "+" button under the "Sources" panel to add your video source (e.g., Display Capture or Window Capture).
- Similarly, add an audio source (e.g., Audio Input Capture for your microphone).
3. Adjust Settings:
- Navigate to "Settings" and then "Output" to configure video bitrate and audio bitrate according to your recording needs.
- In the "Audio" section, ensure the correct devices are selected for both input and output.
4. Test Recording:
- Before starting any significant recording session, conduct a test recording to ensure audio levels and video quality are to your satisfaction.
Recording Online Videos
With your software set up and configured, you can start recording online videos. Here is a typical workflow:
1. Preparation:
- Make sure your video source (e.g., browser window, application, or game) is ready.
- Ensure your microphone and headphones are properly connected and configured.
2. Start Recording:
- In OBS, click the "Start Recording" button to begin.
- Navigate to your content and proceed with capturing the required footage.
3. Stop and Save:
- Once done, click "Stop Recording" in OBS.
- Your recording will be saved to the designated folder you specified in settings.
Editing Your Video
After recording, you may need to edit the video to trim unnecessary parts, enhance audio quality, or add annotations. Here are some software options for editing:
1. Adobe Premiere Pro: A professional-grade tool with a wide range of features for detailed video editing.
2. Final Cut Pro (for Mac): A high-performance tool popular among Mac users.
3. DaVinci Resolve: Known for its powerful free version, it offers advanced editing and color correction capabilities.
Troubleshooting Common Issues
Even with the right setup, you may encounter some common issues while recording online videos with sound:
1. No Audio:
- Ensure that the correct audio device is selected in both your system settings and recording software.
- Check your microphone connection and confirm that it's working correctly.
2. Poor Video Quality:
- Adjust the resolution and bitrate in your recording software settings.
- Ensure your graphics card drivers are updated.
3. Audio-Video Sync Issues:
- This can often be resolved by adjusting the sync offset in your recording software’s audio settings.
4. Lagging or Stuttering Video:
- Lower the recording resolution or bitrate.
- Ensure no other intensive applications are running in the background during recording.
Best Practices for High-Quality Recordings
1. Plan Your Recording: Outline what you need to capture to avoid unnecessary editing.
2. Sound Proofing: Record in a quiet environment to minimize background noise.
3. Regular Equipment Checks: Regularly check your microphone and headphones for faults.
4. System Maintenance: Keep your system and all drivers up to date for optimal performance.
Recording online videos with sound is an invaluable skill that can cater to various needs, from educational content creation to professional presentations and entertainment. By selecting the right software, setting up your hardware correctly, and following best practices, you can ensure that your recordings are of the highest quality. Proper configuration and mindful troubleshooting will make the process smoother and more efficient. Remember, practice makes perfect, so don’t be afraid to experiment with different setups to find what works best for your specific needs. Happy recording!











-200x200.jpg)

There are no comments for this blog.