How To Record Only Sound Meeting On Zoom?
Recording only the audio portion of meetings on Zoom is a common requirement for many users, ranging from students who want to review lectures to professionals who need to transcribe meetings for later use. While Zoom’s default settings often focus on video recording, there is a way to tailor the settings to capture just the audio. Let's explore the various methods to achieve this, helping users save bandwidth and storage space and enhancing their focus on auditory content.
Understanding the Basics of Zoom Recording
Zoom's recording capabilities are inherently versatile, offering options for local recordings directly to your computer or cloud-based recordings if you have a Zoom Pro account or higher. By default, the recordings capture video alongside audio, but tweaking the settings can enable a more audio-centric recording experience.
Why Record Only Audio?
Before diving into the technicalities, it's beneficial to understand why one might prefer only recording audio:
1. Storage Efficiency: Audio files consume significantly less space than video files, making storage and sharing more manageable.
2. Bandwidth Management: When internet speed is a constraint, recording only audio can lead to fewer interruptions.
3. Focused Review: Audio-only recordings can help users concentrate solely on the discussion, useful for note-taking and transcription.
Methods to Record Audio-Only on Zoom
There are multiple avenues to achieve audio-only recordings:
Method 1: Using Zoom's Built-in Audio Recording Feature

1. Logging In: Start by logging into your Zoom account on the desktop application.
2. Navigating to Settings: Click on the gear icon (Settings) located in the upper right corner.
3. Accessing Recording Settings: Navigate to the 'Recording' tab.
4. Enable Audio Recording Only: Within the recording settings, there’s an option to enable the ‘Record an audio only file’. Select this option to ensure that only the audio stream is recorded when you start a meeting.
When you begin a meeting and choose to record, the Zoom application will save an m4a audio file to your designated location.
Method 2: Post-meeting Audio Extraction
1. Record the Meeting: Record the Zoom session as usual including both video and audio.
2. Extract Audio: After the meeting, use video processing software like VLC Media Player, Audacity, or even built-in OS functionalities to extract the audio track from the recorded MP4 file.
For Windows Using VLC:
- Open VLC Media Player.
- Go to “Media” -> “Convert/Save”.
- Add your video file and click “Convert/Save”.
- In the Convert window, choose “Audio - MP3” from the Profile list and start the process.
Method 3: Third-party Audio Capture Software
1. Install Third-Party Software: Download and install third-party audio capture tools (e.g., Audacity, GarageBand for macOS).
2. Configure Audio Input: Set the software to capture audio from the computer system and not just via an external microphone. Zoom’s audio is routed through your computer’s sound system, so configuring system sound capture will ensure all meeting audio is recorded.
3. Start Recording: Begin recording on the third-party software before the Zoom meeting starts, ensuring no parts of the conversation are missed.
Best Practices for Audio-Only Recording
To ensure your audio recordings are clear and useful, consider the following tips:
High-Quality Microphone:
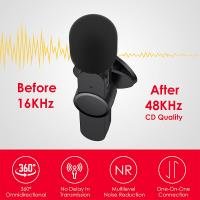
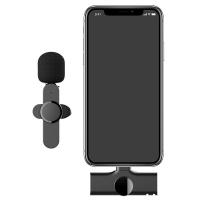
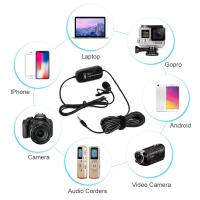
Using an external, high-quality microphone can significantly improve the audio clarity, making the recording pleasant and professional.
Quiet Environment:
Conduct the recording in a noise-free environment. Background noises can be distracting and reduce the clarity of the recorded audio.
Test Before Actual Meetings:
Always perform a test recording before an important meeting to ensure that all settings are correct, and the audio is capturing as intended.
Potential Challenges and Solutions
Inconsistent Audio Levels:
Participants’ audio levels may vary, sometimes due to differing quality of their microphones. This can be mitigated by:
- Post-processing: Normalize audio levels using software like Audacity.
- Pre-meeting Mic Check: Conduct a quick mic check for all participants before the meeting.
Legal and Ethical Considerations:
- Consent: Obtain explicit consent from all participants before recording the meeting. This not only adheres to legal standards but also respects participant privacy.
- Usage: Clearly communicate how the audio recordings will be used, stored, and disposed of, maintaining transparency.
Practical Applications
Academic Use:
Students can use audio recordings to review lectures without the distraction of video, focusing on the spoken content.
Professional Use:
Businesses can record meetings to create transcriptions for later review, aiding in accurate documentation and project tracking.
Content Creation:
Podcasters or content creators can use audio recordings from meetings to generate material, provided proper permissions are in place.
Recording only the audio of a Zoom meeting can make the process of storing, reviewing, and sharing meeting content much more efficient. While Zoom’s built-in features provide a straightforward solution, alternative methods like post-meeting audio extraction and third-party software offer additional flexibility. Following best practices and considering potential challenges will ensure your audio recordings are of high quality and legally compliant. By mastering these techniques, users can optimize their Zoom experience, making it more aligned with their specific needs and preferences.


















There are no comments for this blog.