How To Record Sound Effects On Virtual Dj?
In the realm of modern DJing, Virtual DJ stands as a potent software choice for both novice and professional DJs seeking to create immersive music and performance experiences. Among its wealth of features, recording sound effects is one that allows DJs to add a personal, creative touch to their sets. This article will serve as a comprehensive guide on how to record sound effects on Virtual DJ, covering practical steps, troubleshooting tips, and advanced strategies. Whether you're a seasoned DJ or a beginner, this guide aims to enhance your audio engineering skills and boost your confidence in using Virtual DJ.
Understanding Sound Effects in Virtual DJ
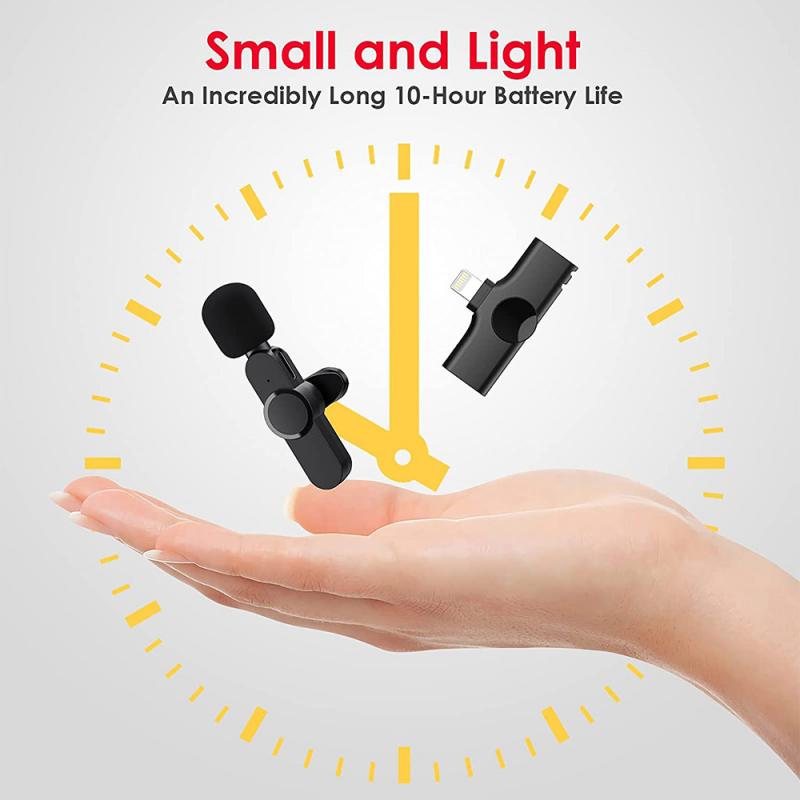
Before diving into the recording process, it's crucial to understand what sound effects are and why they're integral to DJing. Sound effects can range from simple noises like claps and sirens to more complex audio phenomena such as reverb, delay, and flanging. These effects can transform a basic track into a dynamic audio experience, blending seamlessly into your mix to add layers of intrigue and energy.
In Virtual DJ, you have access to a diverse library of pre-made effects, but the true magic happens when you create and record your own. Custom sound effects can help you establish a unique signature style, setting you apart from other DJs.
Equipment and Software Setup
1. Software Installation:
- Ensure you have the latest version of Virtual DJ installed on your computer. The updated versions often come with bug fixes and new features that can enhance your recording process.
2. Audio Interface:
- While it’s possible to record using your computer's built-in sound card, a dedicated audio interface will significantly improve the quality of your recordings. An external audio interface provides better sound quality, reduces latency, and offers more control over input and output levels.
3. Microphone:
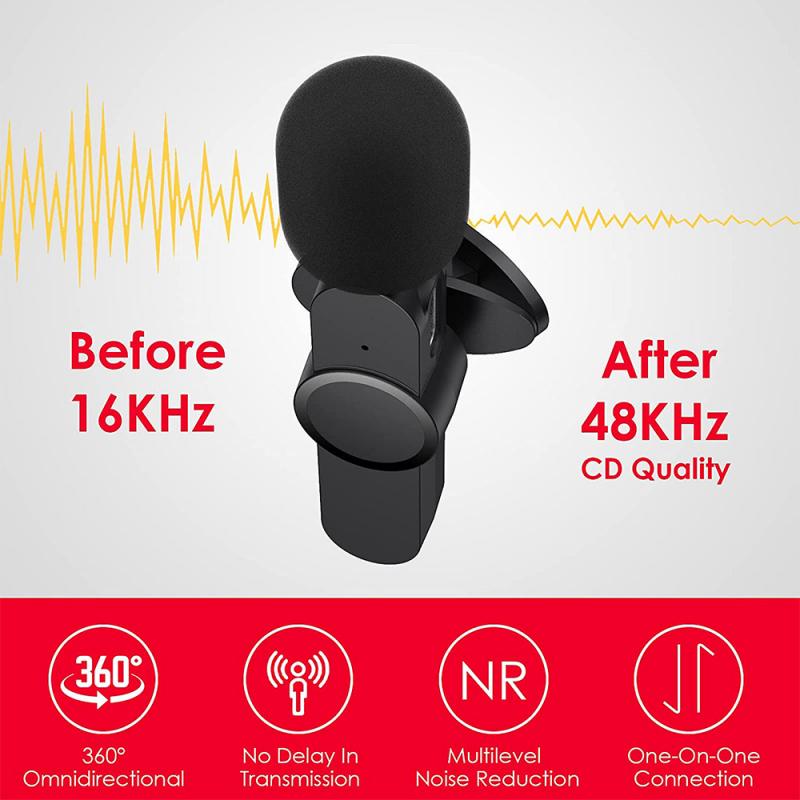
- A good quality microphone is essential. The type of microphone to use depends on what you're recording. For vocals or ambient sounds, a condenser mic is ideal due to its sensitivity and wide frequency response.
4. Headphones:
- A pair of high-quality headphones will help you monitor your recordings accurately. This is crucial for catching any unwanted noise or imperfections early in the process.
Steps to Record Sound Effects
1. Connecting Your Equipment:
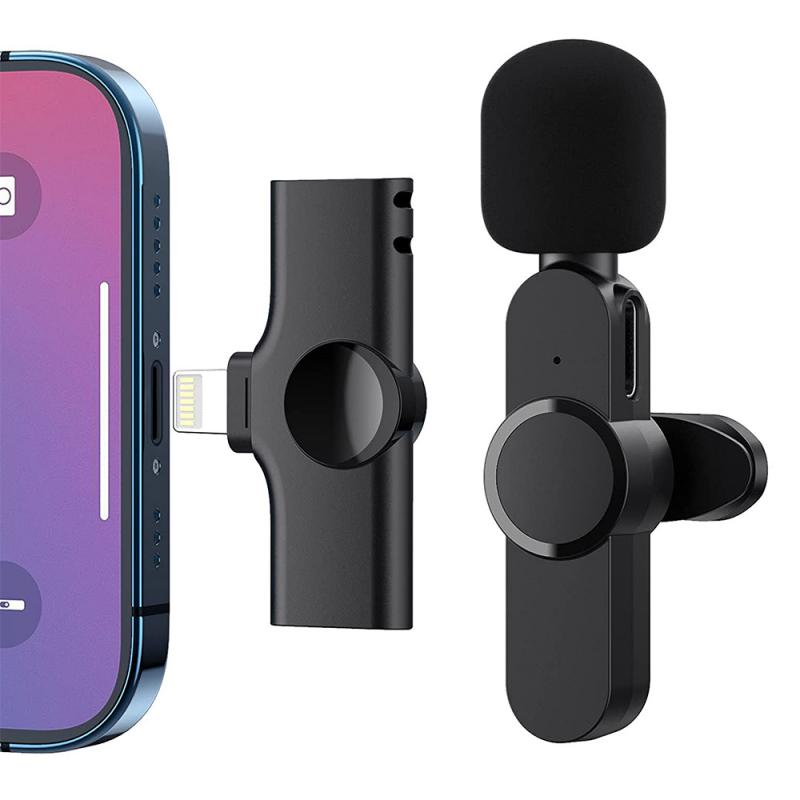
- Connect your microphone to the audio interface and ensure your audio interface is connected to your computer. Ensure that your microphone and audio interface are properly set up and recognized by your computer.
2. Audio Settings:
- Open Virtual DJ and go to the settings menu. Navigate to the ‘Audio’ tab and configure your audio settings. Select your audio interface as the input and output device. Adjust the input levels to ensure that your recordings are neither too quiet nor too loud.
3. Preparing to Record:
- Click on the ‘Record’ tab in Virtual DJ. You will see options for recording decks, microphones, or the master output. For recording sound effects, select the microphone input.
4. Sound Check:
- Perform a sound check to ensure everything is working correctly. Speak into the microphone and monitor the levels on Virtual DJ. Make adjustments to the input levels if necessary to prevent clipping and distortion.
5. Record Your Sound Effect:
- Once you’re satisfied with the setup, start your recording session. Click the ‘Start Recording’ button and create your desired sound effect. You can repeat this process multiple times until you achieve the desired result.
6. Saving Your Recording:
- After recording, save your file in an appropriate format (WAV or MP3 are common choices). Name your file descriptively so you can easily identify it later.
Editing and Processing Your Sound Effects

1. Editing Software:
- To refine your sound effects, consider using dedicated audio editing software like Audacity, Adobe Audition, or Ableton Live. These tools offer more advanced features for cutting, trimming, and applying additional effects to your recordings.
2. Cleaning Up the Audio:
- During the editing phase, remove any unwanted noise or imperfections from your recordings. Use noise reduction tools and EQ adjustments to ensure your sound effect is clean and professional.
3. Applying Additional Effects:
- Virtual DJ offers various built-in effects you can apply to your recordings. However, external editing software can provide more flexibility and control. Apply reverb, delay, compression, or any other effect that complements your recording.
4. Looping and Slicing:
- If the sound effect needs to be looped or sliced, edit it accordingly. Slicing your recording into smaller parts can give you more control during live performances, allowing you to trigger specific parts of the effect as needed.
Integrating Sound Effects into Your Sets
1. Importing Sound Effects:
- To use your recordings in Virtual DJ, import them into the software. Go to the ‘Sampler’ tab and click on ‘Add Sample’. Locate your recorded sound effect and add it to your sampler bank.
2. Triggering Sound Effects:
- During your live performance, you can trigger these sound effects using the sampler pads or keyboard shortcuts. Practice triggering your effects in sync with your mix to enhance the overall listening experience.
3. Customizing Pad Pages:
- Customize your pad pages to organize your sound effects effectively. Group similar effects together for easy access during your set.
Advanced Techniques
1. Live Recording:
- For a more dynamic performance, you can record sound effects live during your set. This requires a strong understanding of your equipment and quick reflexes to ensure the recording is trigger-ready.
2. Layering Effects:
- Experiment with layering multiple sound effects to create complex audio textures. This technique can add depth and dimension to your performances, keeping your audience engaged.
3. Synchronized Effects:
- Synchronize your sound effects with the BPM of your track. Virtual DJ allows you to beat-match your effects, ensuring they stay in sync with the rest of your mix.
Troubleshooting
1. Latency Issues:
- If you experience latency (delay between the input and output), ensure your audio drivers are up-to-date. Adjust the buffer size in your audio settings to reduce latency.
2. Sound Quality Problems:
- Poor sound quality can result from various factors, including low-quality microphones, incorrect input levels, or background noise. Use high-quality equipment and ensure your recording environment is as quiet as possible.
3. Unrecognized Audio Devices:
- If Virtual DJ doesn’t recognize your audio interface or microphone, check the connections and refer to your device’s user manual for troubleshooting steps.
Recording sound effects in Virtual DJ opens up a world of creativity, enhancing your tracks and live performances with customized audio elements. By understanding your equipment, mastering the recording process, and proficiently editing and integrating your sound effects, you can elevate your DJing art form. This guide has laid out the essential steps to get you started, but continual practice and experimentation will truly set you apart. So fire up Virtual DJ, plug in your microphone, and start crafting the soundscape of your next unforgettable set. Happy DJing!















There are no comments for this blog.