How To Record Sound On The Computer?
How to Record Sound on Your Computer: A Complete Guide
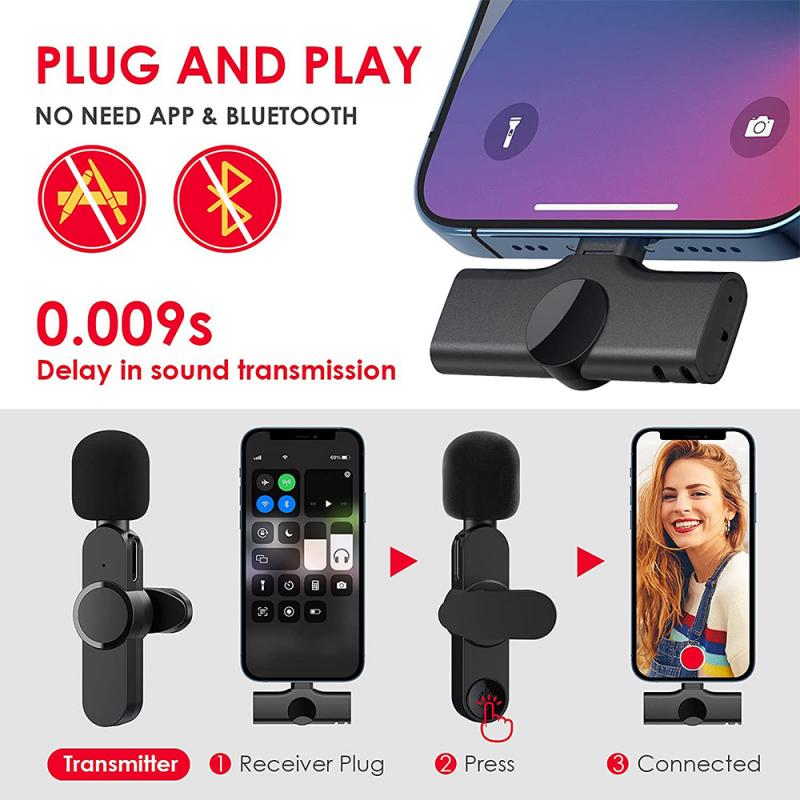
Recording sound on a computer has become an essential skill for many purposes, whether for creating podcasts, recording voiceovers, making video tutorials, or simply capturing important audio notes. Thankfully, modern computers offer multiple ways to record sound, thanks to built-in software and external tools that allow users to tailor their recording experience. This article will guide you through the process of recording sound on your computer, provide insights into different methods, and offer practical advice to ensure the highest quality results.
1. Understanding Your Sound Recording Needs
Before diving into the technical aspects, it's important to clarify why you need to record sound. This helps in selecting the most appropriate method and tools. For example:
- Casual Recording: You might simply want to capture a quick audio note or sound clip.
- Professional Recording: If you’re creating podcasts, voiceovers, or music, you’ll require higher-quality recording software and equipment.
- Voice Chats or Meetings: Recording voice during an online meeting or chat requires both quality and the ability to sync it with video.
Each use case might require different setups, but the basics of sound recording are universal.
---
2. Built-In Tools for Simple Recording
For most casual users, the easiest method to record sound on a computer is using built-in tools, which do not require any additional software. Let's take a look at what your operating system offers:
Windows: Sound Recorder (Voice Recorder)
Windows comes with a pre-installed app called Voice Recorder. Here’s how to use it:
1. Open the App:
- Press the Start Menu and search for "Voice Recorder" or "Sound Recorder."
- Open the app from the search results.
2. Record Sound:
- Click on the microphone icon to begin recording.
- Speak into the built-in microphone or connect an external microphone for better sound quality.
3. Stop and Save:
- Click the Stop button when finished.
- The recording is automatically saved in the app. You can review and share it or export it to a different location.
The Voice Recorder app is great for quick and easy recordings but may lack advanced features like editing or multi-track recording.
Mac: QuickTime Player
For macOS users, QuickTime Player provides a straightforward way to record audio. Here’s how to do it:
1. Open QuickTime:
- Launch QuickTime Player (you can search for it using Spotlight).
2. Start a New Audio Recording:
- From the File menu, select New Audio Recording.
3. Adjust Input Settings:
- Click the small arrow next to the record button to choose your microphone (built-in or external).
4. Record Sound:
- Press the red Record button to start recording.
5. Stop and Save:
- When you’re done, click the Stop button.
- Save the file in the desired location.
Like Windows Voice Recorder, QuickTime is simple and effective, but it's limited when it comes to advanced functionality such as sound editing or mixing.
---
3. Using Third-Party Software for Professional Sound Recording
If you need more control over your recordings—like editing, improving quality, or mixing—you’ll want to explore third-party audio recording software. There are a number of free and paid options with advanced features that allow for much more than basic sound capture.
Audacity: Free and Powerful
One of the most popular free audio recording and editing software options is Audacity. This open-source software works on both Windows and macOS and offers a variety of features for professional audio work.
Features:
- Multi-track recording
- Advanced editing tools (cut, copy, paste, fade in/out, etc.)
- Noise reduction tools to improve sound quality
- Wide range of supported file formats
How to Use Audacity:
1. Install the Software:
- Download Audacity from the official website and install it on your computer.
2. Set Up Your Microphone:
- Connect your external microphone, or use the built-in one.
- In Audacity, select the appropriate input source from the dropdown menu on the toolbar.
3. Start Recording:
- Hit the Record button (red circle) to begin.
- You’ll see the waveform as the sound is captured, and you can monitor the audio input levels.
4. Edit and Save:
- Once you’ve recorded your audio, you can use Audacity’s suite of editing tools to clean up noise, adjust volume levels, and trim unwanted sections.
- Save your recording in the desired format (WAV, MP3, etc.).
Audacity is a great choice for anyone looking for a free and highly customizable audio tool, especially for users who need advanced editing and production capabilities.
GarageBand: For Mac Users
For macOS users, GarageBand is an excellent option, especially for those who are creating music or podcasts. This software is free and comes pre-installed on most Mac computers.
Features:
- Multi-track recording
- Built-in audio effects and virtual instruments
- High-quality microphone support
- Easy drag-and-drop editing features
How to Use GarageBand:
1. Launch the Program:
- Open GarageBand from your Applications folder.
2. Create a New Project:
- Select a Podcast or Voice project template, depending on your needs.
3. Set Up Audio Input:
- Choose your microphone (either built-in or external) from the input settings.
4. Record Audio:
- Click the Record button to begin capturing sound.
5. Edit and Export:
- After recording, you can edit the audio, add music, adjust levels, and apply effects.
- Export your final recording to your desired format.
GarageBand is perfect for users looking for an all-in-one tool for podcasting, music production, and audio editing.
---
4. External Microphones for Better Sound Quality
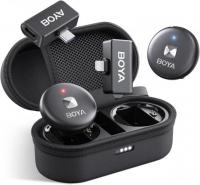
While built-in microphones on computers work for basic recordings, external microphones provide a significant improvement in sound quality. A poor microphone can result in noisy, muffled, or distorted recordings, which are especially problematic for professional projects like podcasts or voiceovers. External microphones come in many forms, from USB models to XLR microphones for studio-grade recordings.
Popular Microphones:
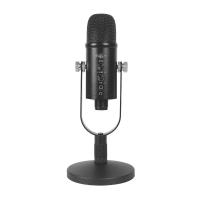
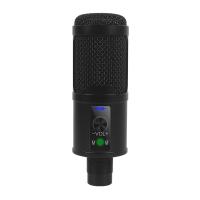
- USB Microphones: Plug-and-play microphones such as the Blue Yeti or Audio-Technica ATR2100x are ideal for quick and high-quality recordings.
- XLR Microphones: For studio-level sound quality, XLR microphones such as the Shure SM7B paired with an audio interface provide superb audio fidelity but require more setup and technical knowledge.
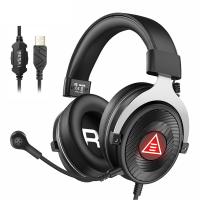
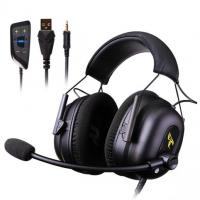
- Headset Microphones: If you’re recording voice while gaming or in virtual meetings, a quality headset microphone can provide a balance between convenience and quality.
Investing in a good external microphone will drastically improve your recordings. Don’t overlook the importance of acoustic treatment for your recording space—soft surfaces, like curtains and carpets, can help reduce echoes and background noise.
---
5. Recording System Sounds
In some cases, you might want to record audio from your computer’s system—for example, if you're capturing sounds from a game or an online video. This can be more complicated, as most systems do not have direct options for recording system sounds.
On Windows, this can be achieved by using a tool like OBS Studio, which allows you to record both system sounds and microphone input simultaneously. OBS Studio is popular for live streaming, but it can also be used for recording desktop audio.
For macOS, Soundflower or Loopback can be used to route audio between applications and record system sounds.
---
6. Enhancing Your Recordings: Tips and Tricks
After you've successfully recorded sound, it's time to polish it. Here are a few tips to enhance your audio:
1. Reduce Background Noise:
- Use noise reduction tools in software like Audacity or GarageBand.
- Record in a quiet room, and if possible, use a directional microphone to focus on your voice.
2. Normalize Volume Levels:
- Ensure consistent audio volume. Most recording software has features to "normalize" audio, bringing the levels up or down to an ideal range.
3. Edit Wisely:
- Trim unnecessary sections, like long pauses or mistakes, using simple editing tools in your software.
- Apply effects like reverb or EQ sparingly; excessive effects can distort the natural sound.
4. Export in the Right Format:
- For high-quality recordings, save your files in WAV or FLAC format. For sharing or web usage, MP3 is a good choice due to its small file size.
---
Conclusion
Recording sound on your computer has never been easier, thanks to the combination of built-in tools and professional software options. Whether you are recording a quick memo, creating a podcast, or capturing system audio, understanding the different methods and tools available ensures that you can produce high-quality recordings tailored to your needs.
By starting with simple tools like Windows’ Voice Recorder or macOS’ QuickTime, you can easily capture sound for everyday purposes. For more advanced needs, software like Audacity or GarageBand can provide the features required to produce professional-grade recordings. Finally, investing in quality microphones and proper recording environments will further elevate your audio output.
No matter what your specific audio recording needs are, this guide should provide you with the knowledge and tools to make the process smooth and efficient.


