How To Record Video And Voice On Pc?
Recording video and voice on a PC has become a common task, whether for professional, educational, or personal purposes. It’s essential to choose the right tools and techniques to ensure high-quality output that meets your specific needs. Below, we explore various approaches, tools, and tips to achieve optimal results when recording video and voice on a PC.
Understanding Your Requirements
Before jumping into the technical process, clarify your purpose:
1. Content Creation: Are you creating tutorials, gaming streams, or YouTube videos?
2. Professional Use: Is it for business presentations, online courses, or webinars?
3. Casual Use: Do you need to record calls, interviews, or personal logs?
Identifying the purpose helps in selecting the right software and hardware that fit your needs.
---
Essential Tools for Recording
To record video and voice effectively, you need two key components: reliable software and decent hardware.
1. Software Options
The software you choose will depend on the level of control and editing features you require.
- Beginner-Friendly Software
- OBS Studio (Open Broadcaster Software): Free, open-source, and widely used for its simplicity and versatility. Perfect for screen recording, video recording, and streaming.
- Camtasia: A paid software offering robust video editing tools along with screen and voice recording.
- Bandicam: Ideal for recording screen and gaming content with a lightweight interface.
- Professional-Level Software
- Adobe Premiere Pro (with Adobe Audition): Provides professional-level video editing and sound enhancement.
- Final Cut Pro (Windows Alternative: DaVinci Resolve): Best for intricate video editing and recording needs.
- NVIDIA ShadowPlay/AMD ReLive: Tailored for gamers who need to capture gameplay footage.
2. Hardware Essentials
Quality hardware ensures that your recordings are crisp and clear.
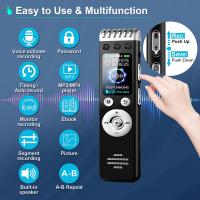
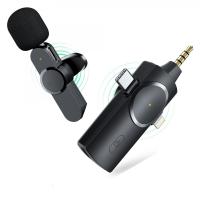
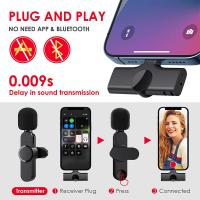
- Microphone
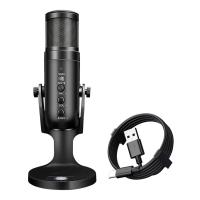
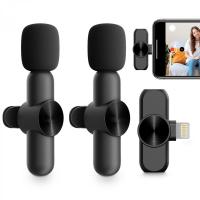
- For voice clarity, consider an external microphone like the Blue Yeti, Rode NT-USB, or Shure MV7. Budget-friendly options include FIFINE K669B and Samson Q2U.
- Built-in microphones in laptops are typically insufficient for professional recordings due to background noise and limited range.
- Camera
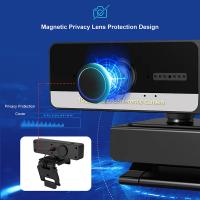
- A high-resolution webcam such as the Logitech C920 or Razer Kiyo is suitable for most users.
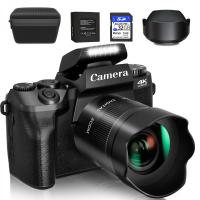
- For premium quality, a DSLR or mirrorless camera with a capture card can be used as a webcam alternative.
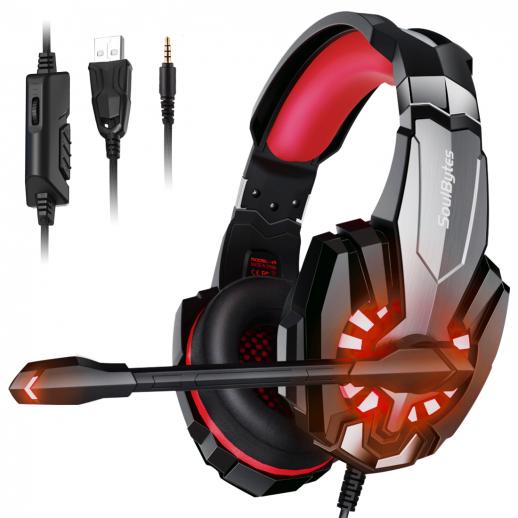
- Headphones
- Noise-canceling headphones like the Sony WH-1000XM5 or Audio-Technica ATH-M50X help monitor sound quality while recording.
---
Preparing Your System
Proper setup is critical to avoid technical hiccups during the recording process.
1. Optimize the Environment
- Ensure a quiet space with minimal background noise.
- Use soft furnishings or foam panels to reduce echo and improve acoustics.
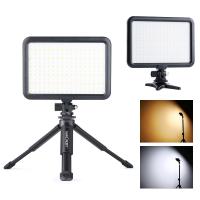
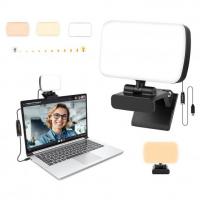
- Adjust the lighting to reduce shadows or glare if video is involved.
2. System Configuration
- Close unnecessary applications to free up system resources.
- Check the storage space; video files can consume significant disk space.
- Test the microphone and camera to confirm they’re functioning properly.
- Update your drivers, especially for cameras and sound devices.
---
Recording Workflow
Once your setup is ready, follow these steps to record video and voice on your PC effectively.
1. Setting Up the Software
- Install and launch the recording software of your choice.
- Configure the input sources:
- For audio: Select your microphone.
- For video: Choose your camera or screen capture source.
- Adjust resolution and frame rate based on your needs:
- 1080p at 30-60 FPS is ideal for most recordings.
- Use 4K only if necessary, as it consumes significant resources.
2. Adjusting Audio and Video Settings
- Use the software’s settings to fine-tune your microphone gain, bitrate, and noise suppression.
- Set up a test recording to verify the sound levels and video quality.
- If needed, use filters or plugins to enhance the audio quality (e.g., noise reduction or equalization).
3. Recording the Content
- Start recording by hitting the designated button in your software.
- Ensure smooth delivery by rehearsing beforehand to minimize pauses or mistakes.
- Keep an eye on the recording indicators to confirm everything is working as expected.
4. Saving and Exporting
- Save your recordings in common formats such as MP4 for video and WAV/MP3 for audio.
- Choose a codec like H.264 for high-quality compression.
---
Enhancing the Output
Recording is just one step; post-production is crucial for a polished result.
1. Editing Software
- Use tools like Adobe Premiere Pro, Final Cut Pro, or DaVinci Resolve for video editing.
- For audio, Audacity is a free and powerful option for enhancing sound quality.
2. Tips for Better Editing
- Cut out unnecessary parts to keep the video concise.
- Add transitions, captions, or annotations to clarify key points.
- Use background music cautiously; ensure it complements the content and doesn’t overshadow the voice.
---
Common Issues and Troubleshooting
1. Poor Audio Quality
- Solution: Adjust microphone placement, reduce gain, or use noise-reduction software.
2. Lagging Video
- Solution: Lower the resolution or frame rate in your software settings. Check your system’s CPU and GPU usage.
3. Sync Issues Between Audio and Video
- Solution: Use software with auto-sync features, or manually adjust in post-production.
4. Unexpected Interruptions
- Solution: Turn off notifications and ensure your PC won’t go into sleep mode during recording.
---
Practical Applications
1. For Educators
Teachers can create engaging video lectures with screen captures, annotations, and voiceovers using OBS Studio or Camtasia.
2. For Gamers
Gamers can showcase their gameplay with NVIDIA ShadowPlay or OBS Studio, integrating overlays and live commentary seamlessly.
3. For Business Professionals
Professionals can record meetings or presentations with tools like Microsoft Teams or Zoom, saving them for reference or sharing with absent colleagues.
---
Key Tips for Beginners
- Start with free tools like OBS Studio to get familiar with the basics before investing in paid options.
- Always test your setup before recording important sessions.
- Maintain consistency in your recording settings for professional results.
---
Conclusion
Recording video and voice on a PC is straightforward with the right preparation, tools, and techniques. By understanding your requirements, setting up a proper environment, and leveraging powerful software, you can produce high-quality content tailored to your needs. Whether you're a beginner or an experienced creator, the steps outlined here will ensure a smooth and efficient recording process.


