How To Record Video Using Laptop Camera?
Recording video using a laptop camera is a common task for various purposes such as creating content, attending online classes, vlogging, or making tutorial videos. This process involves understanding the tools and software available, configuring the settings correctly, and ensuring you have the best possible environment for capturing high-quality video. In this post, we’ll look into the step-by-step method for recording videos using a laptop camera and provide some tips for achieving the best results.
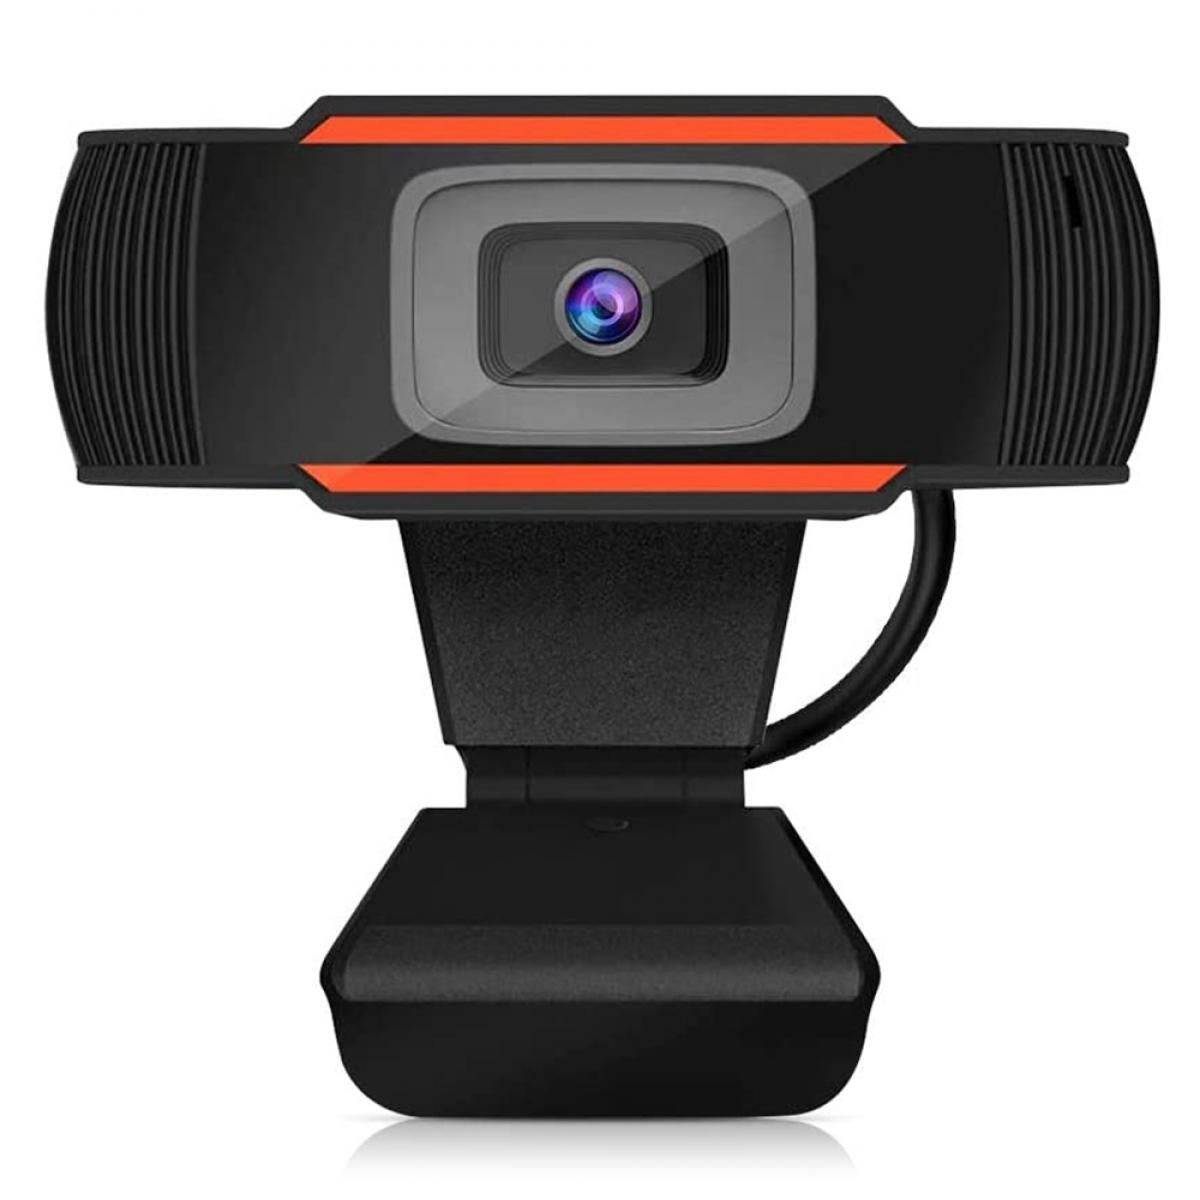
Step-by-Step Guide to Recording Video with a Laptop Camera
1. Check Your Laptop's Camera and Microphone
Before recording, ensure that your laptop camera and microphone are functioning properly. Most laptops come with a built-in camera and microphone, but you can also use external devices for better quality.
2. Choose the Right Software
There are multiple software options available for recording video using a laptop camera. Below are some popular choices:
- Windows Camera App: Built-in for Windows users, it’s simple and straightforward.
- QuickTime Player: Available on Mac, useful for both playing and recording media.
- OBS Studio: A free, open-source option that offers extensive features for recording and live streaming.
- Bandicam, Camtasia, and ScreenFlow: Paid options that offer powerful editing tools.
3. Set Up Your Recording Environment
The environment greatly impacts the quality of your video. Consider these factors:
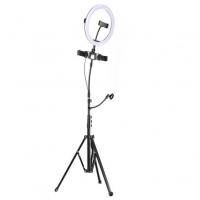
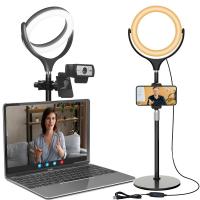
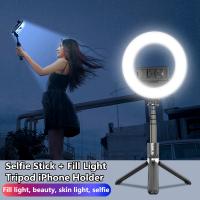
- Lighting: Ensure there is ample lighting. Natural light is best, but softbox lights and ring lights also work well.
- Background: Choose a clean and non-distracting background.
- Noise: Try to minimize background noise and choose a quiet location.
4. Adjust Camera and Audio Settings
Open your selected recording software and go to the settings menu. Here you can:
- Adjust video resolution and frame rate (typically, 720p or 1080p at 30fps works well).
- Select your preferred audio input device if you’re using an external microphone.
5. Testing
Before recording, it’s a good idea to do a test run:
- Record a short clip and review it for any issues such as poor lighting, audio disturbances, and background clutter.
6. Recording Your Video
Once everything is set, start recording:
- Position yourself ideally about an arm’s length away from the camera.
- Maintain eye contact and speak clearly into the microphone.
Editing Your Video
Once your recording is done, you might want to edit your video to refine it. Here’s how:
1. Basic Editing Software
If you need simple edits, you can use:
- Windows Photos: In-built for Windows users, simple for trimming and adding effects.
- iMovie: Available on Mac, user-friendly for beginners.
2. Advanced Editing Software
For more extensive editing, you could opt for advanced software such as:
- Adobe Premiere Pro
- Final Cut Pro
- DaVinci Resolve
These tools offer more advanced features like color correction, transitions, and audio editing capabilities.
Tips for High-Quality Video Recording
Lighting and Position
1. Use a three-point lighting setup if possible:
- Key Light: Placed at a 45-degree angle from the front.
- Fill Light: Placed at a 45-degree angle from the other side, softer than the key light.
- Back Light: Placed behind the subject to create depth and separate them from the background.
2. Position the camera slightly above eye level to avoid unflattering angles.
Audio Quality
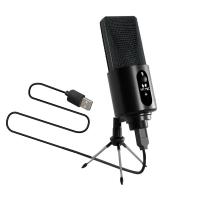
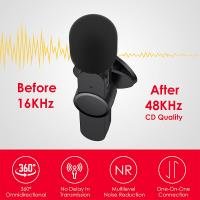
1. Use an external microphone for better audio clarity over the built-in laptop microphone.
2. Consider using a pop filter to reduce plosive sounds.
Framing and Composition
1. Follow the rule of thirds – position yourself slightly off-center for a balanced composition.
2. Ensure your eyes are approximately one-third down the screen to create a natural look.
Troubleshooting Common Issues
Poor Video Quality
- Solution: Ensure your camera is clean and adjust the resolution settings in the recording software. Check your lighting setup; insufficient lighting can lead to grainy footage.
Audio Issues
- Solution: Check if your microphone is correctly selected in the software settings. Reduce background noise by recording in a quiet space and using a noise-canceling microphone.
Software Crashes
- Solution: Ensure your software is updated to the latest version. Close unnecessary applications to free up system resources.
Recording video using a laptop camera can be straightforward if you follow these steps and tips. By choosing the right software, setting up your recording environment, and refining your technical approach, you can achieve professional-looking videos. Remember, the key to a good video is not just in the recording but also in the preparation and editing. Whether you’re making a simple tutorial or a complex vlog, attention to detail can significantly enhance the quality of your output. Happy recording!

