How To Record Wifi Security Camera?
As home security continues to be a top priority for many individuals, the use of WiFi security cameras has surged. These devices offer a multitude of functionalities, from real-time monitoring to motion detection alerts, making them indispensable for modern security setups. However, one of the most critical features of any security camera system is the ability to record footage effectively. This guide aims to provide you with comprehensive steps on how to record your WiFi security camera, ensuring that you can efficiently manage and secure your household.
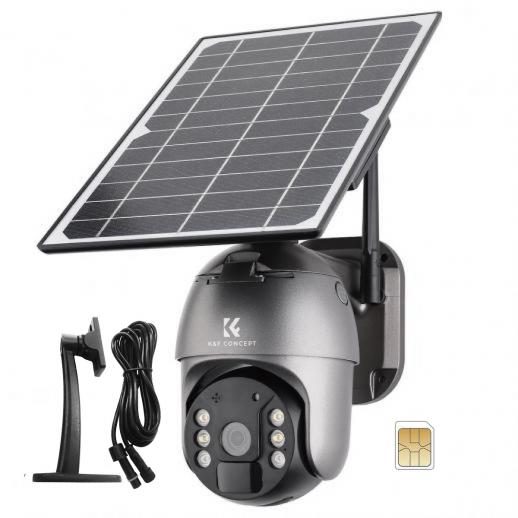
Initial Setup
Selecting the Right Camera
The first step in recording WiFi security camera footage is selecting the right camera. Not all WiFi security cameras come with built-in recording features, so it’s important to ensure that your chosen model supports this function. Look for key specifications such as video resolution, storage options, and compatibility with different recording methods (local storage, cloud storage, or NVR/DVR systems).
Positioning the Camera
Before diving into the technical aspects of recording, proper positioning of your WiFi camera is crucial. Place the camera in strategic locations where it can cover the maximum area with minimal obstructions. Common spots include entrances, hallways, or any place that requires vigilant monitoring.
Methods of Recording
Onboard Storage
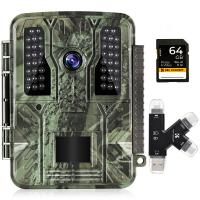
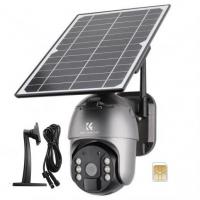
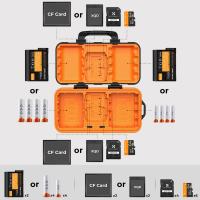
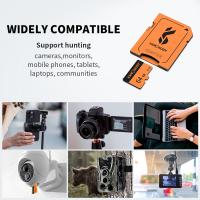
Onboard storage typically involves the use of a microSD card inserted into the camera. This option is straightforward but limited in capacity. Here’s how to set up:
1. Insert the microSD Card: Locate the card slot on the camera, often found at the side or bottom. Insert the card until it clicks into place.
2. Format the Card: Through the camera’s app or settings menu, format the microSD card. This optimizes it for the camera’s recording needs.
3. Configure Recording Settings: Access the camera’s settings through its associated app (such as Google Home, Ring, etc.). Navigate to the recording option and set up your preferences – continuous recording, event-triggered recording (like motion detection), or scheduled recording.
Onboard storage is ideal for those who don’t wish to rely on internet-based services, but it comes with limitations in storage capacity and card durability.
Cloud Storage
Many WiFi security cameras offer cloud storage services, either paid or free with limited capacity. This is advantageous for accessing footage remotely and for backup purposes. To utilize cloud storage:
1. Create an Account: Sign up for a cloud storage service offered by your camera’s manufacturer (e.g., Arlo Cloud, Nest Aware).
2. Subscription Plan: Depending on your needs, choose a subscription plan that suits your storage and features requirements. Many services offer different tiers based on storage duration and capacity.
3. Link the Camera: Through the camera’s app, link your device to the cloud storage account. Follow the prompts to complete the association.
4. Set Recording Preferences: Similar to onboard storage, configure your recording settings – real-time, event-triggered, or scheduled.
Cloud storage provides convenient access and reliability, but it incurs recurring costs and depends on stable internet connectivity.
Network Video Recorder (NVR)
For a more robust and scalable solution, consider using an NVR. An NVR records video streams from WiFi cameras onto a hard drive. Here’s how to set it up:
1. Choose an NVR: Ensure the NVR is compatible with your WiFi camera model. Some NVRs come with pre-installed hard drives, while others require you to purchase them separately.
2. Connect Cameras to NVR: Add your WiFi cameras to the NVR’s network. This process generally involves scanning a QR code or entering the camera’s unique ID into the NVR system.
3. Initial Configuration: Access the NVR’s setup interface, usually via a connected monitor or a web interface. Configure the recording settings – including resolution, frame rate, and recording triggers.
4. Access Footage: Once set up, you can access the recorded footage directly from the NVR unit or via an associated app.
Using an NVR offers extensive storage capacity and centralized management but involves a more complex setup process and higher initial costs.
Advanced Settings and Considerations
Motion Detection and Alerts
Enhance your recording efficiency by enabling motion detection. This reduces the storage load by recording only when movement is detected. Most WiFi cameras allow customization of the detection zone and sensitivity. Adjust these settings to minimize false positives triggered by animals or environmental factors.
Backup Strategies
Regardless of the recording method, implementing a backup strategy is wise. Regularly export critical footage to an external hard drive or another storage medium. Some NVR systems support RAID configurations to offer redundancy, ensuring data is not lost in case of a hard drive failure.
Privacy and Security
Ensure your WiFi security camera system is adequately protected against unauthorized access. Use strong, unique passwords for your camera’s login and any associated accounts. Regularly update the firmware to protect against vulnerabilities. If supported, enable two-factor authentication (2FA) for an additional layer of security.
Troubleshooting Common Issues
Connectivity Problems
WiFi cameras relying on internet connectivity can sometimes face issues like lag or disconnections. To troubleshoot:
- Signal Strength: Ensure the camera is within a good range of your WiFi router. Consider using WiFi extenders to enhance coverage.
- Bandwidth: High-resolution video streaming requires substantial bandwidth. Ensure your internet connection meets the camera’s requirements, especially if multiple devices are using the network simultaneously.
- Interference: Other electronic devices can interfere with WiFi signals. Make sure your camera and router are positioned to minimize interference.
Storage Limitations
Running out of storage is a common problem for onboard and cloud storage:
- Scheduled Deletion: Set up automatic deletion of old footage to free up space for new recordings.
- Storage Upgrades: If using onboard storage, invest in higher-capacity microSD cards. For cloud storage, consider upgrading your subscription plan.
Recording footage from your WiFi security camera is an essential feature for a comprehensive home security system. By understanding and implementing the various recording methods—onboard storage, cloud storage, and NVR systems—you can tailor your setup to meet your specific security needs. Additionally, leveraging advanced features like motion detection and regularly updating your backup strategies can enhance the reliability and efficiency of your recording system. Proper configuration and periodic maintenance ensure that your security camera setup remains robust and effective, providing you with peace of mind.
Investing time in setting up and maintaining your recording system pays off in the long run, making sure that your home remains a secure and well-monitored space. Whether you prefer the simplicity of onboard storage, the convenience of cloud solutions, or the comprehensive capabilities of an NVR, the right setup is within reach.
Remember, a well-configured recording system not only safeguards your home but also ensures that you have reliable evidence should the need ever arise.












-200x200.jpg)
