How To Record Wireless Security Camera Without Cloud?
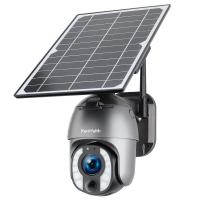
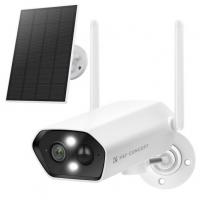
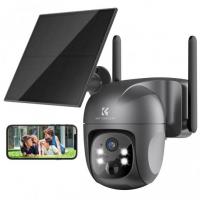
In today's world, security is a top priority for both homeowners and businesses. Wireless security cameras have become a popular choice due to their ease of installation and flexibility. However, many users are concerned about the privacy and recurring costs associated with cloud storage. Fortunately, there are several ways to record footage from wireless security cameras without relying on cloud services. This article will explore various methods to achieve this, providing practical solutions to ensure your security footage is stored safely and efficiently.
Understanding the Basics
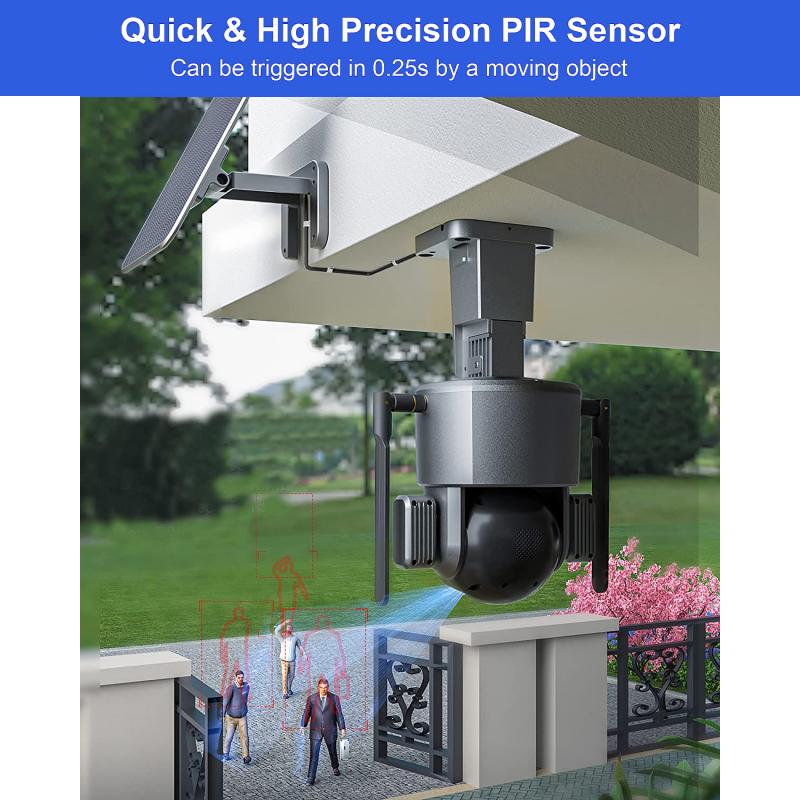
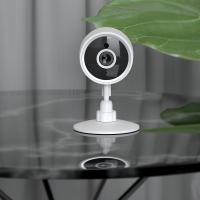
Before diving into the methods, it's essential to understand the basic components of a wireless security camera system. Typically, these systems include the camera itself, a power source, and a method for storing or viewing the footage. While cloud storage is convenient, it is not the only option. Local storage solutions can be just as effective, often providing greater control over your data.
Method 1: Using a MicroSD Card

Many modern wireless security cameras come with a built-in slot for a MicroSD card. This is one of the simplest ways to store footage locally.
Steps to Use a MicroSD Card:
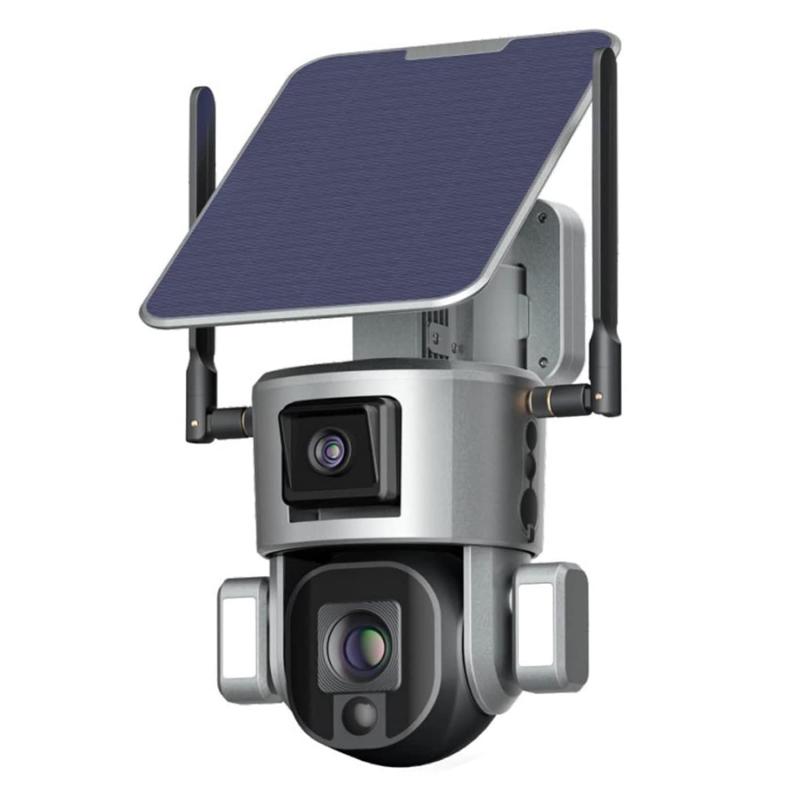
1. Check Compatibility: Ensure your camera supports MicroSD cards and check the maximum storage capacity it can handle.
2. Insert the Card: Power off the camera, insert the MicroSD card into the designated slot, and power the camera back on.
3. Configure Settings: Access the camera's settings through its app or web interface. Set the camera to record to the MicroSD card.
4. Access Footage: You can view the recorded footage directly from the camera's app or by removing the MicroSD card and inserting it into a computer.
Pros:

- Easy to set up and use.
- No additional hardware required.
- No recurring costs.
Cons:
- Limited storage capacity.
- If the camera is stolen, the footage may be lost.
Method 2: Network Video Recorder (NVR)
A Network Video Recorder (NVR) is a dedicated device that records video from IP cameras. It connects to your wireless cameras over the network and stores the footage on a hard drive.
Steps to Use an NVR:
1. Choose an NVR: Select an NVR that is compatible with your wireless cameras. Ensure it has enough storage capacity for your needs.
2. Connect Cameras: Connect your wireless cameras to the same network as the NVR. This can usually be done through the camera's app or web interface.
3. Configure the NVR: Access the NVR's settings and add your cameras. Configure recording schedules and storage settings.
4. Monitor and Access Footage: You can view live footage and access recorded videos through the NVR's interface, either on a monitor or remotely via an app.
Pros:
- Centralized storage for multiple cameras.
- Large storage capacity.
- Advanced features like motion detection and alerts.
Cons:
- Higher initial cost.
- Requires some technical knowledge to set up.
Method 3: Digital Video Recorder (DVR)
While traditionally used with wired cameras, some DVRs now support wireless cameras. A DVR records video in a digital format to a hard drive.
Steps to Use a DVR:
1. Select a DVR: Choose a DVR that supports wireless cameras and has sufficient storage capacity.
2. Connect Cameras: Ensure your wireless cameras are compatible with the DVR and connect them to the same network.
3. Configure the DVR: Access the DVR's settings to add your cameras and configure recording options.
4. Access Footage: View live and recorded footage through the DVR's interface or remotely via an app.
Pros:
- Reliable and proven technology.
- Large storage capacity.
- Can support multiple cameras.
Cons:
- Higher initial cost.
- More complex setup compared to MicroSD cards.
Method 4: Local PC or NAS Storage
Another option is to use a local PC or Network Attached Storage (NAS) device to store your camera footage. This method provides flexibility and scalability.
Steps to Use Local PC or NAS Storage:
1. Set Up Storage: Ensure your PC or NAS has enough storage capacity and is always on or available when needed.
2. Install Software: Use camera management software that supports your wireless cameras. Many cameras come with their own software, or you can use third-party options like Blue Iris or ZoneMinder.
3. Connect Cameras: Add your cameras to the software by connecting them to the same network.
4. Configure Recording: Set up recording schedules, motion detection, and storage options within the software.
5. Access Footage: View live and recorded footage through the software interface on your PC or remotely via an app.
Pros:
- Flexible and scalable storage options.
- Can integrate with other home automation systems.
- Advanced features and customization.
Cons:
- Requires technical knowledge to set up and maintain.
- Higher initial cost for NAS devices.
Method 5: USB Storage
Some wireless security cameras support direct recording to USB storage devices. This method is straightforward and cost-effective.
Steps to Use USB Storage:
1. Check Compatibility: Ensure your camera supports USB storage.
2. Connect USB Device: Plug a USB flash drive or external hard drive into the camera's USB port.
3. Configure Settings: Access the camera's settings to set the USB device as the storage location.
4. Access Footage: View recorded footage directly from the camera's app or by connecting the USB device to a computer.
Pros:
- Easy to set up and use.
- No additional hardware required.
- No recurring costs.
Cons:
- Limited storage capacity.
- If the camera is stolen, the footage may be lost.
Recording footage from wireless security cameras without relying on cloud storage is not only possible but also offers several advantages, including greater control over your data and reduced recurring costs. Whether you choose to use a MicroSD card, NVR, DVR, local PC or NAS storage, or USB storage, each method has its own set of pros and cons. By understanding these options and selecting the one that best fits your needs, you can ensure your security footage is stored safely and efficiently.
Investing in a reliable local storage solution can provide peace of mind, knowing that your security footage is always accessible and under your control. With the right setup, you can enhance your security system's effectiveness and protect your property without the need for cloud services.














There are no comments for this blog.