How To Record Your Ipad Screen With Audio?
Recording your iPad screen with audio can be incredibly useful for a variety of purposes: creating tutorials, sharing gameplay footage, capturing important video calls, or simply recording content for social media. Luckily, Apple has made this process relatively straightforward with built-in features on iOS and iPadOS. In this article, we'll walk you through how to record your iPad screen with both video and audio, discuss possible troubleshooting tips, and explore third-party options if needed.
Why Record Your iPad Screen with Audio?
Before we dive into the "how," it's helpful to understand why you might want to record both the screen and audio. For instance:
1. Creating Tutorials: Whether you’re teaching someone how to use an app or showing a step-by-step process, recording both your actions on screen and your voice makes it far easier to explain.
2. Capturing Gameplay: Gamers often record their screen to share gameplay moments with friends or followers. Audio in these recordings adds more context, such as in-game sound effects, music, or commentary.
3. Presentations and Demonstrations: Business professionals or students can use screen recording with audio for presentations, offering a more dynamic and engaging experience compared to static slides.
With that said, let's explore the process in detail.
---
Step-by-Step Guide to Record iPad Screen with Audio
Recording your iPad screen with both video and audio is a two-step process. First, we’ll enable the screen recording feature, then we’ll look at how to capture audio.
Step 1: Enable Screen Recording in Control Center
If you haven't already enabled the Screen Recording feature, you'll need to add it to your Control Center. Here’s how:
1. Open Settings: From the home screen of your iPad, tap on the “Settings” app.
2. Go to Control Center: Scroll down and tap on Control Center.
3. Add Screen Recording: Under the "More Controls" section, find Screen Recording. Tap the green plus icon next to it to add it to the Control Center.
Now, you can easily access the screen recording option from your Control Center whenever you need it.
Step 2: Recording the Screen with Audio
Once you've enabled the screen recording feature, it's time to start recording both the screen and the audio.
1. Open Control Center: To open the Control Center, swipe down from the top-right corner of your iPad (for iPads without a Home button) or swipe up from the bottom edge of the screen (for older models with a Home button).
2. Tap the Screen Recording Button: You’ll see an icon that looks like a circular record button. Tap this icon to begin recording the screen.
3. Enable Microphone Audio: By default, screen recording only captures video, but you can also record audio through the device's microphone. To do this, press and hold the screen recording icon (don’t just tap it). A small menu will appear. Tap the microphone icon to turn it on, which will start recording audio from the iPad’s microphone.
4. Start Recording: After ensuring that the microphone is on, tap Start Recording. You’ll notice a red bar at the top of your screen, indicating that the recording is in progress.
5. Stop Recording: To stop the recording, open the Control Center again and tap the screen recording button. Alternatively, you can tap the red bar at the top of the screen and select Stop.
Once the recording is complete, your video will be saved directly to your Photos app, where you can access, edit, and share it.
---
Tips for Better Audio Recording
While the built-in microphone is fine for many users, the quality of audio can vary depending on your environment. Here are a few tips to improve the audio quality in your recordings:
1. Record in a Quiet Space: Background noise can easily be picked up by the iPad’s microphone, so choose a quiet room for recording. Try to reduce ambient sounds like fans, air conditioning, or conversations.
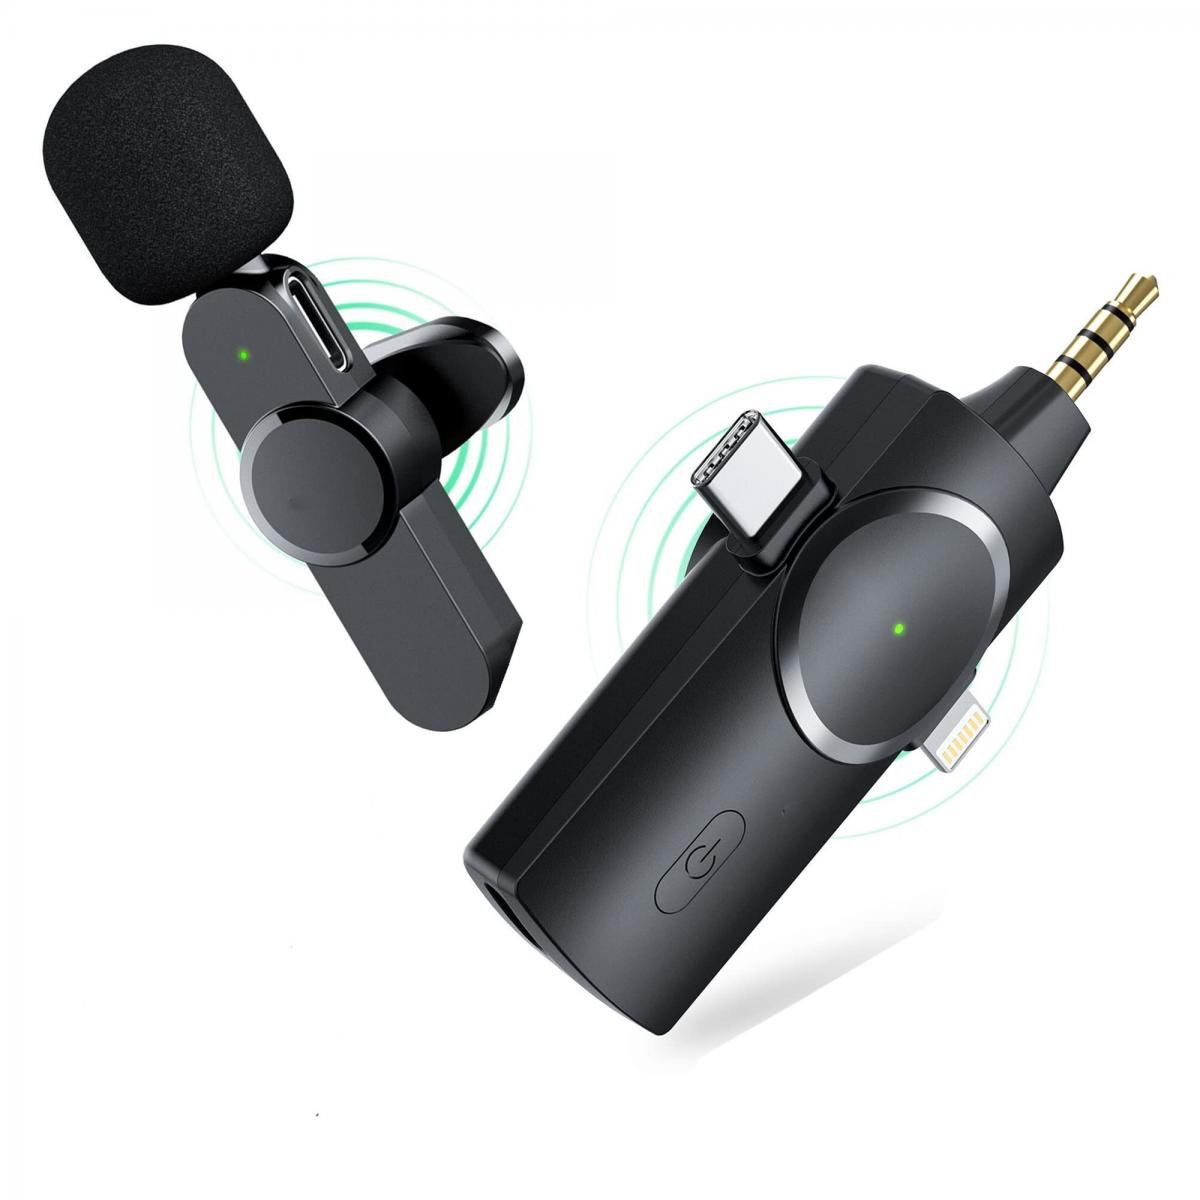
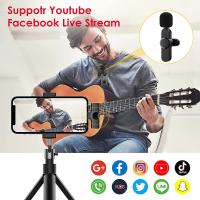
2. Use External Microphones: For better sound quality, especially if you're narrating a tutorial or podcast-style video, consider using an external microphone. Apple offers Lightning-based microphones that you can plug into your iPad, or you can use Bluetooth-enabled microphones.
3. Control the Volume Levels: If you're recording an app or video and also speaking, ensure that the volume levels are balanced. Sometimes, background sound from the app may overpower your voice if you’re speaking too softly.
4. Avoid Overloading the Microphone: Don’t place your iPad’s microphone directly in front of your mouth or too close to loud sources, as this can distort the audio.
---
What About Audio from Apps?
One important consideration is whether or not you can record audio directly from apps, especially for apps like games, music players, or video streaming services.
1. Native iPad Apps: Most built-in apps like Safari, Notes, or the Camera app allow you to record both the screen and the audio from the device itself. However, if you're watching a video from YouTube or streaming music, you will need to ensure that your audio is playing at a reasonable volume.
2. Third-Party Apps: Some apps, especially those for music and videos, may block audio recording for copyright reasons. For instance, if you try to record a video from a streaming service like Netflix, the audio might be disabled in the final recording. This is a limitation imposed by app developers and not by iOS itself.
3. Game Recording: When recording gameplay, the iPad captures both the visual output and the audio of the game (such as sound effects, background music, and in-game commentary). However, for some games, you may have to adjust the in-game settings to ensure that all sounds are captured clearly.
---
Editing and Sharing Your Screen Recording
After you’ve recorded your iPad screen with audio, you may want to make some edits before sharing it. Here are a few simple steps you can take:
1. Trim Your Recording: If you want to remove unnecessary parts at the beginning or end of your video, you can easily trim the recording in the Photos app. Just open the video, tap Edit, and use the sliders to cut out unwanted sections.
2. Add Text or Annotations: While iPad’s built-in editing tools are basic, you can use third-party apps to add text, arrows, or other annotations to your recordings. Apps like iMovie, LumaFusion, or even screen recording apps like Record it! provide more advanced editing options.
3. Share Your Recording: Once your screen recording is ready, you can share it directly from the Photos app. Simply tap the Share button (the square with the arrow) and choose your preferred platform (e.g., social media, email, cloud storage).
---
Troubleshooting Common Issues
While recording your iPad screen with audio is relatively simple, you might run into some common issues. Here are some quick troubleshooting tips:
1. Audio Not Recording: If the microphone isn’t picking up audio, make sure it’s turned on in the Control Center menu. Also, check if the volume is up on both the iPad and within the app you are recording from.
2. Screen Recording Not Starting: If the screen recording button isn’t responding, check that the feature is enabled in the Settings menu under Control Center. Also, ensure your iPad has enough storage space for a new recording.
3. Poor Video Quality: If your screen recording appears blurry or laggy, try closing unnecessary apps or restarting your iPad. Also, make sure you’re recording in an environment with a stable connection if you're recording a video call or streaming session.
---
Third-Party Apps for Advanced Screen Recording
If you need more control over your screen recording (for example, recording from specific apps or adding advanced features), there are a number of third-party screen recording apps available:
1. AirShou: A popular third-party app for iOS, AirShou allows high-quality screen recording with options to record internal audio, which can be a limitation with iPad’s built-in tools.
2. Record it!: This app offers additional features like facecam recording, video editing, and screen annotations, making it great for creating tutorial videos or streaming content.
3. TechSmith Capture: If you're looking for an option with advanced editing and sharing capabilities, TechSmith Capture provides a simple interface and is designed for educational content creators.
---
Conclusion
Recording your iPad screen with audio is a versatile and powerful tool for anyone looking to create content, capture tutorials, or share gaming moments. Thanks to iOS’s built-in screen recording feature, it’s a simple process to get started. By following the steps outlined in this guide, you can ensure that your recordings come out with high-quality video and audio.
Remember that the key to an effective recording is not only in the tools you use but also in the environment and settings. For clearer audio, ensure that your microphone is activated, minimize background noise, and consider using external microphones for better sound quality. And, if you need more control, third-party apps can provide the flexibility you need.
With these techniques and tips in mind, you’ll be ready to record your iPad screen with audio like a pro!


