How To Remove Ir Filter On A Lens?
Removing an IR (infrared) filter from a lens can be a delicate process, but it is often necessary for those who wish to engage in infrared photography or other specialized imaging techniques. This article will guide you through the steps required to remove an IR filter from a lens, discuss the tools you will need, and provide some tips to ensure the process goes smoothly. Additionally, we will cover the potential risks and benefits of removing the IR filter, so you can make an informed decision before proceeding.
Understanding the IR Filter
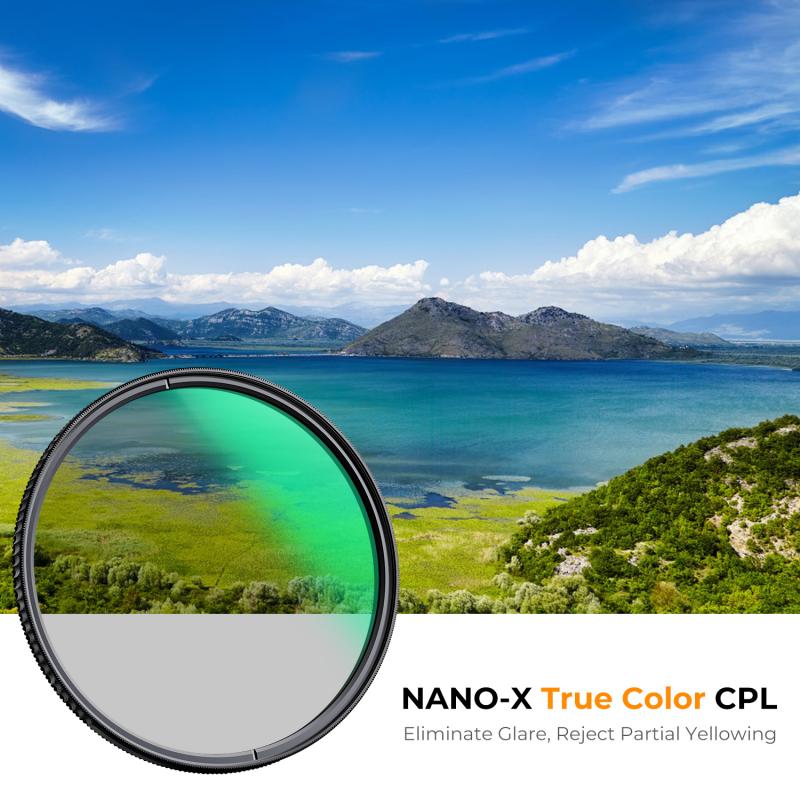
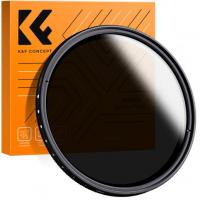
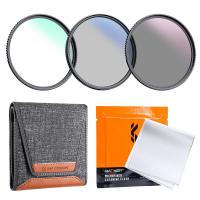
An IR filter, also known as a hot mirror filter, is typically placed in front of a camera sensor to block infrared light. This is because most camera sensors are sensitive to a broad spectrum of light, including infrared, which can interfere with the quality of visible light images. By blocking infrared light, the IR filter helps to produce clearer and more accurate photographs. However, for those interested in infrared photography, removing this filter is essential to capture the desired wavelengths of light.
Tools and Materials Needed
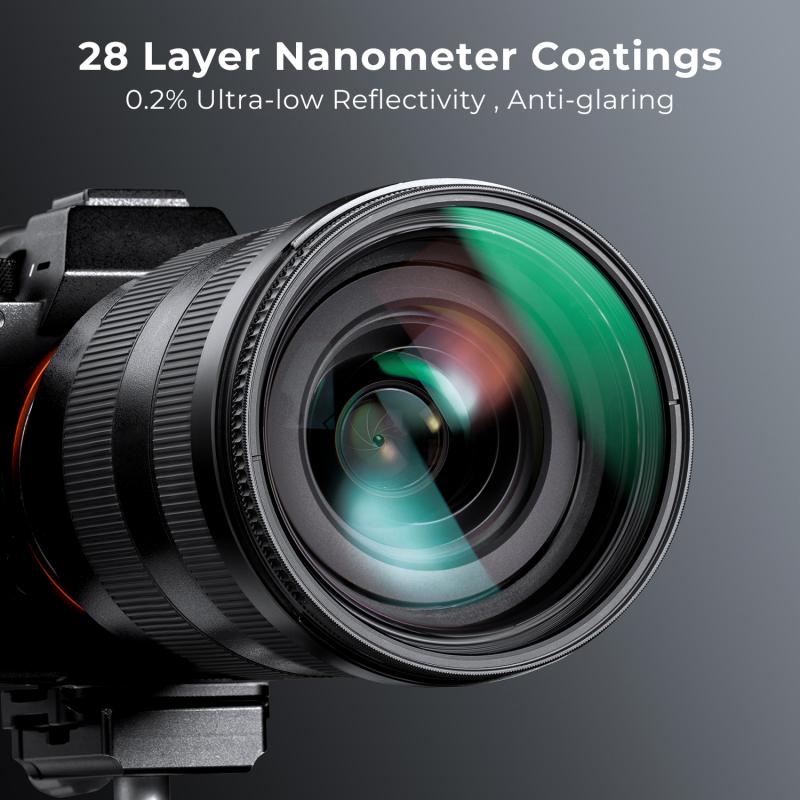
Before you begin the process of removing the IR filter, gather the following tools and materials:
1. Precision Screwdrivers: These are essential for removing the small screws that hold the lens and filter in place.
2. Tweezers: Useful for handling small components without damaging them.
3. Lens Cleaning Kit: To ensure that no dust or debris gets onto the sensor or lens during the process.
4. Anti-Static Gloves: To prevent static discharge, which can damage electronic components.
5. Magnifying Glass or Microscope: To get a clear view of the small parts you will be working with.
6. Soft Cloth or Mat: To work on, preventing scratches or damage to the lens and other components.
Step-by-Step Guide to Removing the IR Filter

Step 1: Prepare Your Workspace

Ensure that you are working in a clean, dust-free environment. Lay out all your tools and materials on a soft cloth or mat to prevent any damage to the lens or other components.
Step 2: Disassemble the Lens
Using the precision screwdrivers, carefully remove the screws that hold the lens assembly together. Keep track of all screws and small parts, as you will need to reassemble the lens later. It may be helpful to take photos at each stage of disassembly to use as a reference during reassembly.
Step 3: Locate the IR Filter
Once the lens is disassembled, locate the IR filter. It is usually a small, square piece of glass or plastic situated in front of the camera sensor. In some cases, the filter may be integrated into the lens assembly itself.
Step 4: Remove the IR Filter
Using tweezers, carefully lift the IR filter out of its housing. Be gentle to avoid scratching the filter or damaging the surrounding components. If the filter is glued in place, you may need to use a small amount of isopropyl alcohol to dissolve the adhesive. Apply the alcohol sparingly and allow it to sit for a few minutes before attempting to remove the filter again.
Step 5: Clean the Sensor and Lens
Once the IR filter is removed, use the lens cleaning kit to gently clean the sensor and lens. This will help to remove any dust or debris that may have accumulated during the disassembly process.
Step 6: Reassemble the Lens
Carefully reassemble the lens, following the reverse order of the disassembly process. Refer to the photos you took earlier to ensure that all components are correctly aligned and secured. Double-check that all screws are tightened, but be careful not to overtighten them, as this can strip the threads or damage the lens.
Potential Risks and Benefits
Benefits
1. Enhanced Infrared Photography: Removing the IR filter allows you to capture images in the infrared spectrum, revealing details and textures that are not visible in standard photography.
2. Creative Possibilities: Infrared photography can produce unique and artistic images, offering new creative opportunities for photographers.
3. Scientific Applications: Infrared imaging is used in various scientific fields, including astronomy, biology, and environmental science, to study phenomena that are not visible to the naked eye.
Risks
1. Void Warranty: Removing the IR filter will likely void any warranty on your camera or lens, as it involves disassembling and modifying the original equipment.
2. Potential Damage: The process of removing the IR filter is delicate and can result in damage to the sensor, lens, or other components if not done correctly.
3. Reduced Image Quality: Without the IR filter, your camera may be more susceptible to infrared light interference, which can affect the quality of your visible light images.
Tips for Success
1. Practice on an Old Lens: If you are new to this process, consider practicing on an old or inexpensive lens before attempting to remove the IR filter from your primary equipment.
2. Take Your Time: Rushing through the process increases the risk of making mistakes. Take your time and work carefully to avoid damaging any components.
3. Consult a Professional: If you are unsure about any step of the process, consider consulting a professional camera technician. They have the experience and tools necessary to safely remove the IR filter.
Removing an IR filter from a lens can open up new possibilities for infrared photography and other specialized imaging techniques. However, it is a delicate process that requires careful attention to detail and the right tools. By following the steps outlined in this guide and taking the necessary precautions, you can successfully remove the IR filter and explore the fascinating world of infrared photography. Remember to weigh the potential risks and benefits before proceeding, and don't hesitate to seek professional assistance if needed.















There are no comments for this blog.