How To Remove Outdoor Camera From Base?
Removing a Outdoor Camera from its base can be a straightforward process if you follow the correct steps. This article will guide you through the process, ensuring that you can safely and efficiently detach your camera from its base. Whether you are relocating the camera, performing maintenance, or upgrading your system, this guide will provide you with the necessary information to complete the task.
Understanding the Outdoor Camera Setup
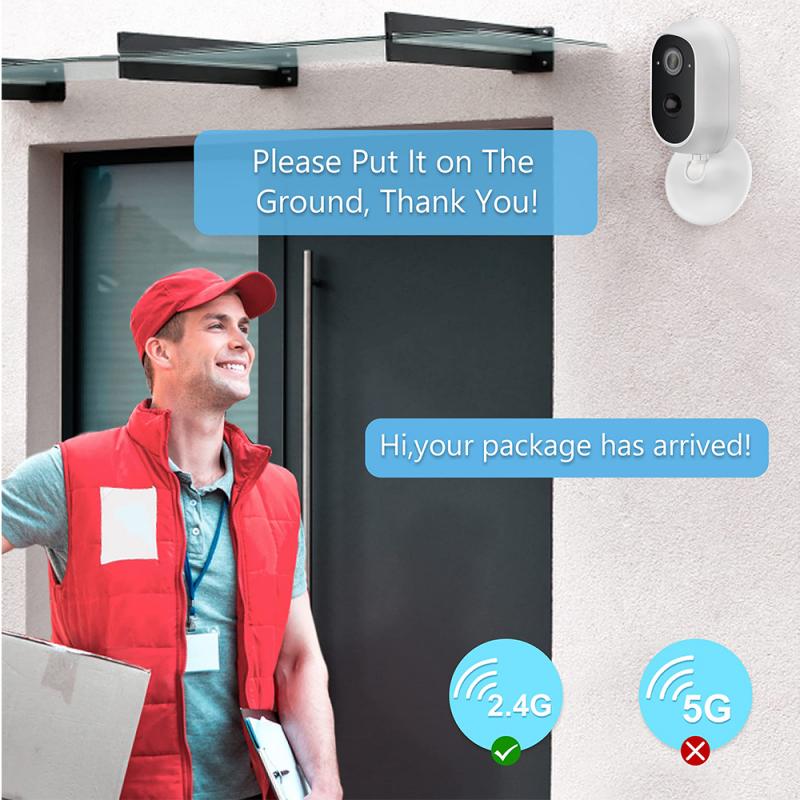
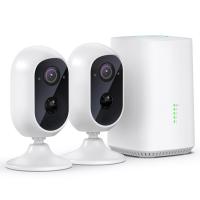
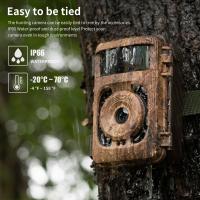
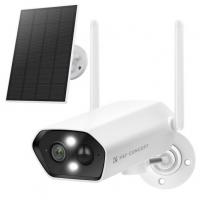
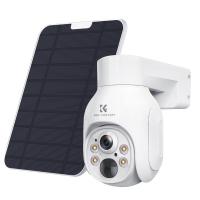
Before diving into the removal process, it’s essential to understand the basic setup of the Nest Outdoor Camera. The camera is designed to be weatherproof and is typically mounted on an exterior wall or other outdoor surfaces. It is connected to a base that is secured to the mounting surface. The camera itself is attached to the base using a magnetic mount, which allows for easy adjustment and positioning.
Tools and Materials Needed
To remove the Outdoor Camera from its base, you will need the following tools and materials:
- A ladder (if the camera is mounted at a height)
- A Phillips head screwdriver
- A flathead screwdriver (optional)
- A soft cloth or towel (to protect the camera and base during removal)
Step-by-Step Guide to Removing the Camera
1. Ensure Safety First

Before starting the removal process, ensure that you have a stable and secure ladder if the camera is mounted at a height. Safety should always be your top priority.
2. Power Off the Camera
To avoid any electrical issues or potential damage, it’s crucial to power off the camera. You can do this by unplugging the power adapter from the outlet or disconnecting the power cable from the camera.
3. Locate the Mounting Screws
The Outdoor Camera is typically secured to its base using screws. These screws are usually located on the sides or the back of the base. Use a Phillips head screwdriver to remove these screws. Keep the screws in a safe place as you will need them if you plan to remount the camera later.
4. Detach the Camera from the Base
Once the screws are removed, gently pull the camera away from the base. The magnetic mount should release the camera easily. If the camera does not come off easily, you can use a flathead screwdriver to gently pry it away from the base. Be careful not to damage the camera or the base during this process.
5. Disconnect the Power Cable
After detaching the camera from the base, you will need to disconnect the power cable. The power cable is usually connected to the back of the camera. Gently pull the cable out to disconnect it.
6. Clean and Store the Camera
Once the camera is removed, use a soft cloth or towel to clean any dirt or debris from the camera and the base. If you plan to store the camera, ensure that it is kept in a safe and dry place.
Troubleshooting Common Issues
Camera Stuck to the Base
If the camera is stuck to the base and does not come off easily, double-check that all screws have been removed. If the camera is still stuck, use a flathead screwdriver to gently pry it away from the base. Be cautious to avoid damaging the camera or the base.
Power Cable Difficult to Disconnect
If the power cable is difficult to disconnect, ensure that you are pulling it straight out and not at an angle. If the cable is still stuck, you can use a small amount of force, but be careful not to damage the connector.
Reinstalling the Camera
If you plan to reinstall the camera in a different location, follow these steps:
1. Choose a new mounting location that provides a clear view of the area you want to monitor.
2. Secure the base to the new mounting surface using the screws provided.
3. Attach the camera to the base using the magnetic mount.
4. Reconnect the power cable to the camera.
5. Power on the camera and ensure that it is functioning correctly.
Removing a Outdoor Camera from its base is a relatively simple process if you follow the correct steps. By ensuring safety, powering off the camera, and carefully detaching it from the base, you can successfully remove the camera for relocation, maintenance, or upgrading purposes. If you encounter any issues during the process, refer to the troubleshooting section for guidance. With this comprehensive guide, you should be able to handle the removal and reinstallation of your Outdoor Camera with confidence.


