How To Remove Waterproof Camera Case?
Removing a waterproof camera case can be a bit tricky, especially if you want to ensure that your camera remains safe and undamaged. Whether you are a professional photographer or an amateur enthusiast, understanding the correct procedure for removing a waterproof camera case is essential. This article will guide you through the process, providing practical tips and addressing common concerns.
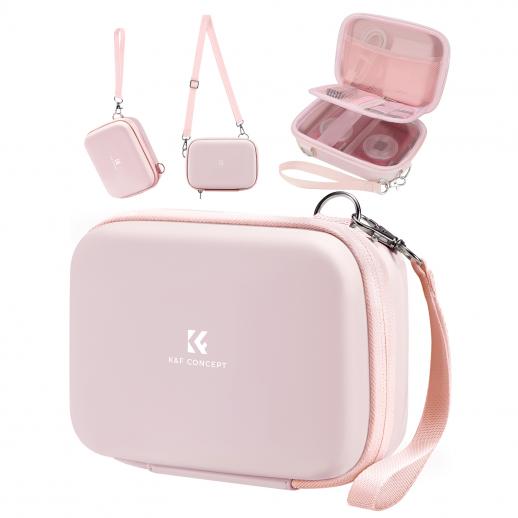
Understanding Waterproof Camera Cases
Waterproof camera cases are designed to protect your camera from water, dust, and other environmental factors. They are typically made from durable materials like polycarbonate or ABS plastic and feature seals and locks to keep water out. While these cases are excellent for protecting your camera, they can sometimes be challenging to remove, especially if you are not familiar with the process.
Step-by-Step Guide to Removing a Waterproof Camera Case
1. Read the Manual
Before attempting to remove the waterproof case, it is crucial to read the manual that came with your camera and the case. The manual will provide specific instructions and warnings that are tailored to your particular model. Ignoring these instructions can lead to damage to your camera or the case.
2. Prepare Your Workspace
Find a clean, dry, and well-lit workspace to remove the case. Ensure that you have a soft cloth or towel to place your camera on once it is out of the case. This will prevent any accidental scratches or damage.
3. Dry the Case
If your camera has been underwater or in a humid environment, make sure the case is completely dry before attempting to remove it. Use a soft, dry cloth to wipe down the exterior of the case. This will prevent any water from entering the case when you open it.
4. Release the Locks
Most waterproof camera cases have multiple locks or latches that keep the case sealed. Carefully release these locks one by one. Do not force them open, as this can damage the locking mechanism. If the locks are difficult to open, check the manual for any specific instructions or troubleshooting tips.
5. Open the Case Slowly
Once all the locks are released, gently open the case. Do this slowly to avoid any sudden movements that could jostle the camera. If the case is difficult to open, check for any remaining locks or seals that you may have missed.
6. Remove the Camera
Carefully lift the camera out of the case. Hold the camera securely and avoid touching the lens or any sensitive parts. Place the camera on the soft cloth or towel you prepared earlier.
7. Inspect the Camera and Case
After removing the camera, inspect both the camera and the case for any signs of damage or moisture. If you notice any moisture inside the case, dry it thoroughly before storing it. Check the seals and locks for any wear and tear, and replace them if necessary.
Common Issues and Solutions
Stuck Locks
If the locks on your waterproof case are stuck, do not force them open. Instead, try the following solutions:
- Lubricate the Locks: Use a small amount of silicone lubricant to ease the locks open. Avoid using oil-based lubricants, as they can damage the seals.
- Warm the Case: If the case is cold, the materials may have contracted, making it difficult to open. Warm the case gently with your hands or a warm cloth to expand the materials.
Moisture Inside the Case
If you find moisture inside the case, it is essential to dry it thoroughly to prevent damage to your camera. Use a soft, dry cloth to wipe down the interior of the case. You can also use silica gel packets to absorb any remaining moisture.
Damaged Seals
Over time, the seals on your waterproof case may wear out or become damaged. Inspect the seals regularly and replace them if necessary. Most manufacturers sell replacement seals, or you can contact the manufacturer for assistance.
Tips for Maintaining Your Waterproof Camera Case
1. Regular Cleaning: Clean your waterproof case regularly to remove dirt, sand, and other debris that can damage the seals and locks.
2. Proper Storage: Store your case in a cool, dry place when not in use. Avoid exposing it to direct sunlight or extreme temperatures.
3. Check Seals and Locks: Regularly inspect the seals and locks for any signs of wear and tear. Replace them as needed to ensure the case remains waterproof.
4. Avoid Overloading: Do not overload your case with accessories or other items. This can put pressure on the seals and locks, making it difficult to open and close the case.
Removing a waterproof camera case requires patience and attention to detail. By following the steps outlined in this article, you can safely and effectively remove your camera from its case without causing any damage. Remember to read the manual, prepare your workspace, and handle the camera and case with care. Regular maintenance and inspection of your waterproof case will ensure that it continues to protect your camera for years to come.
Whether you are a professional photographer or a hobbyist, understanding how to properly remove and maintain your waterproof camera case is essential. With the right knowledge and tools, you can keep your camera safe and ready for your next adventure.

















There are no comments for this blog.