How To Reset Headphones?
Resetting headphones can be a common requirement, whether you’re dealing with connectivity issues, audio problems, or other malfunctions. While the process may vary depending on the brand and model, the general steps to reset headphones are quite similar. This guide aims to provide you with a comprehensive understanding of how to reset your headphones effectively, ensuring that they function properly once again.
Understanding the Need to Reset
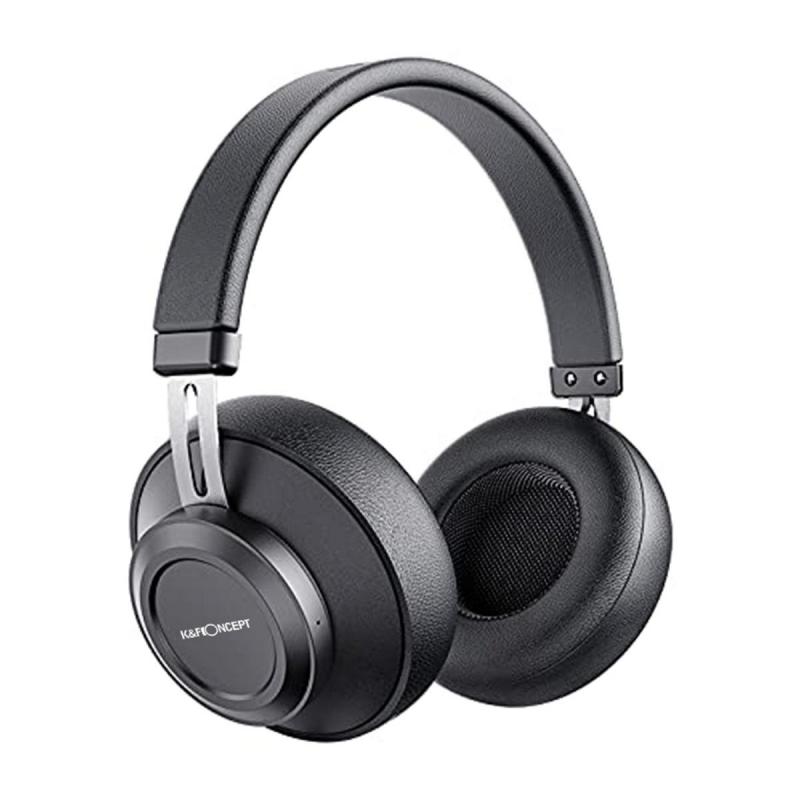
Before diving into the mechanics of resetting your headphones, it’s crucial to comprehend why resetting can be beneficial:
1. Connectivity Issues: Your headphones may struggle to maintain a stable connection with your device.
2. Audio Problems: Issues like unbalanced sound, stuttering, or no sound at all can be resolved with a reset.
3. Battery Problems: If your headphones aren't charging correctly, a factory reset can sometimes resolve the issue.
4. Software Updates: Post-update glitches can often be fixed by resetting your headphones.
By resetting your headphones, you can restore them to their default settings, potentially resolving these issues and improving performance.
Steps to Reset Different Types of Headphones
Bluetooth Headphones
1. Turn Off the Headphones: Ensure your Bluetooth headphones are powered off.
2. Locate the Reset Button: This is usually a small, recessed button. It could be located on one of the ear cups or within the battery compartment.
3. Press and Hold: Use a pin or paperclip to press and hold the reset button for 10-30 seconds. You might see the LED indicator light flashing, which signifies that the headphones are resetting.
4. Pair Again: After the reset, you will need to re-pair the headphones with your device.
Wired Headphones
For wired headphones, the reset procedure is generally more straightforward, focusing primarily on fixing hardware-related issues.
1. Disconnect and Reconnect: Sometimes, merely unplugging and replugging the headphones can temporarily fix problems.
2. Check for Firmware Updates: For models that support it, updating the firmware could resolve underlying issues.
3. Contact Manufacturer: If connectivity or audio issues persist, contacting the manufacturer may be necessary for a detailed reset process.
Noise-Cancelling Headphones
1. Turn Off Noise Cancellation: Switch off the noise-cancellation feature if it's on.
2. Reset Button: Similar to Bluetooth headphones, locate the reset button and hold it for a specific duration, often indicated in the user manual.
3. Power Cycle: Turn the headphones off, then on again to complete the reset process.
Manufacturer-Specific Instructions
Each headphone manufacturer has its own unique steps to perform a reset. Below are some brand-specific guidelines:
Sony
1. Turn Off: Ensure the headphones are turned off.
2. Hold Power Button: Press and hold the power button for about 7 seconds until the blue indicator light begins flashing.
3. Re-Pairing: After resetting, re-pair the headphones with your device.
Bose
1. Turn Off and On: Physical toggle switches on the headphones should be turned off and then back on.
2. Bluetooth Button: Press and hold the Bluetooth button for about 10 seconds until you hear “Bluetooth device list cleared.”
3. Re-Pairing: Reconnect your headphones to your device.
Apple (AirPods)
1. Hold Setup Button: Press and hold the small button on the back of the case for about 15 seconds until the LED indicator flashes amber a few times, then white.
2. Re-Pairing: Open the case near your Apple device to initiate the re-pairing process.
Troubleshooting Post-Reset Issues
Re-Pairing Difficulties
After a reset, you might encounter problems with re-pairing. Here’s how to troubleshoot:
1. Cleared Device List: Ensure that your device’s saved Bluetooth connections have been cleared.
2. Reboot Devices: Sometimes, simply rebooting both your headphones and the connecting device can solve pairing issues.
3. Manual Pairing Mode: Some headphones require you to manually enter pairing mode post-reset. Consult your user manual for more details.
Sound Quality Issues
If resetting doesn’t resolve your sound quality issues:
1. Drivers: Ensure device drivers are up to date.
2. Firmware Update: Check for any available firmware updates for your headphones.
3. Volume Levels: Check and adjust individual volume levels on your device and app settings.
Battery Life Problems
A reset should ideally resolve most battery-related issues. If problems persist:
1. Battery Replacement: Consider checking if the battery needs replacement.
2. Power Source: Ensure you are using the correct power source and charging cable recommended by the manufacturer.
Preventive Measures
1. Regular Updates: Keep your headphones updated with the latest firmware.
2. Proper Maintenance: Clean your headphones regularly and store them safely when not in use.
3. Periodic Resets: Conducting periodic resets can help in maintaining the optimal performance of your headphones.
Practical Tips and Common Mistakes
While resetting headphones can be a seemingly straightforward task, there are practical tips and common mistakes that users should be aware of:
1. Read the Manual: Always refer to the user manual for specific reset instructions tailored to your headphone model.
2. Don’t Overlook Updates: Firmware updates often come with patches for known issues. Don’t skip them.
3. Avoid Hard Resets: Only perform a hard reset if a soft reset doesn’t work, as this will erase all custom settings.
4. Battery Precaution: Ensure that the headphones have adequate battery life before performing a reset.
Resetting your headphones is a fundamental troubleshooting step that can resolve a range of issues including connectivity, audio problems, and software glitches. By understanding the specific reset procedures for your headphone model and adhering to preventive maintenance practices, you can ensure consistent and optimal performance. Armed with this knowledge, you can confidently address and fix common headphone problems, thus enhancing your overall listening experience.


