How To Run Sd Card On Laptop?
Using an SD card with your laptop can be immensely useful for several reasons, including expanding storage, transferring files, and creating backup solutions. However, many users frequently run into issues or become unsure about the correct process to effectively use an SD card on a laptop. In this comprehensive guide, I’ll demystify the topic and provide clear, actionable steps for using an SD card on your laptop, ensuring that you can effortlessly manage this storage medium.
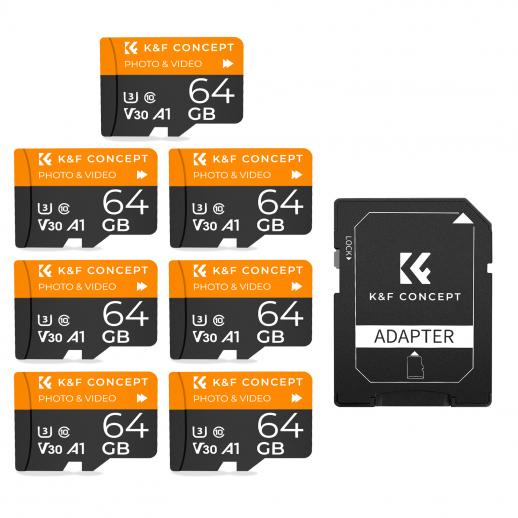
1. Understanding the SD Card Basics
Before we delve into the steps, it’s crucial to understand the different types of SD cards you might encounter. SD cards come in various sizes and capacities:
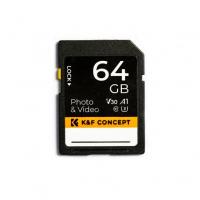
- Standard SD: The original SD card size, measuring 32x24x2.1 mm.
- MiniSD: Smaller variant, measuring 21.5x20x1.4 mm.
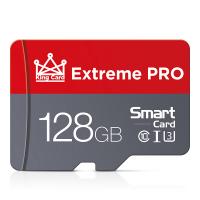
- MicroSD: The most compact size, measuring 15x11x1 mm.
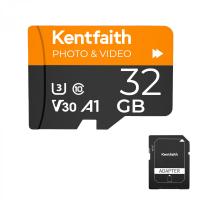
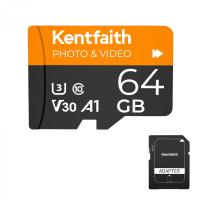
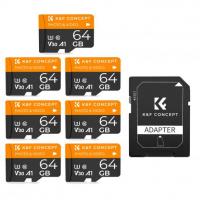
Laptops generally have built-in slots for standard SD cards or microSD cards using an adapter. Make sure you know the card type suitable for your device.
2. Checking Compatibility
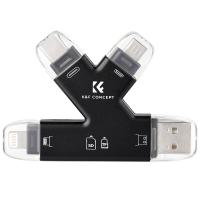
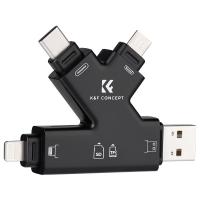
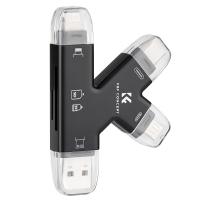
First, verify if your laptop has an SD card slot. This slot is generally identified by a small, rectangular opening on the side or front of your laptop, often labeled with the SD card symbol. If your laptop doesn't have a built-in SD slot, you can use an external SD card reader, which connects to your laptop via a USB port.
3. Inserting the SD Card
Follow these steps to insert your SD card correctly:
- Power Off: While it’s generally safe to insert an SD card while your laptop is powered on, doing it with the laptop off minimizes risk.
- Orient Correctly: Ensure the card is oriented correctly based on the diagram usually located near the slot. Typically, the metal contacts should face downwards.
- Insert Carefully: Insert the SD card gently into the slot until it clicks into place. If you use excessive force, it could damage the card or the slot.
4. Accessing the SD Card
Once inserted, power on your laptop if it was off:
- Automatic Recognition: Most modern operating systems will automatically recognize the SD card. You should see a notification pop up indicating a new storage device has been inserted.
- Manual Access: If no notification appears, you can manually access the card. Open your file manager (File Explorer on Windows, Finder on Mac), and you will see your SD card listed as a new drive. Double-click to open it.
5. Transferring Files
Transferring files to and from an SD card is straightforward:
- Drag and Drop: Open the folder containing the files you want to transfer. Drag the files into the SD card window.
- Copy-Paste: Alternatively, you can use the right-click context menu to copy files from your hard drive and paste them into the SD card directory.
6. Safety Ejection
It’s essential to safely eject the SD card to prevent data corruption:
- Windows: Click on the “Safely Remove Hardware and Eject Media” icon in the taskbar. Select the SD card and wait for the system to notify you that it’s safe to remove.
- Mac: Drag the SD card icon from the desktop to the trash bin, which will change to an eject symbol. Wait for it to disappear before removing the card.
7. Troubleshooting Common Issues
If you encounter issues while using your SD card, here are some common problems and solutions:
- Card Not Recognized: Ensure the card is properly inserted. Try inserting it again or use a different slot/adapter.
- Read/Write Errors: This might indicate a corrupted card. Use the disk utility tool on your OS to scan and repair the card.
- Slow Performance: Performance issues can stem from a low-grade card. High-speed SD cards (Class 10 or UHS) perform better for tasks requiring high data transfer rates.
8. Utilizing SD Card Software
Certain software can enhance your SD card’s functionality:
- Formatting Tools: Use built-in OS tools or third-party software to format your SD card for different file systems (e.g., exFAT, NTFS).
- Recovery Software: In case of data loss, recovery tools can help retrieve lost files.
- Backup Solutions: Automate backups with tools that sync data between your hard drive and SD card.
9. Advanced Tips and Tricks
For advanced users, here are some additional tips:
- Bootable SD Cards: You can create bootable SD cards for installing operating systems. Software like Rufus can help craft a bootable drive.
- Encryption: Protect sensitive data on your SD card using encryption tools.
- Optimized Usage: Periodically format your SD card to ensure optimal performance and longevity.
Conclusion
Effectively using an SD card on your laptop can significantly enhance your productivity, expand your storage options, and provide a reliable medium for data transfer and backup. By following the steps outlined in this guide—from choosing the appropriate SD card type and ensuring compatibility, to safely transferring and ejecting files—you’ll be equipped to handle all your SD card-related tasks with ease and confidence.
Always remember to handle your SD card with care, keep it free from physical damage, and use software tools when necessary to maintain its optimal performance. Happy computing!










There are no comments for this blog.