How To Set Up A Home Studio Lighting?
Setting up a home studio lighting system can be a game-changer for photographers, videographers, and content creators. Proper lighting can significantly enhance the quality of your work, making it look more professional and visually appealing. Whether you're a beginner or an experienced creator, understanding the essentials of home studio lighting is crucial. This article will guide you through the process of setting up your home studio lighting, covering everything from the types of lights to the best practices for achieving optimal results.
Understanding the Basics of Home Studio Lighting
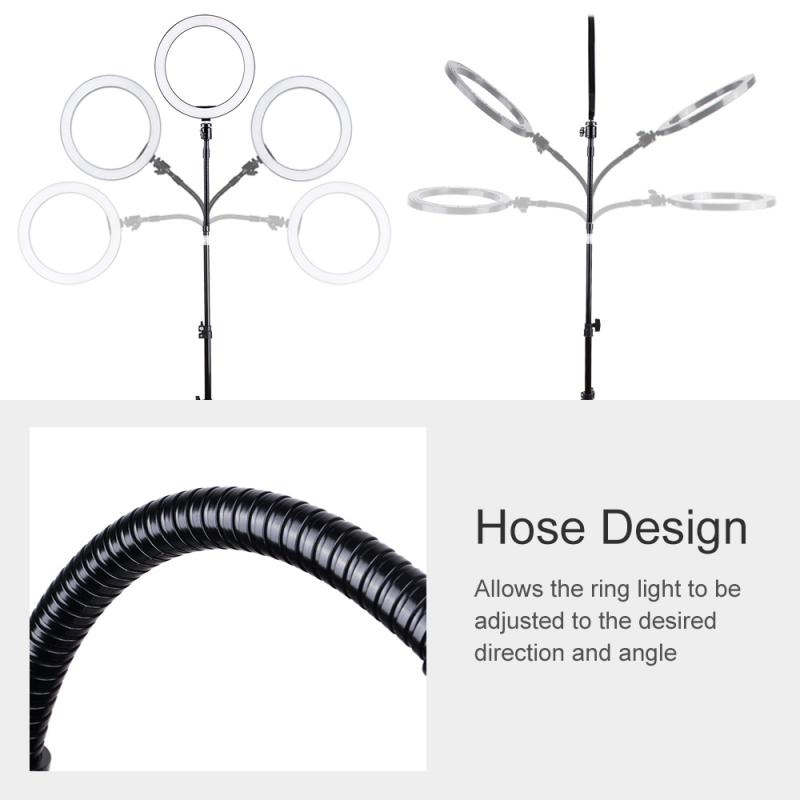
Before diving into the setup process, it's essential to understand the basic principles of lighting. The three main types of lighting used in a studio setting are:
1. Key Light: This is the primary light source and is usually the brightest. It sets the overall exposure and defines the subject's form.
2. Fill Light: This light is used to fill in the shadows created by the key light, ensuring that the subject is evenly lit.
3. Back Light (or Rim Light): This light is placed behind the subject to create a rim of light around the edges, helping to separate the subject from the background.
Choosing the Right Equipment
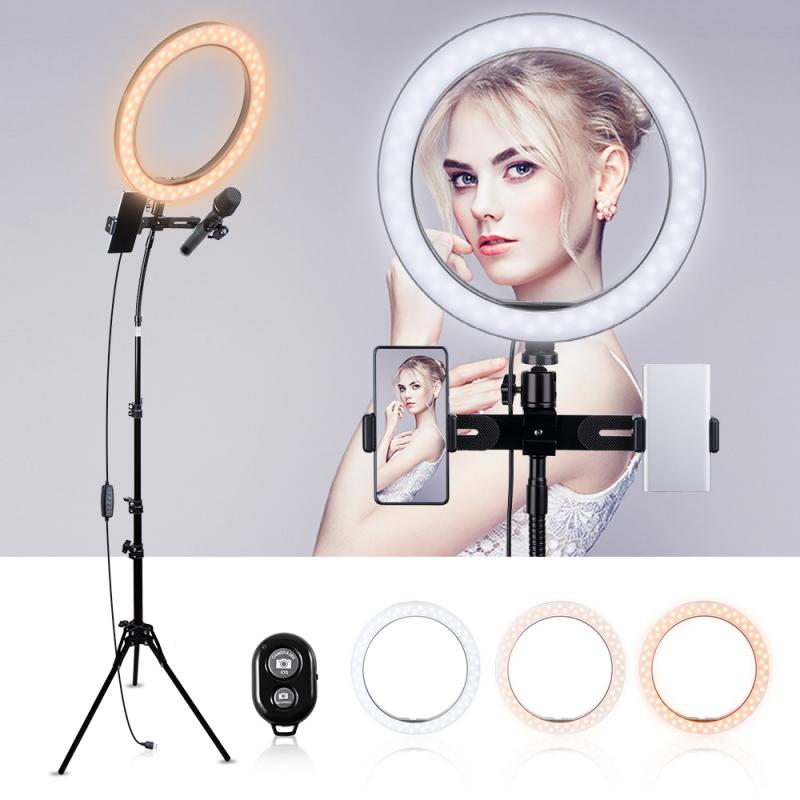
The first step in setting up your home studio lighting is selecting the right equipment. Here are some essential items you'll need:
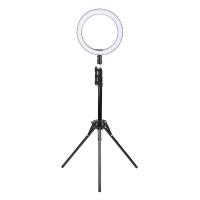
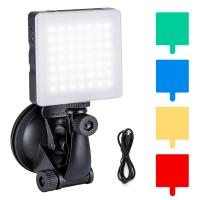
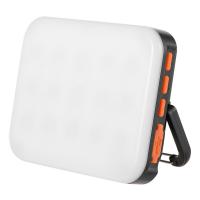
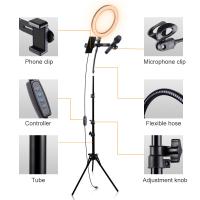
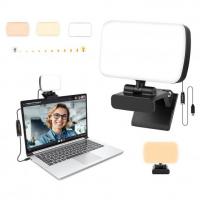
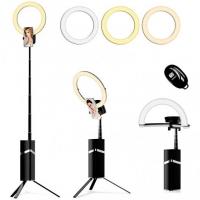
1. Lights: Depending on your budget and needs, you can choose from various types of lights, including LED panels, softboxes, and ring lights. LED panels are versatile and energy-efficient, while softboxes provide soft, diffused light. Ring lights are great for close-up shots and vlogging.
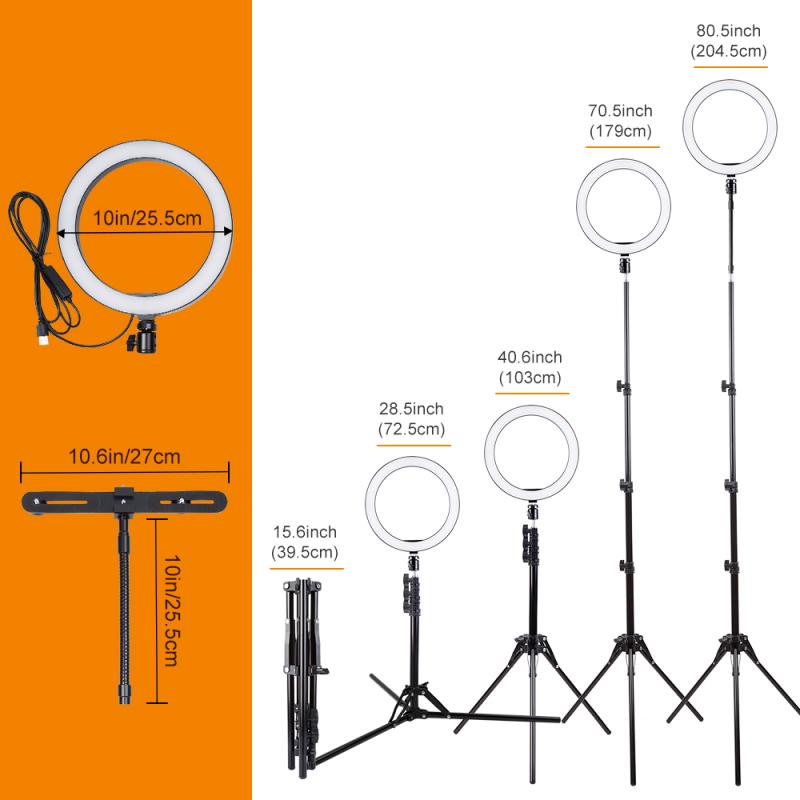
2. Light Stands: Sturdy light stands are crucial for positioning your lights at the desired height and angle.
3. Modifiers: These include softboxes, umbrellas, and diffusers, which help control the quality and direction of light.
4. Reflectors: Reflectors bounce light back onto the subject, filling in shadows and adding dimension.
5. Backgrounds: A clean, uncluttered background is essential for professional-looking shots. You can use seamless paper, fabric, or even a painted wall.
Setting Up Your Home Studio Lighting
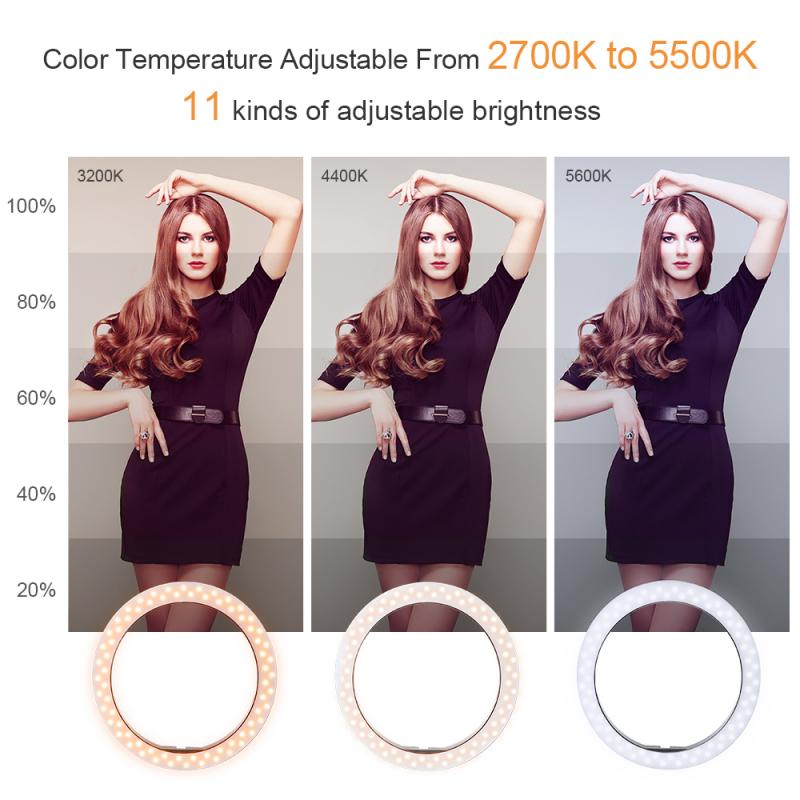
Now that you have your equipment, it's time to set up your home studio lighting. Follow these steps to achieve a professional setup:
1. Position the Key Light: Start by placing your key light at a 45-degree angle to the subject, slightly above eye level. This angle creates natural-looking shadows and highlights, adding depth to your subject. If you're using a softbox, position it close to the subject for softer light.
2. Add the Fill Light: Place the fill light on the opposite side of the key light, at a lower intensity. The fill light should be at a similar height to the key light but can be adjusted based on the desired effect. If you don't have a second light, you can use a reflector to bounce light back onto the subject.
3. Set Up the Back Light: Position the back light behind the subject, aimed at their back or the top of their head. This light should be at a higher angle to create a rim of light that separates the subject from the background. Adjust the intensity to ensure it's not too overpowering.
4. Adjust the Background Light: If you're using a background light, place it behind the subject, aimed at the background. This light helps to illuminate the background and add depth to the scene. You can use colored gels to create different effects.
5. Fine-Tune the Setup: Once all the lights are in place, take test shots and adjust the positioning and intensity of each light as needed. Pay attention to the shadows and highlights, ensuring that the subject is evenly lit and the background is not distracting.
Best Practices for Home Studio Lighting
To achieve the best results, keep these best practices in mind:
1. Use Natural Light When Possible: If you have access to natural light, use it to your advantage. Position your setup near a window and use sheer curtains to diffuse the light. Natural light can create a soft, flattering effect.
2. Control Ambient Light: Minimize ambient light from other sources, such as overhead lights or lamps, to avoid unwanted shadows and color casts. Use blackout curtains or shades to block out external light.
3. Experiment with Angles and Positions: Don't be afraid to experiment with different angles and positions for your lights. Small adjustments can make a significant difference in the final result.
4. Invest in Quality Equipment: While it's possible to achieve good results with budget-friendly equipment, investing in high-quality lights and modifiers can make a noticeable difference in the quality of your work.
5. Practice and Learn: Lighting is an art form that requires practice and experimentation. Take the time to learn about different lighting techniques and styles, and practice regularly to improve your skills.
Troubleshooting Common Issues
Even with the best setup, you may encounter some common lighting issues. Here are a few tips for troubleshooting:
1. Harsh Shadows: If your subject has harsh shadows, try moving the key light closer to the subject or using a larger softbox. You can also add a fill light or reflector to soften the shadows.
2. Uneven Lighting: If the lighting is uneven, adjust the position and intensity of the fill light. Make sure the key light is not too overpowering compared to the fill light.
3. Background Shadows: If shadows are appearing on the background, move the subject further away from the background or adjust the angle of the key and fill lights.
4. Color Casts: If your lights are causing unwanted color casts, use color-correcting gels or adjust the white balance settings on your camera.
Setting up a home studio lighting system may seem daunting at first, but with the right equipment and techniques, you can achieve professional-quality results. By understanding the basics of lighting, choosing the right equipment, and following best practices, you'll be well on your way to creating stunning photos and videos. Remember, practice makes perfect, so don't be afraid to experiment and refine your setup over time. Happy shooting!











There are no comments for this blog.