How To Set Up A Telescope?
Setting up a telescope can be an exciting yet daunting task, especially for beginners. Whether you are an amateur astronomer or a seasoned stargazer, understanding the correct setup process is crucial for a successful and enjoyable experience. This article will guide you through the essential steps to set up a telescope, ensuring you get the most out of your astronomical observations.
Understanding Your Telescope
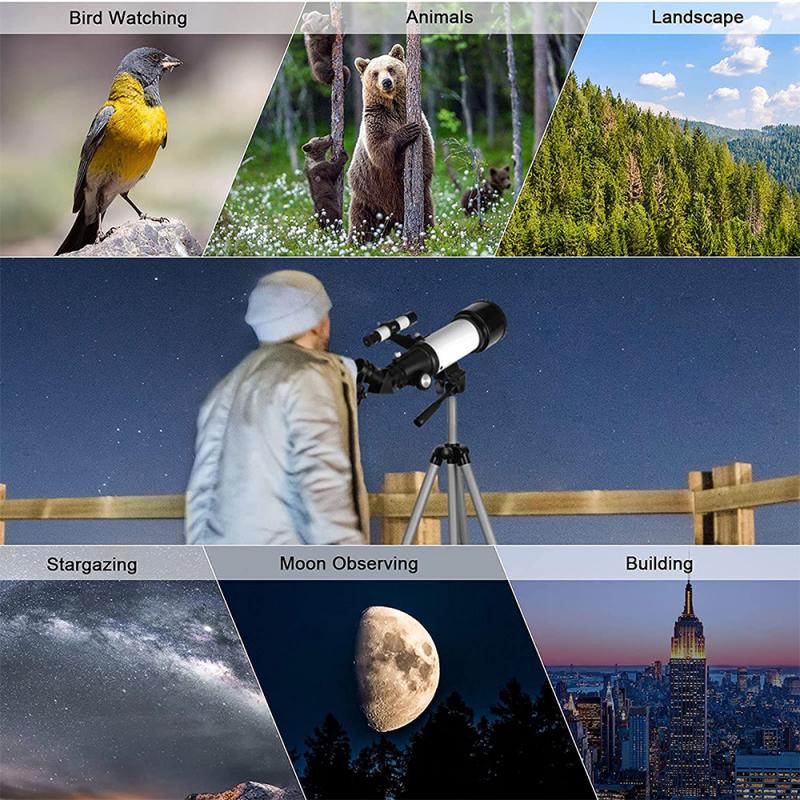
Before diving into the setup process, it is important to familiarize yourself with the different types of telescopes and their components. The three main types of telescopes are:
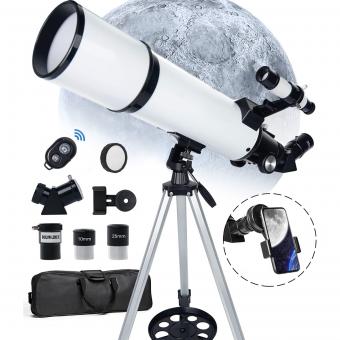
1. Refractor Telescopes: These use lenses to gather and focus light. They are known for their sharp and high-contrast images, making them ideal for viewing planets and the moon.
2. Reflector Telescopes: These use mirrors instead of lenses. They are generally more affordable and are excellent for deep-sky observations, such as galaxies and nebulae.
3. Compound (or Catadioptric) Telescopes: These combine lenses and mirrors to offer a compact design with versatile capabilities. They are suitable for both planetary and deep-sky observations.
Step-by-Step Guide to Setting Up Your Telescope
1. Choose the Right Location
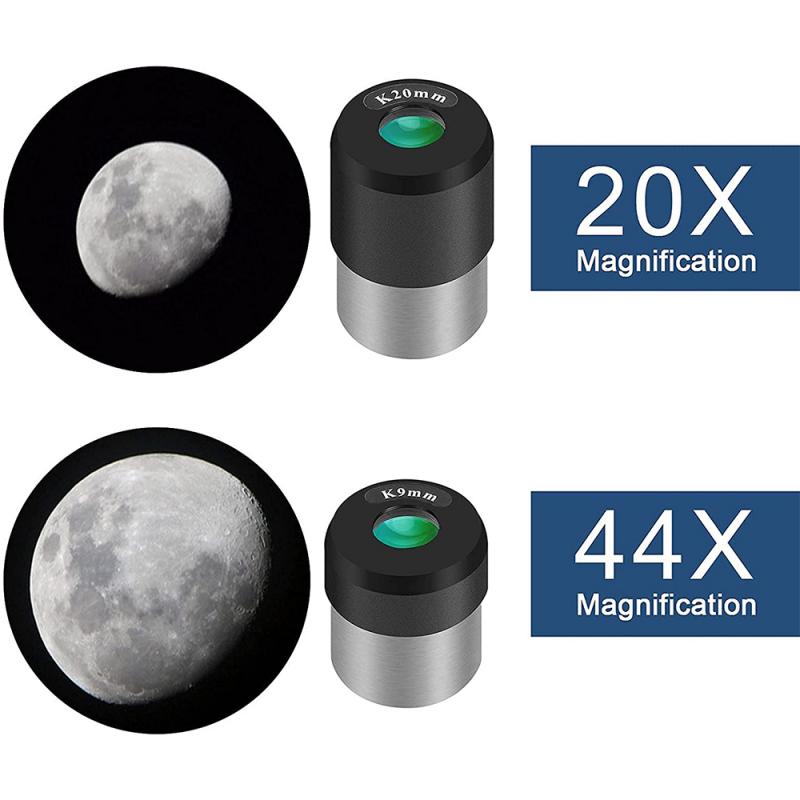
Selecting an appropriate location is the first step in setting up your telescope. Here are some key considerations:
- Dark Skies: Light pollution can significantly affect your observations. Choose a location away from city lights.
- Stable Ground: Ensure the ground is stable and level to prevent vibrations that can blur your view.
- Clear View of the Sky: Avoid areas with obstructions like trees, buildings, or mountains.
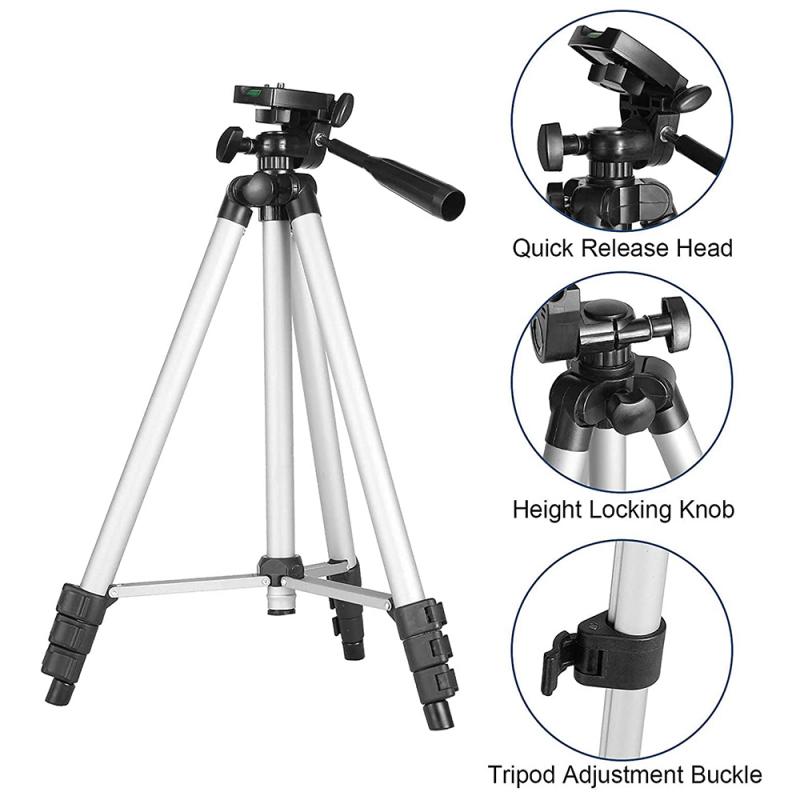
2. Assemble the Tripod and Mount
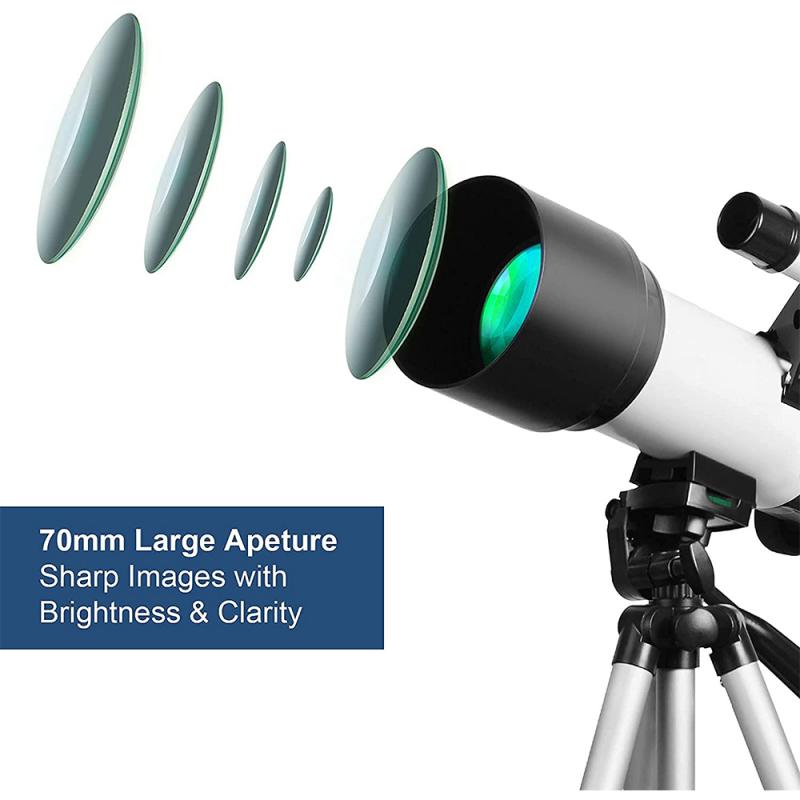
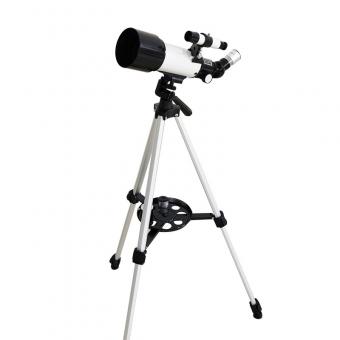
The tripod and mount are crucial for stabilizing your telescope. Follow these steps:
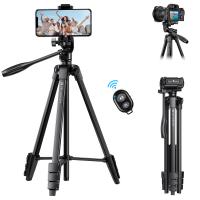
- Extend the Tripod Legs: Adjust the tripod legs to a comfortable height and ensure they are securely locked.
- Level the Tripod: Use a bubble level to make sure the tripod is perfectly horizontal.
- Attach the Mount: Depending on your telescope type, attach the mount (altazimuth or equatorial) to the tripod. Ensure it is securely fastened.
3. Attach the Telescope Tube
Once the tripod and mount are set up, it’s time to attach the telescope tube:
- Secure the Tube Rings: If your telescope has tube rings, open them and place the telescope tube inside. Close and tighten the rings.
- Balance the Tube: Slide the tube forward or backward within the rings to achieve balance. This prevents strain on the mount and ensures smooth movement.
4. Align the Finderscope
The finderscope is a small, low-power telescope attached to the main tube. It helps you locate objects in the sky. Here’s how to align it:
- Choose a Distant Object: During the day, point the telescope at a distant object, such as a tree or building.
- Center the Object: Use the main telescope to center the object in the eyepiece.
- Adjust the Finderscope: Look through the finderscope and use its adjustment screws to center the same object. This ensures the finderscope and main telescope are aligned.
5. Insert the Eyepiece
The eyepiece is where you look through to see the magnified image. Follow these steps:
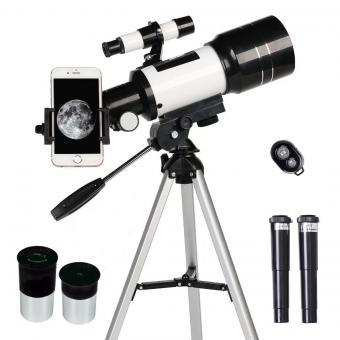
- Choose an Eyepiece: Start with a low-power eyepiece (higher focal length) to get a wider field of view.
- Insert the Eyepiece: Place the eyepiece into the focuser and secure it with the thumbscrew.
- Focus the Image: Use the focuser knob to adjust the clarity of the image.
6. Polar Alignment (For Equatorial Mounts)
If you are using an equatorial mount, polar alignment is essential for tracking celestial objects. Here’s how to do it:
- Locate Polaris: Find the North Star (Polaris) in the night sky. It is located near the North Celestial Pole.
- Adjust the Mount: Use the mount’s altitude and azimuth controls to align the mount’s polar axis with Polaris.
- Fine-Tune the Alignment: Use a polar scope (if available) for more precise alignment.
7. Calibrate the GoTo System (If Applicable)
Many modern telescopes come with a GoTo system that automatically locates and tracks celestial objects. To calibrate it:
- Enter Location and Time: Input your location coordinates and the current date and time into the GoTo system.
- Align with Bright Stars: Follow the system’s instructions to align the telescope with two or three bright stars. This helps the system accurately map the sky.
Tips for Successful Observations
- Allow the Telescope to Cool Down: Telescopes need time to reach thermal equilibrium with the outdoor temperature. Allow at least 30 minutes for this process.
- Use a Star Chart or App: A star chart or astronomy app can help you identify and locate celestial objects.
- Avoid Touching the Telescope: Once aligned, avoid touching the telescope to prevent vibrations.
- Be Patient: Observing celestial objects requires patience. Take your time to fine-tune the focus and enjoy the view.
Troubleshooting Common Issues
- Blurry Images: If the image is blurry, check the focus and ensure the telescope has cooled down. Also, verify that the eyepiece is clean.
- Difficulty Finding Objects: If you struggle to find objects, recheck the alignment of the finderscope and ensure the GoTo system is properly calibrated.
- Vibrations: If you experience vibrations, make sure the tripod is on stable ground and the mount is securely fastened.
Setting up a telescope may seem complex, but with practice, it becomes a straightforward process. By following the steps outlined in this guide, you can ensure a successful setup and enjoy the wonders of the night sky. Remember, the key to a rewarding astronomical experience is patience, practice, and a passion for exploration. Happy stargazing!


