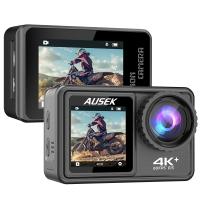
How To Set Up Action Camera?
Setting up an action camera can seem like a daunting task, especially if you are new to the world of compact, robust cameras designed for capturing high-octane adventures. However, with the right guidance, you can swiftly get your action camera ready to capture stunning visuals. In this comprehensive guide, we'll delve into step-by-step instructions on how to set up your action camera effectively, ensuring that you maximize its potential for any activity, from diving to mountain biking.
1. Unboxing and Initial Inspection
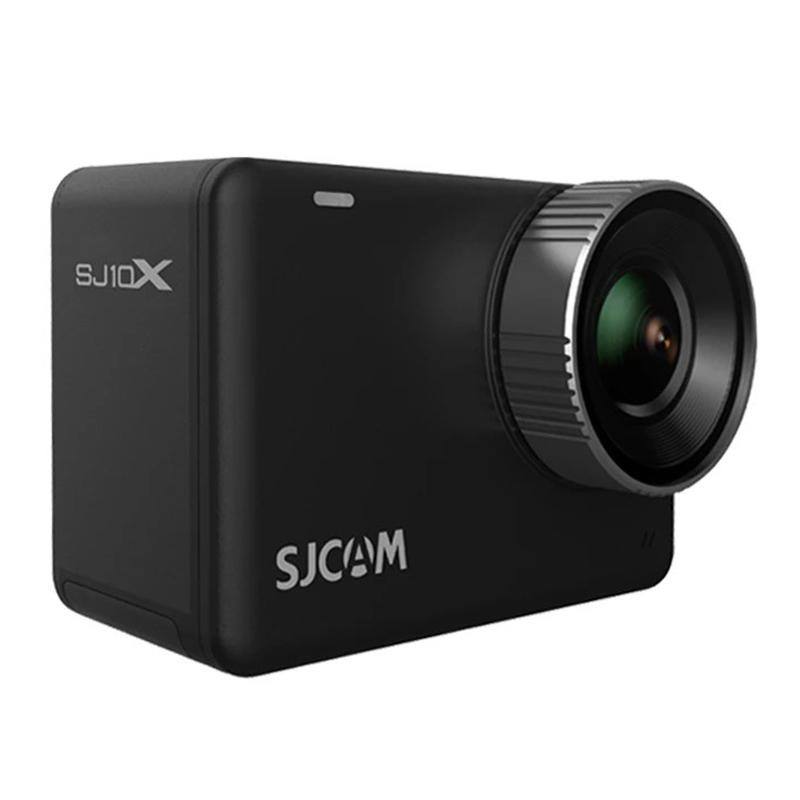
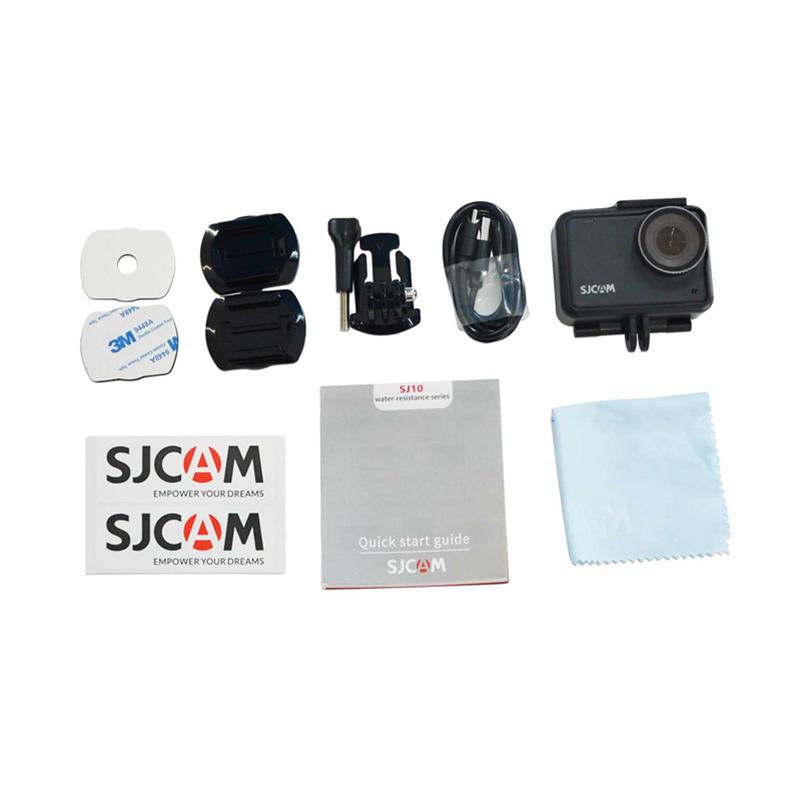
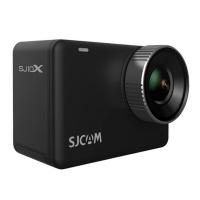
The first step in setting up your action camera is the unboxing process. Remove the camera and all its accessories from the packaging. Most action cameras come with a variety of mounts, charging cables, and sometimes waterproof housing. Check if all the components that were supposed to be included are present. This will usually include:
- The action camera itself.
- A user manual.
- Different types of mounts (helmet mount, bike mount, adhesive mounts).
- Waterproof housing case.
- Charging cables (usually USB).
- Additional accessories like remote control or extra batteries.
2. Charging the Camera
Before you start setting up your action camera, it’s crucial to ensure it has enough power. Plug the camera into a power source using the supplied charging cable. Allow it to fully charge; this usually takes a couple of hours. Charging the battery fully before the first use helps to condition the battery, ensuring better longevity and performance.
3. Inserting a Memory Card
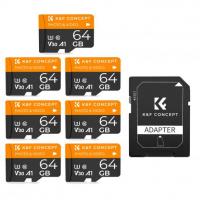
Action cameras typically do not come with internal storage, so you will need a microSD card to store your footage. Purchase a high-speed microSD card, as a slower card may not keep up with the data transfer rates needed for high-resolution video recording. Insert the microSD card into the designated slot in the camera. Most cameras will have an indicator to show that the card is correctly inserted and recognized.
4. Installing Firmware Updates
Manufacturers frequently release firmware updates to improve camera performance, add new features, or fix bugs. Connect your action camera to a computer using the USB cable, visit the manufacturer’s website, and follow the instructions to download and install any available updates. Having the latest firmware ensures you are utilizing the latest capabilities of your device.
5. Navigating the Settings
Turn on your action camera and familiarize yourself with its user interface. This often involves navigating through menus to set preferences like:
- Resolution and FPS (Frames Per Second): Higher resolutions such as 4K offer better image quality but will consume more storage and battery life. Depending on your activity, you might want to adjust between high resolution and various frame rates for slow-motion effects.
- Field of View (FOV): Many cameras offer wide, medium, and narrow FOV settings. Adjust it based on what you are capturing; a wider FOV is generally better for action shots.
- Stabilization: Ensure that image stabilization (if available) is turned on to reduce the shakiness in your videos.
- Battery-saving options: Sometimes, it’s beneficial to turn off Wi-Fi, Bluetooth, or other connectivity features to save power if not in use.
6. Mounting the Camera
The right mount is essential for capturing the best footage. Depending on your planned activity, choose an appropriate mount:
- Helmet Mount: Ideal for biking, snowboarding, etc.
- Chest Mount: Provides a lower angle, capturing more of the hands and gear.
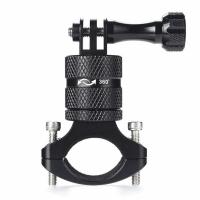
- Bike Mount: A perfect choice for cyclists.
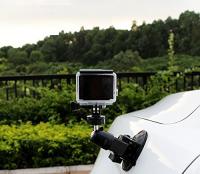
- Adhesive Mount: Can be attached to a variety of surfaces such as surfboards, cars, etc.
Follow the instructions provided with the mounts to ensure they are securely attached. If using an adhesive mount, clean the mounting surface thoroughly before attaching it for the best hold.
7. Utilizing the Waterproof Housing
If your activity involves water, use the waterproof housing to protect your camera. Ensure that all seals are correctly closed to prevent water from entering and damaging your device. Test the housing without the camera first to confirm its integrity before use.
8. Connecting to a Smartphone
Most modern action cameras come with a companion app available on smartphones. This app allows you to control settings, view a live preview, and even edit and share footage. Download the app from your device's app store and pair it with your camera. This step often involves connecting via Bluetooth or Wi-Fi. Following the manufacturer’s instructions to connect your camera will enable you to make adjustments swiftly and remotely.
9. Testing and Final Adjustments
Before embarking on your adventure, test your camera. Record a few test clips to ensure everything is functioning as expected. Check the video quality, stabilization, and any other settings you have adjusted. Make any necessary changes and familiarize yourself with the camera’s controls while it is in the mount or housing.
10. Maintenance and Care
Lastly, knowing how to maintain your action camera can extend its lifespan. Clean the lens regularly using a microfiber cloth to avoid scratches. Keep the camera and accessories in a protective case when not in use. If the camera was used in saltwater, rinse it with fresh water and let it dry completely before storing or charging it.
By following these detailed steps, you can set up your action camera effectively, ensuring that it operates at its full potential. Whether you are gearing up for a thrilling skydiving session or a serene underwater dive, being well-prepared with your camera setup means you won’t miss capturing those unforgettable moments.
In conclusion, setting up an action camera takes a bit of time and attention to detail, but the effort pays off with high-quality captures that bring your adventures to life. Happy filming!

















There are no comments for this blog.