How To Set Up Lavalier Microphone On Laptop?
Setting Up a Lavalier Microphone on a Laptop: A Comprehensive Guide
In today's digital age, high-quality audio is essential for various activities, from virtual meetings and online classes to podcasting and content creation. One of the most convenient and effective tools for capturing clear audio is the lavalier microphone, also known as a lapel mic. These small, clip-on microphones are popular for their portability and ability to capture sound close to the source. However, setting up a lavalier microphone on a laptop can be a bit tricky if you're not familiar with the process. This guide will walk you through the steps to ensure you get the best audio quality possible.
Understanding the Basics
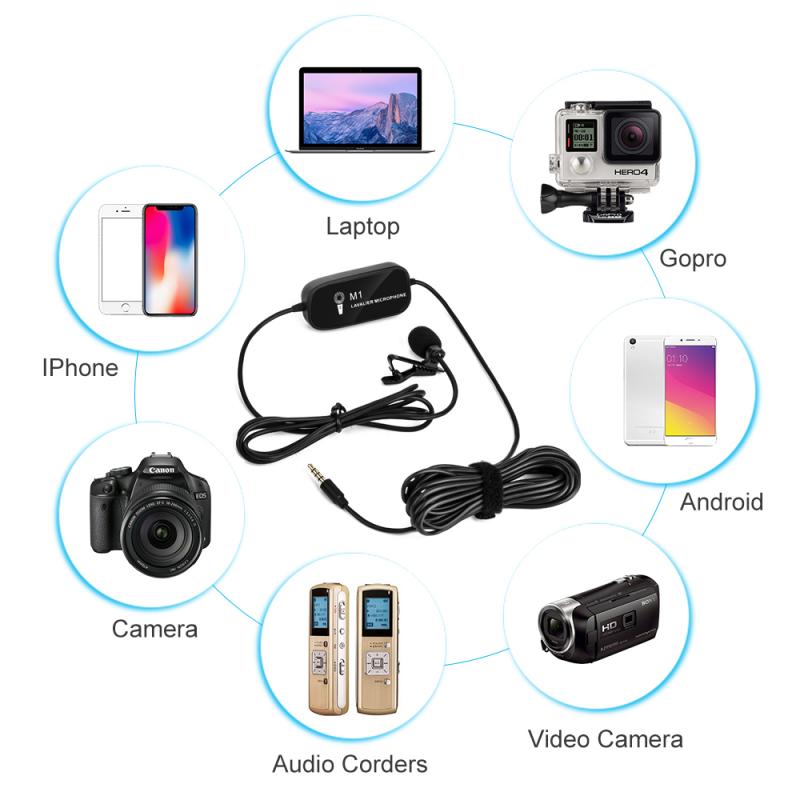
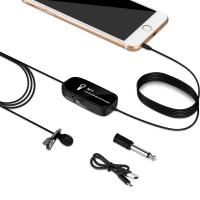
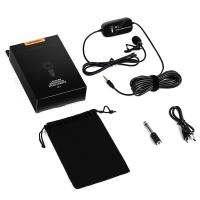
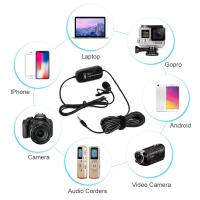
Before diving into the setup process, it's important to understand the components involved and how they work together. A lavalier microphone typically consists of the following parts:
- Microphone Capsule: The small part that captures the sound.
- Clip: Used to attach the microphone to your clothing.
- Cable: Connects the microphone to the recording device.
- Connector: The end of the cable that plugs into your laptop, usually a 3.5mm jack or USB.
Step-by-Step Setup Guide

1. Check Compatibility
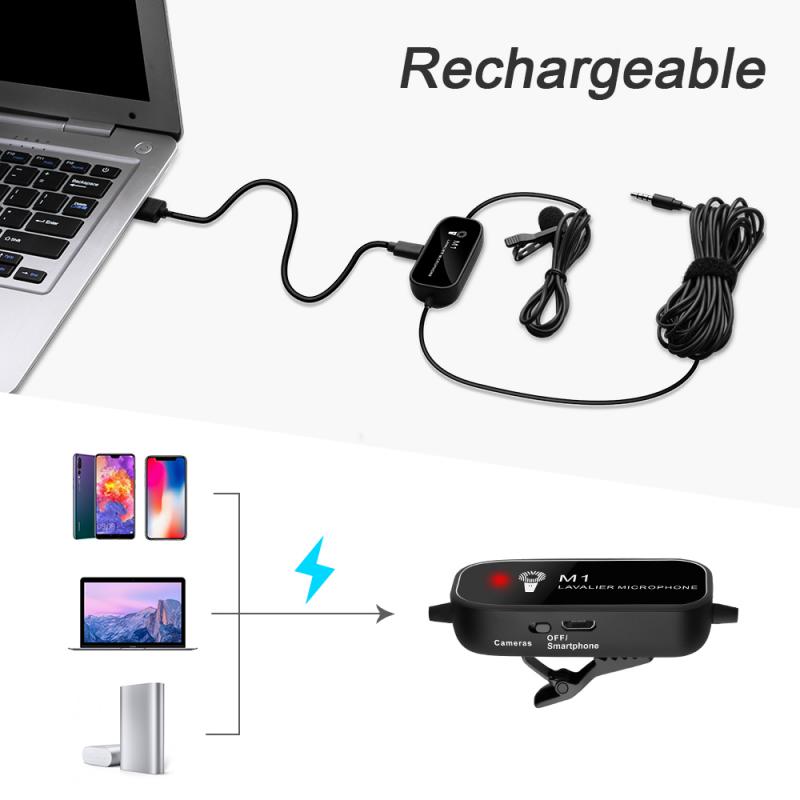
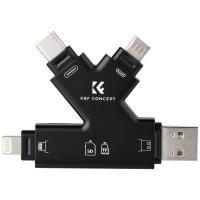
First, ensure that your lavalier microphone is compatible with your laptop. Most laptops have a 3.5mm audio jack that serves as both a headphone and microphone input. However, some newer laptops may only have USB-C ports, in which case you'll need an adapter.
2. Gather Necessary Equipment
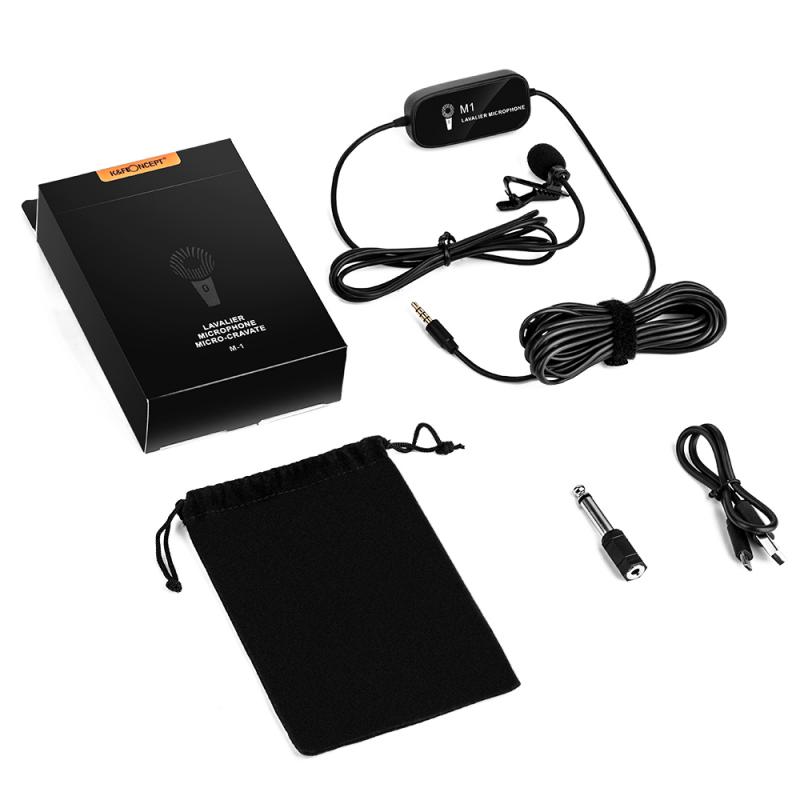
You'll need the following items:
- Lavalier microphone
- Laptop
- Adapter (if necessary)
- Audio recording software (optional but recommended for better control over audio settings)
3. Connect the Microphone
- 3.5mm Jack: If your lavalier microphone has a 3.5mm connector, simply plug it into the audio jack on your laptop. Ensure it's fully inserted to avoid any connection issues.
- USB: If your microphone uses a USB connector, plug it into an available USB port on your laptop.
- Adapter: If your laptop only has USB-C ports, use a USB-C to 3.5mm adapter or a USB-C to USB adapter, depending on your microphone's connector type.
4. Configure Audio Settings
Once the microphone is connected, you'll need to configure your laptop's audio settings to recognize and use the external microphone.
- Windows:
1. Right-click the speaker icon in the taskbar and select "Open Sound settings."
2. Under "Input," select your lavalier microphone from the dropdown menu.
3. Click "Device properties" to adjust the microphone volume and other settings.
- Mac:
1. Click the Apple menu and select "System Preferences."
2. Go to "Sound" and then the "Input" tab.
3. Select your lavalier microphone from the list of input devices.
4. Adjust the input volume as needed.
5. Test the Microphone
Before using the microphone for any important recordings or meetings, it's crucial to test it to ensure it's working correctly.
- Open an audio recording application or the built-in voice recorder on your laptop.
- Record a short clip while speaking into the lavalier microphone.
- Play back the recording to check the audio quality and volume levels.
6. Optimize Placement
The placement of the lavalier microphone can significantly impact the audio quality. Here are some tips for optimal placement:
- Clip the microphone to your clothing about 6-8 inches below your chin.
- Ensure the microphone is not rubbing against fabric or other objects, as this can cause unwanted noise.
- Position the microphone in a way that it captures your voice clearly without being obstructed.
Troubleshooting Common Issues
Even with careful setup, you may encounter some issues. Here are common problems and their solutions:
No Sound or Low Volume
- Check Connections: Ensure the microphone is securely connected to the laptop.
- Adjust Settings: Revisit the audio settings on your laptop and increase the input volume.
- Test on Another Device: Try the microphone on another device to rule out hardware issues.
Background Noise
- Use a Windscreen: A small foam cover can help reduce wind and background noise.
- Adjust Placement: Move the microphone to a different location on your clothing to minimize noise.
- Software Filters: Use audio recording software with noise reduction features.
Echo or Feedback
- Lower Volume: Reduce the microphone input volume to prevent feedback.
- Use Headphones: If you're using speakers, switch to headphones to avoid echo.
Enhancing Audio Quality
For those looking to take their audio quality to the next level, consider the following tips:
Use Audio Recording Software
Software like Audacity, Adobe Audition, or GarageBand offers advanced features for audio recording and editing. These tools allow you to:
- Adjust gain levels
- Apply noise reduction
- Add equalization and compression
Invest in Accessories
- Pop Filter: Reduces plosive sounds (like "p" and "b" sounds).
- External Sound Card: Provides better audio processing and can improve sound quality.
Regular Maintenance
- Clean the Microphone: Dust and debris can affect performance. Use a soft brush or compressed air to clean the microphone.
- Check Cables: Inspect the cables regularly for any signs of wear or damage.
Setting up a lavalier microphone on a laptop may seem daunting at first, but with the right steps and precautions, you can achieve excellent audio quality for your recordings, meetings, or content creation. By understanding the basics, configuring your settings correctly, and optimizing the microphone placement, you'll be well on your way to capturing clear and professional-sounding audio. Don't forget to troubleshoot common issues and consider investing in additional accessories and software to further enhance your audio experience. With these tips, you'll be able to make the most out of your lavalier microphone and ensure your voice is heard loud and clear.


