How To Set Up Wireless Camera Security System?
How to Set Up a Wireless Camera Security System: A Comprehensive Guide
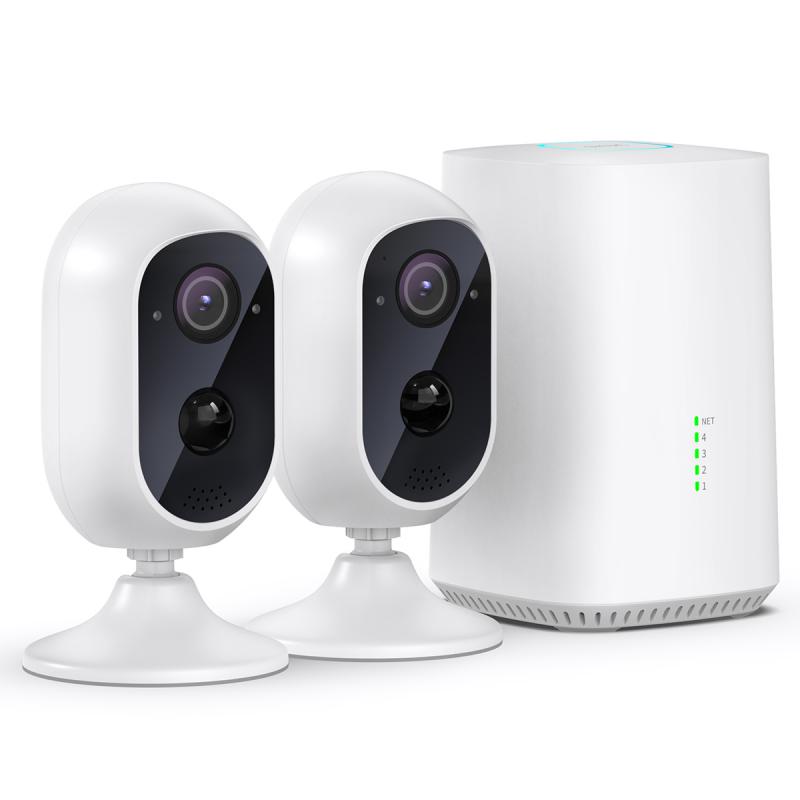
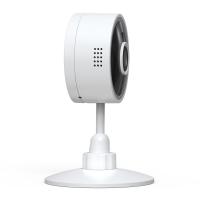
Setting up a wireless camera security system can be one of the most effective ways to ensure your home or business is protected. With the ease of installation, flexibility, and advanced features offered by wireless cameras, more and more people are opting for them over traditional wired security systems. Whether you're looking to monitor your property remotely, keep an eye on pets, or protect against intruders, wireless cameras offer the convenience of seamless integration with your home or office network.
In this article, we’ll walk you through everything you need to know about setting up a wireless camera security system, from planning the installation to connecting the cameras and configuring them for optimal performance.
---
Step 1: Choose the Right Wireless Camera Security System
Before jumping into the installation process, it’s important to choose a security camera system that suits your needs. There are many different types of wireless cameras available, each with its features and specifications. Here are the primary factors to consider when selecting your system:
1. Camera Resolution
- The resolution of your cameras determines how clear the footage will be. For most security needs, a resolution of at least 1080p (Full HD) is recommended. Higher resolutions (such as 4K) offer even better clarity, but they also require more storage space and bandwidth.
2. Field of View
- The field of view (FOV) refers to how much area the camera can capture. A wider FOV means fewer cameras may be needed to cover a larger space. Most cameras offer a 90° to 120° FOV, but some can go up to 180° or more.
3. Indoor vs. Outdoor Cameras
- Make sure to select cameras that are designed for the environment they will be used in. Outdoor cameras must be weatherproof and able to withstand rain, snow, and temperature extremes. Many cameras are also equipped with night vision capabilities to ensure clear footage even in low-light conditions.
4. Power Source
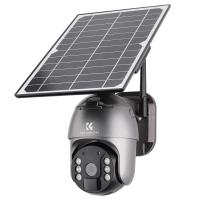
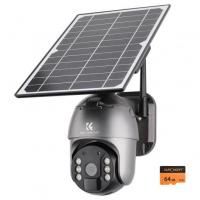
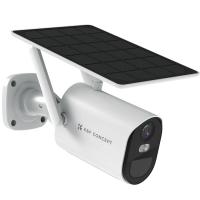
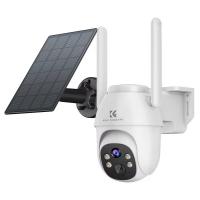
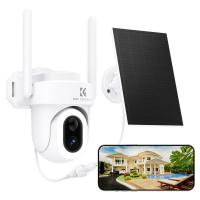
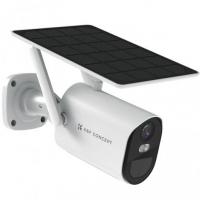
- Wireless cameras often operate on rechargeable batteries or via Power over Ethernet (PoE), but they still need a power source. Consider if you want a system with rechargeable batteries that needs periodic charging or one that can be plugged into an outlet. Some cameras use solar power, offering more eco-friendly options.
5. Storage
- Wireless cameras typically store footage on local devices (such as microSD cards) or cloud storage. Cloud storage usually requires a subscription, but it offers more flexibility and security. Local storage, on the other hand, can be more affordable and easier to set up, though it may require more maintenance.
6. Smart Features
- Many wireless cameras come equipped with advanced features such as motion detection, two-way audio, motion-activated alerts, and integration with other smart home systems (like Alexa or Google Assistant). Choose a system that offers the functionality you need for your security goals.
---
Step 2: Plan Your Camera Placement
Proper camera placement is crucial for ensuring your wireless camera security system provides full coverage of your home or property. Here are some general guidelines for where to position your cameras:
1. Entry Points
- Install cameras near all entry points to your home or building, including doors and windows. Front and back doors, garage doors, and side entrances are primary spots that should be monitored.
2. High-traffic Areas
- Focus on areas where you or others frequently pass through. These could include hallways, driveways, and common areas. Cameras placed here will provide a detailed record of movement.
3. Outdoor Coverage
- For outdoor security, consider placing cameras in locations that provide a view of your yard, driveway, and any external structures like sheds or garages. Make sure the cameras are positioned high enough to avoid tampering but low enough to capture clear images of faces and license plates.
4. Avoid Direct Sunlight or Glare
- Position cameras so they aren’t directly facing sunlight, which can cause glare and affect the quality of footage. Similarly, avoid placing cameras near reflective surfaces that might interfere with motion detection.
5. Consider Wi-Fi Signal Strength
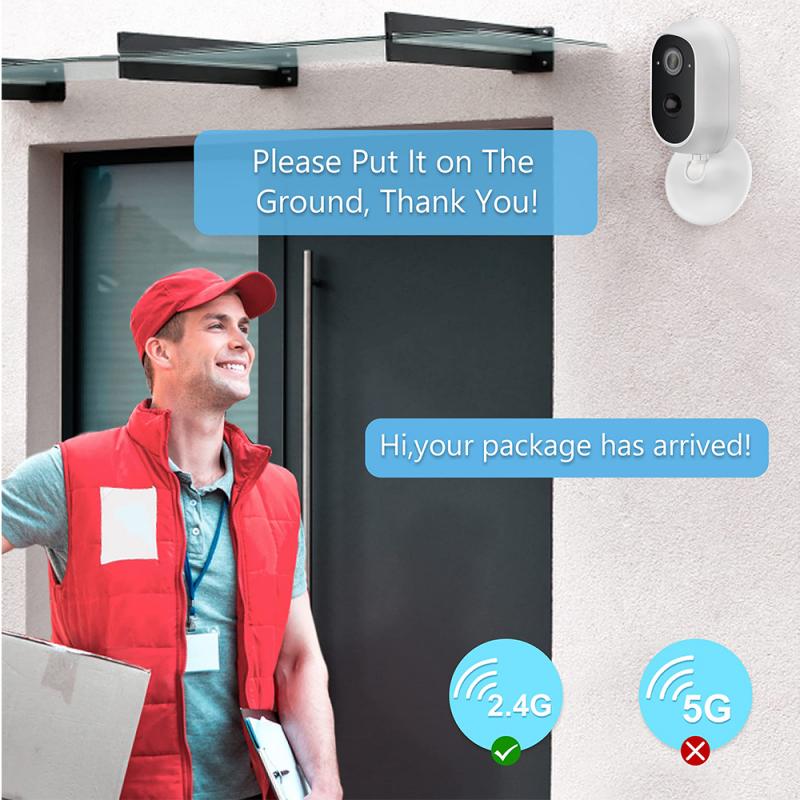
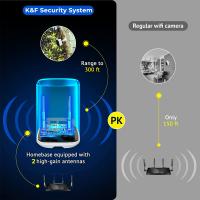
- Wireless cameras rely on Wi-Fi for communication with your router. Make sure your cameras are placed within range of a strong Wi-Fi signal. For large homes or areas with poor Wi-Fi coverage, consider using a Wi-Fi range extender or a mesh Wi-Fi system to improve connectivity.
---
Step 3: Set Up Your Wireless Cameras

Once you’ve selected the cameras and decided on their placement, it’s time to set them up. The process can vary slightly depending on the brand and model, but the general steps are as follows:
1. Mount the Cameras
- Use the mounting hardware provided with the camera system to secure the cameras in place. For outdoor cameras, make sure they are weatherproofed and positioned with a clear line of sight.
- For indoor cameras, mount them high on walls or place them on shelves or counters. Ensure that the camera angle captures the area you intend to monitor without obstruction.
2. Connect the Camera to Wi-Fi
- Most modern wireless cameras come with easy-to-follow instructions for connecting to your home Wi-Fi network. Typically, this process involves:
- Downloading the manufacturer’s app or accessing the web interface.
- Pairing the camera with your phone or computer using the app’s step-by-step guide.
- Entering your Wi-Fi credentials when prompted.
3. Power the Camera
- If your camera uses batteries, ensure they are fully charged or replace them with fresh batteries.
- If the camera requires a plug-in power source, connect it to an available outlet. If it uses PoE, you’ll need to connect the camera to a PoE injector or switch.
4. Test the Camera’s Connection
- After setting up the camera, test its connection to ensure that the video feed is clear and streaming properly. Check if the camera can be accessed remotely via the app or web portal.
- Ensure that the camera’s motion detection features are working correctly by testing with movement in front of the lens.
---
Step 4: Configure Camera Settings
Once your cameras are installed and connected, it’s time to fine-tune their settings to maximize performance. Most wireless cameras offer a range of customizable features that can be adjusted to suit your needs.
1. Adjust Motion Sensitivity
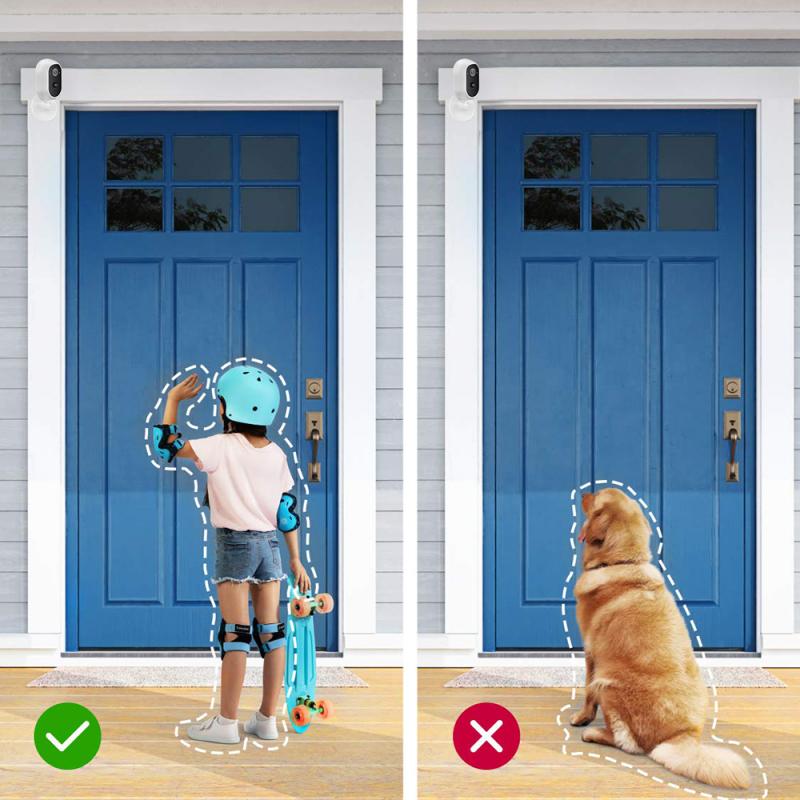
- Wireless cameras usually come with motion detection capabilities that can trigger notifications and recording when movement is detected. You can adjust the sensitivity of this feature to reduce false alarms from pets or passing cars.
2. Set Up Alerts and Notifications
- Set up your camera to send you notifications via email or smartphone app when motion is detected. Some cameras even offer custom alerts for specific events, such as the detection of human movement versus animals or vehicles.
3. Record Settings
- Decide whether you want continuous recording or event-based recording. Some cameras allow you to set up specific schedules, so the camera records only when needed (for example, when you're not at home). You can also enable cloud storage for remote access and backups of your footage.
4. Review Storage Options
- If your camera uses local storage, periodically check the storage capacity to make sure there’s enough space for new footage. Many cameras automatically overwrite old footage once the storage is full.
- Cloud storage options can provide more flexibility, but they may come with additional subscription fees. Some systems offer free basic storage with paid upgrades for longer retention.
---
Step 5: Monitor and Maintain the System
Your wireless camera security system isn’t a one-time setup; it requires regular monitoring and maintenance to ensure it continues to function properly. Here’s what to do after the system is up and running:
1. Monitor Footage
- Regularly check your camera feeds to ensure everything is working as expected. Some systems allow you to access live feeds, while others let you view recorded footage through the app or web interface.
2. Update Firmware
- Keep your camera’s firmware up to date. Manufacturers frequently release updates that fix bugs, improve security, and add new features. Make sure your system is set to automatically update, or manually check for updates periodically.
3. Battery Maintenance
- If your cameras are battery-powered, make sure to recharge or replace the batteries as needed. Some cameras will alert you when battery levels are low.
4. Check Wi-Fi Strength
- If you notice any lag or disruption in video quality, check your Wi-Fi signal. Weak or inconsistent Wi-Fi can affect the performance of wireless cameras. You may need to adjust the camera’s location or install Wi-Fi boosters if the signal is weak.
---
Setting up a wireless camera security system is a great way to enhance the safety of your property. With the right planning, equipment, and configuration, you can create a comprehensive surveillance solution that provides peace of mind. By following the steps outlined in this guide, you’ll be able to choose the right cameras, install them effectively, and optimize their performance for reliable security coverage.
Remember, while the initial setup is crucial, ongoing monitoring, maintenance, and adjustments will ensure your wireless camera system continues to meet your needs in protecting what matters most.














There are no comments for this blog.